Setting up Headscale
Introduction
Actually, before we get stuck in the weeds, what is a smart VPN? How does it differ from a normal VPN like ipsec or wireguard? Well there isn’t a set definition, but a smart VPN is typically characterised by the following:
- Automatic key rotation, preventing leaked credentials becoming an issue
- Allowing mesh networking, tunnels connecting directly peer-to-peer as opposed to traditional hub-and-spoke designs
- Security Access Control Lists (ACLS), allowing fine grained user and device access rights
- User Authorization and Authentication, (optionally) forcing a user to authenticate before getting access
- Fine grained DNS settings, including split dns tunnelling
- Central Management, allowing for large scale SD-WANs (Software Defined Wide Area Networks) and complex deployments
- Wide client base, spanning multiple operating systems
All of those sound like great things to include in a VPN! Ok, now let’s get started.
Why Headscale?
In the intro we gave a list of options for smart VPNs, some paid, some not. Headscale is a good choice as it is an api compatible replacement to tailscale. This means that tailscale handles the hard development of client side executables, and we can hook into their hard work via their API.
Info
If this sounds familiar, vaultwarden behaves in a similar fashion with bitwarden extensions. Both projects work at the sufferance of the upstream paid projects. Promote tailscale and bitwarden at work: they do the hard work and we get the benefits.
Configuring Docker
As mentioned before, we’re relying on docker for our headscale deployment. So, let’s have a look at our docker environment!
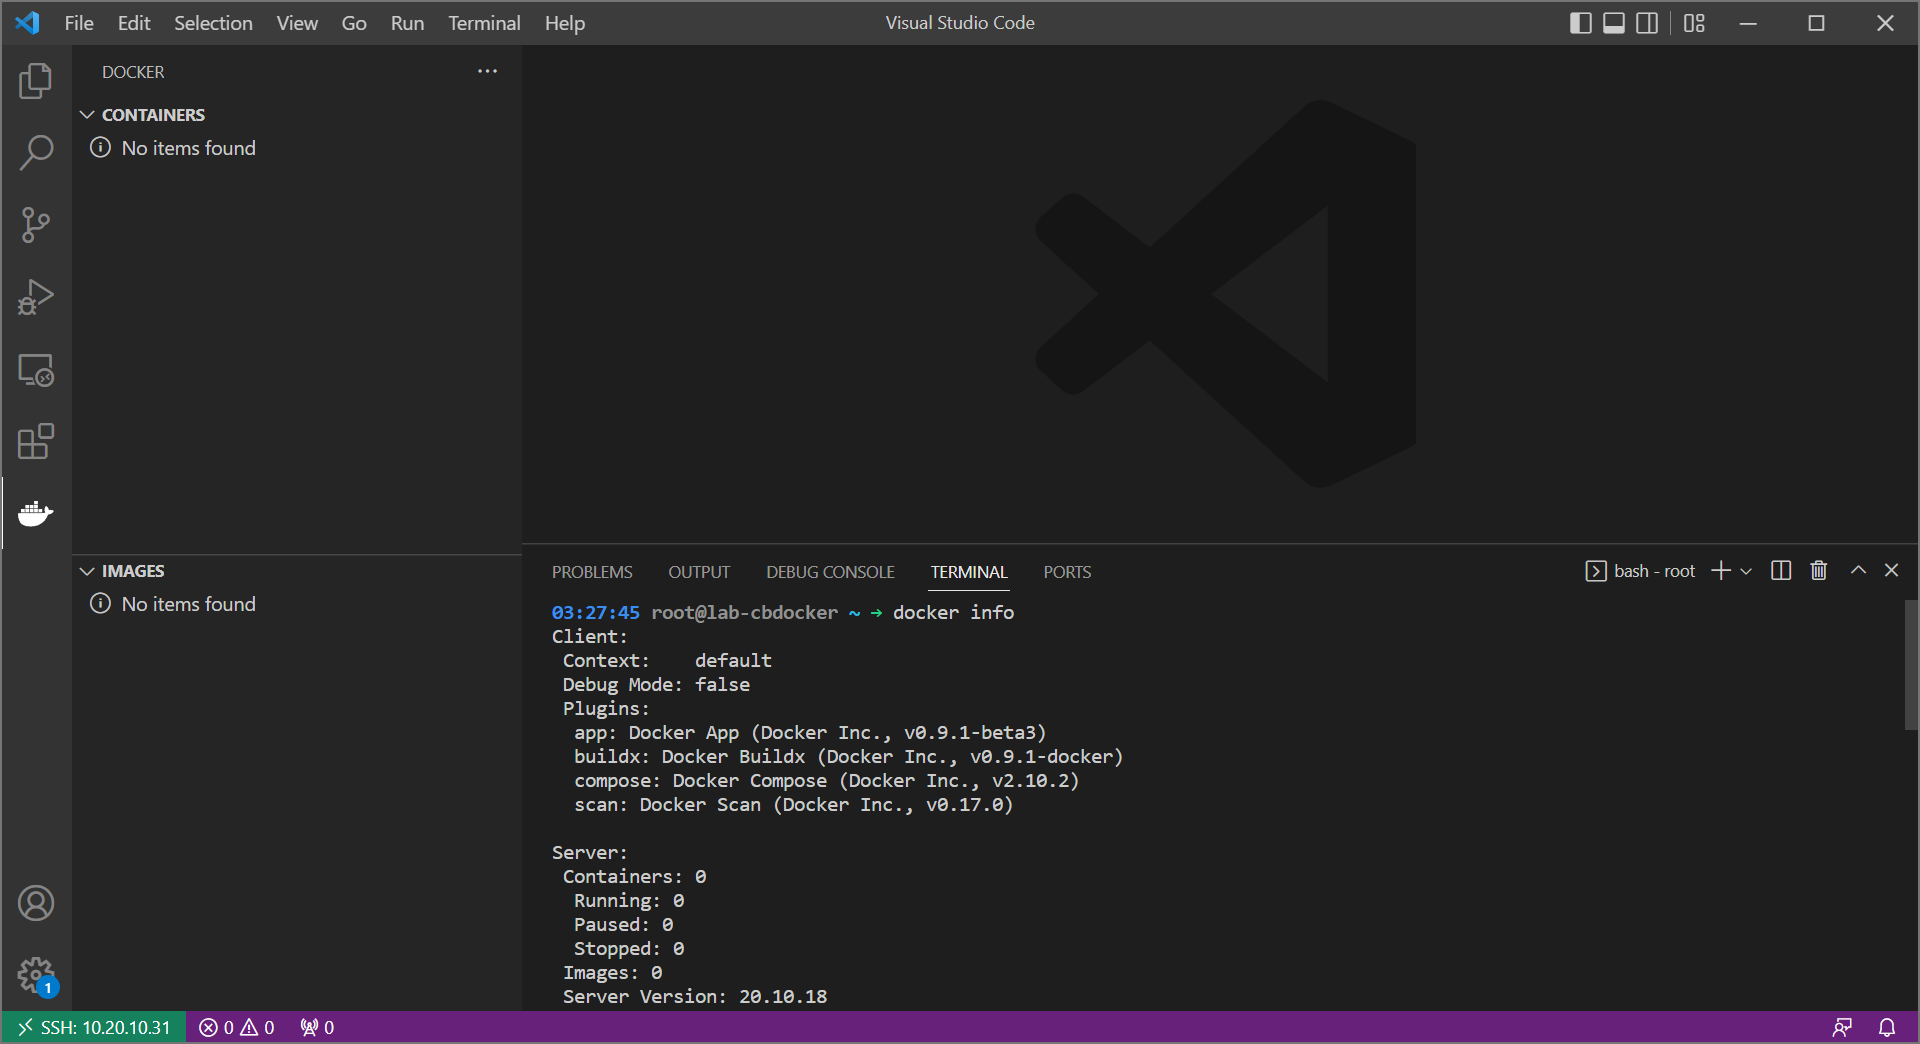
The following is a fresh install of debian with:
- Docker (see here)
- Cockpit (for OS management via web)
- oh-my-bash for a prettier shell
Info
Of course we aren’t looking at a command line here, we have a full visual studio code window. That’s because we’re managing docker via VSCode’s SSH capability. You can read more on that here.
Alright, let’s set up our lab environment under /mnt/containers:
Creating a headscale config
With our environment ready, let’s actually get headscale installed.
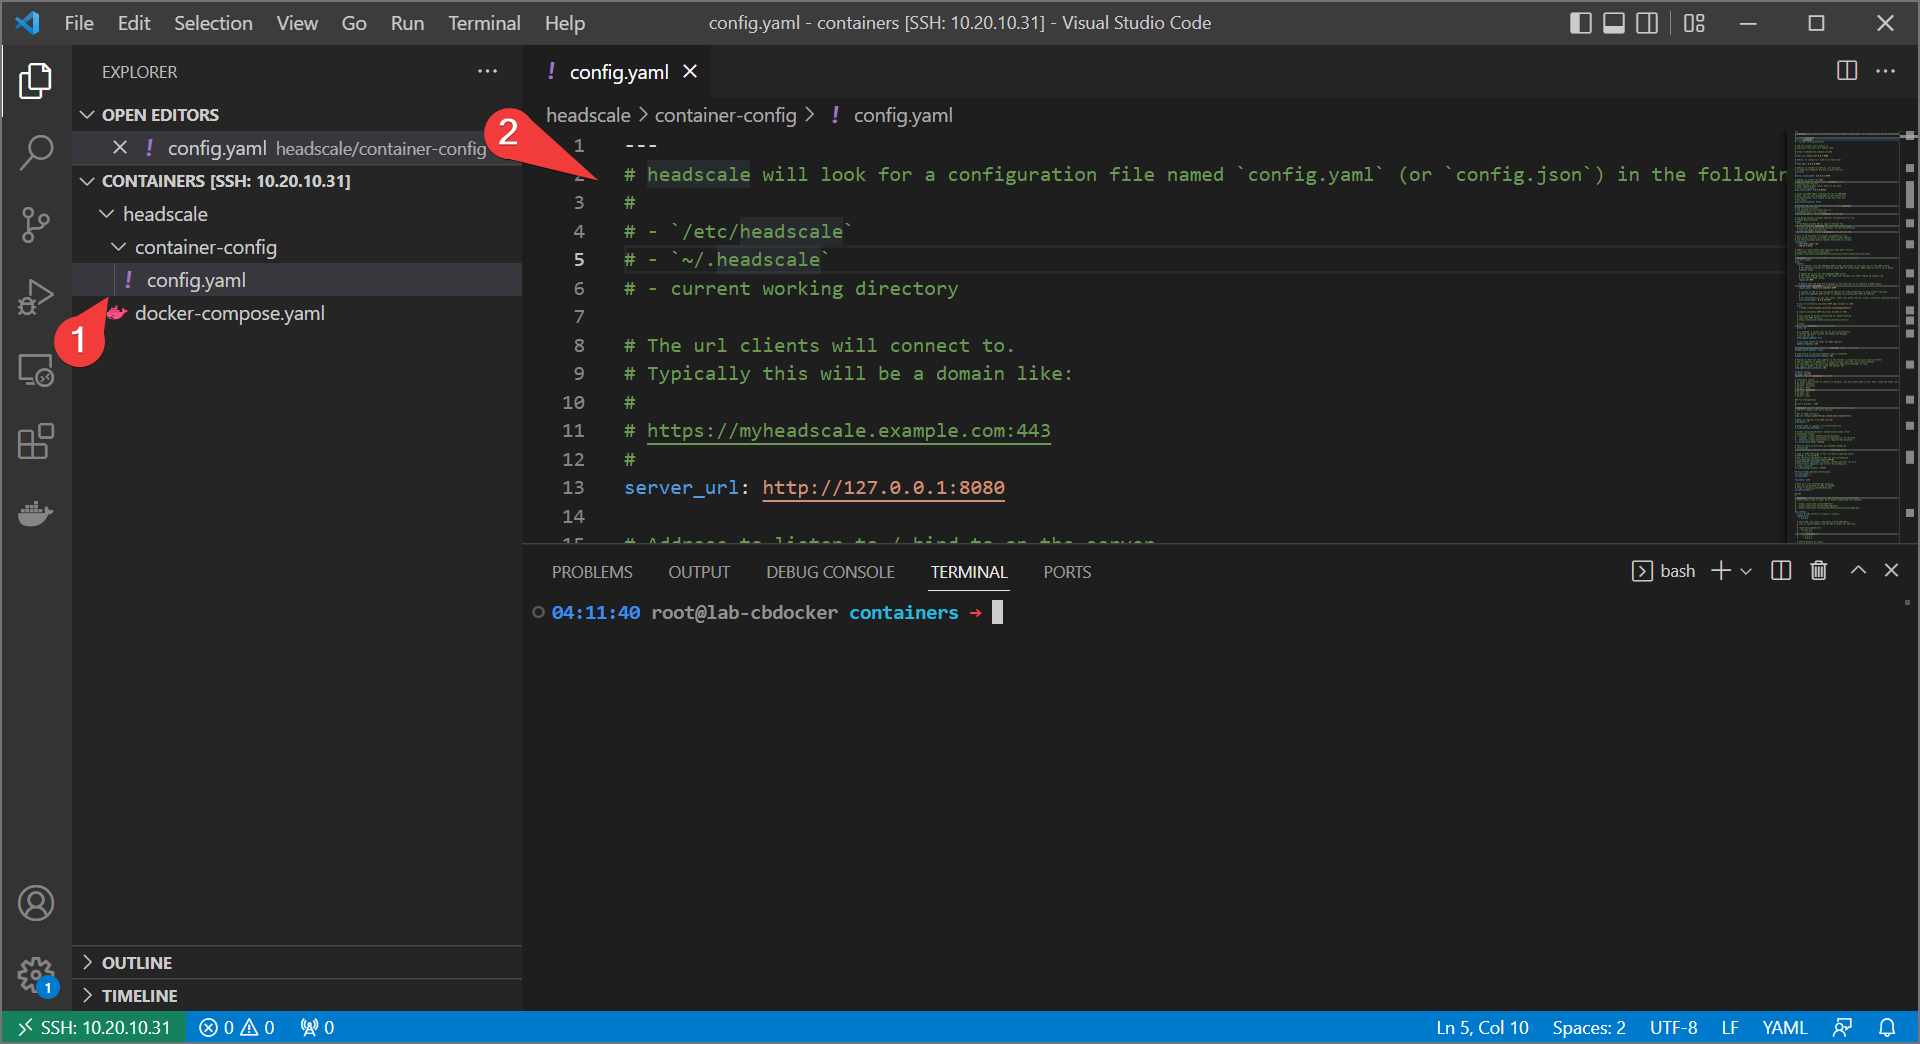
- Create a folder called
container-configin theheadscaledirectory. create aconfig.yamlfile and copy the contents of the headscale example config file.
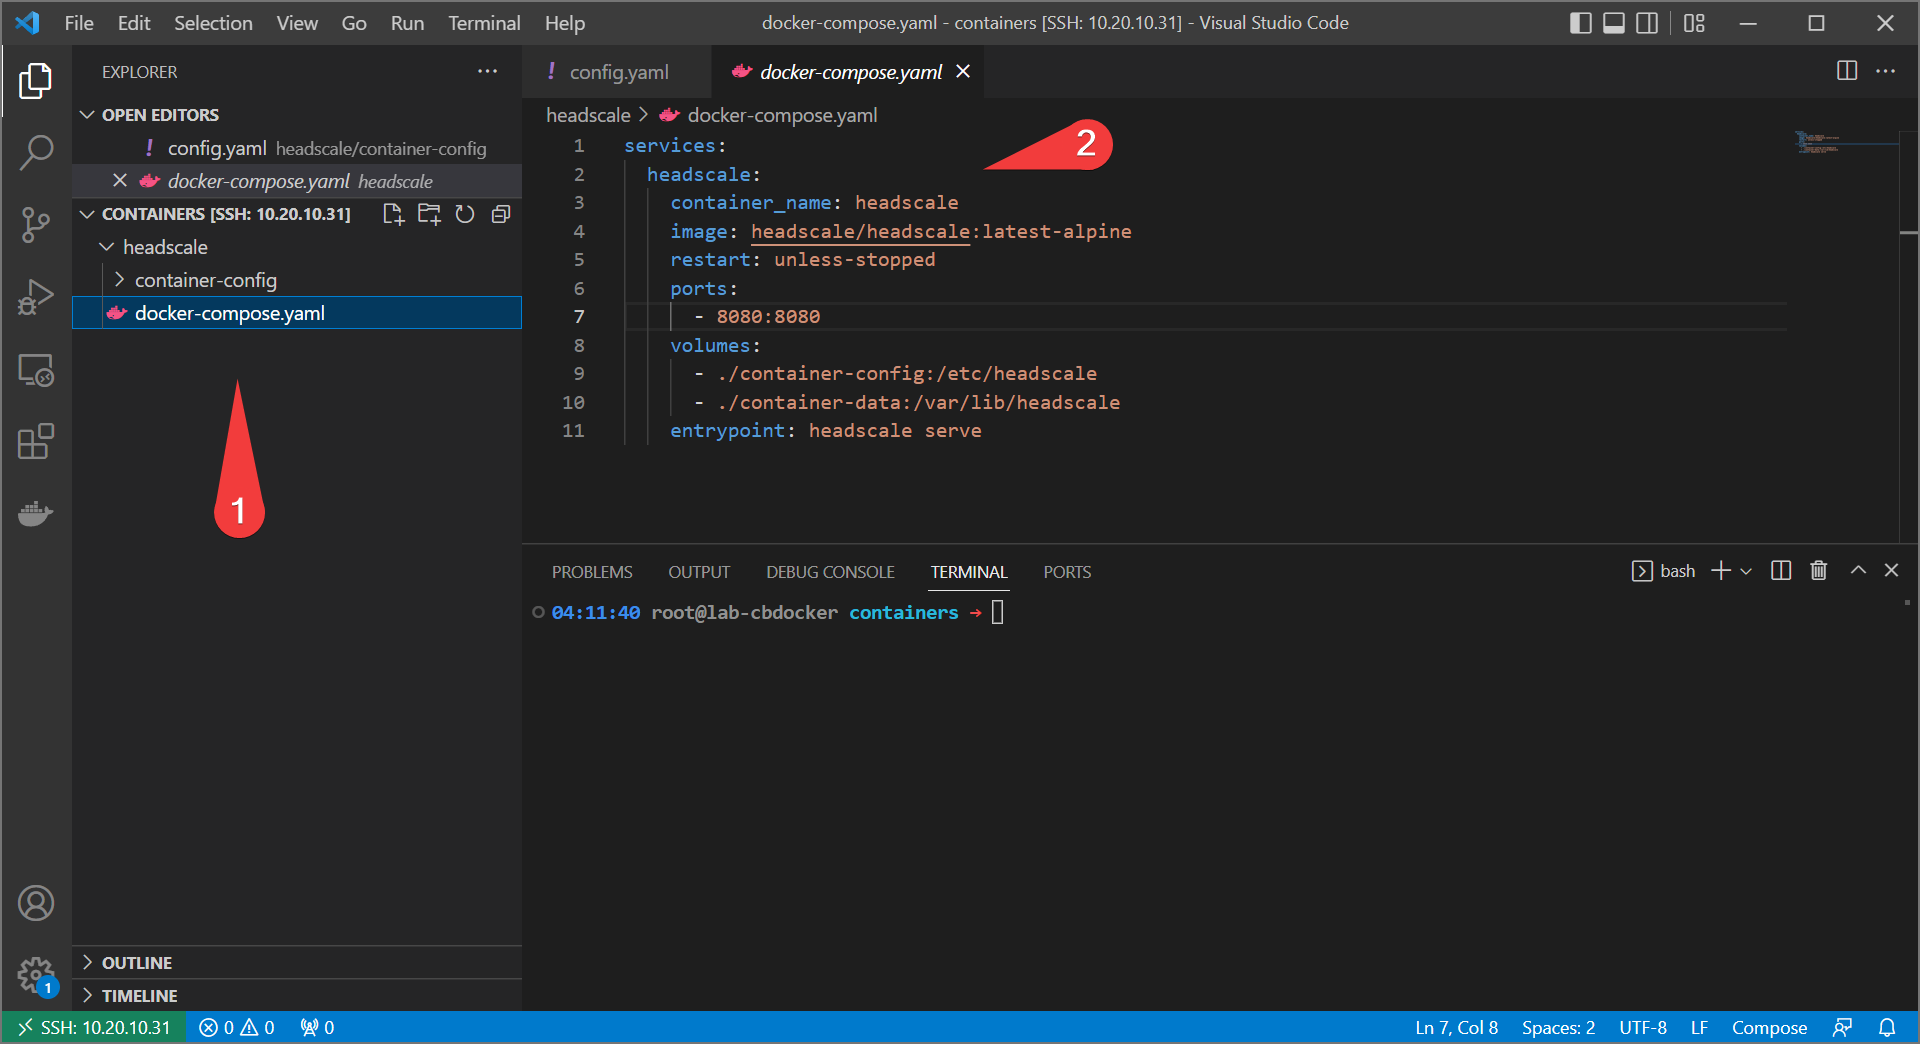
- Create a new
docker-compose.yamlfile in theheadscaledirectory and fill it out with the following:
services:
  headscale:
    container_name: headscale
    image: headscale/headscale:latest-alpine
    restart: unless-stopped
    ports:
      - 8080:8080
    volumes:
      - ./container-config:/etc/headscale
      - ./container-data:/var/lib/headscale
    entrypoint: headscale serve
- Bring up the service:
Info
You may need to use docker-compose instead depending on how new your docker installation is.
- navigate to
http://<your-ip>:8080/windowsand see a working instruction screen!
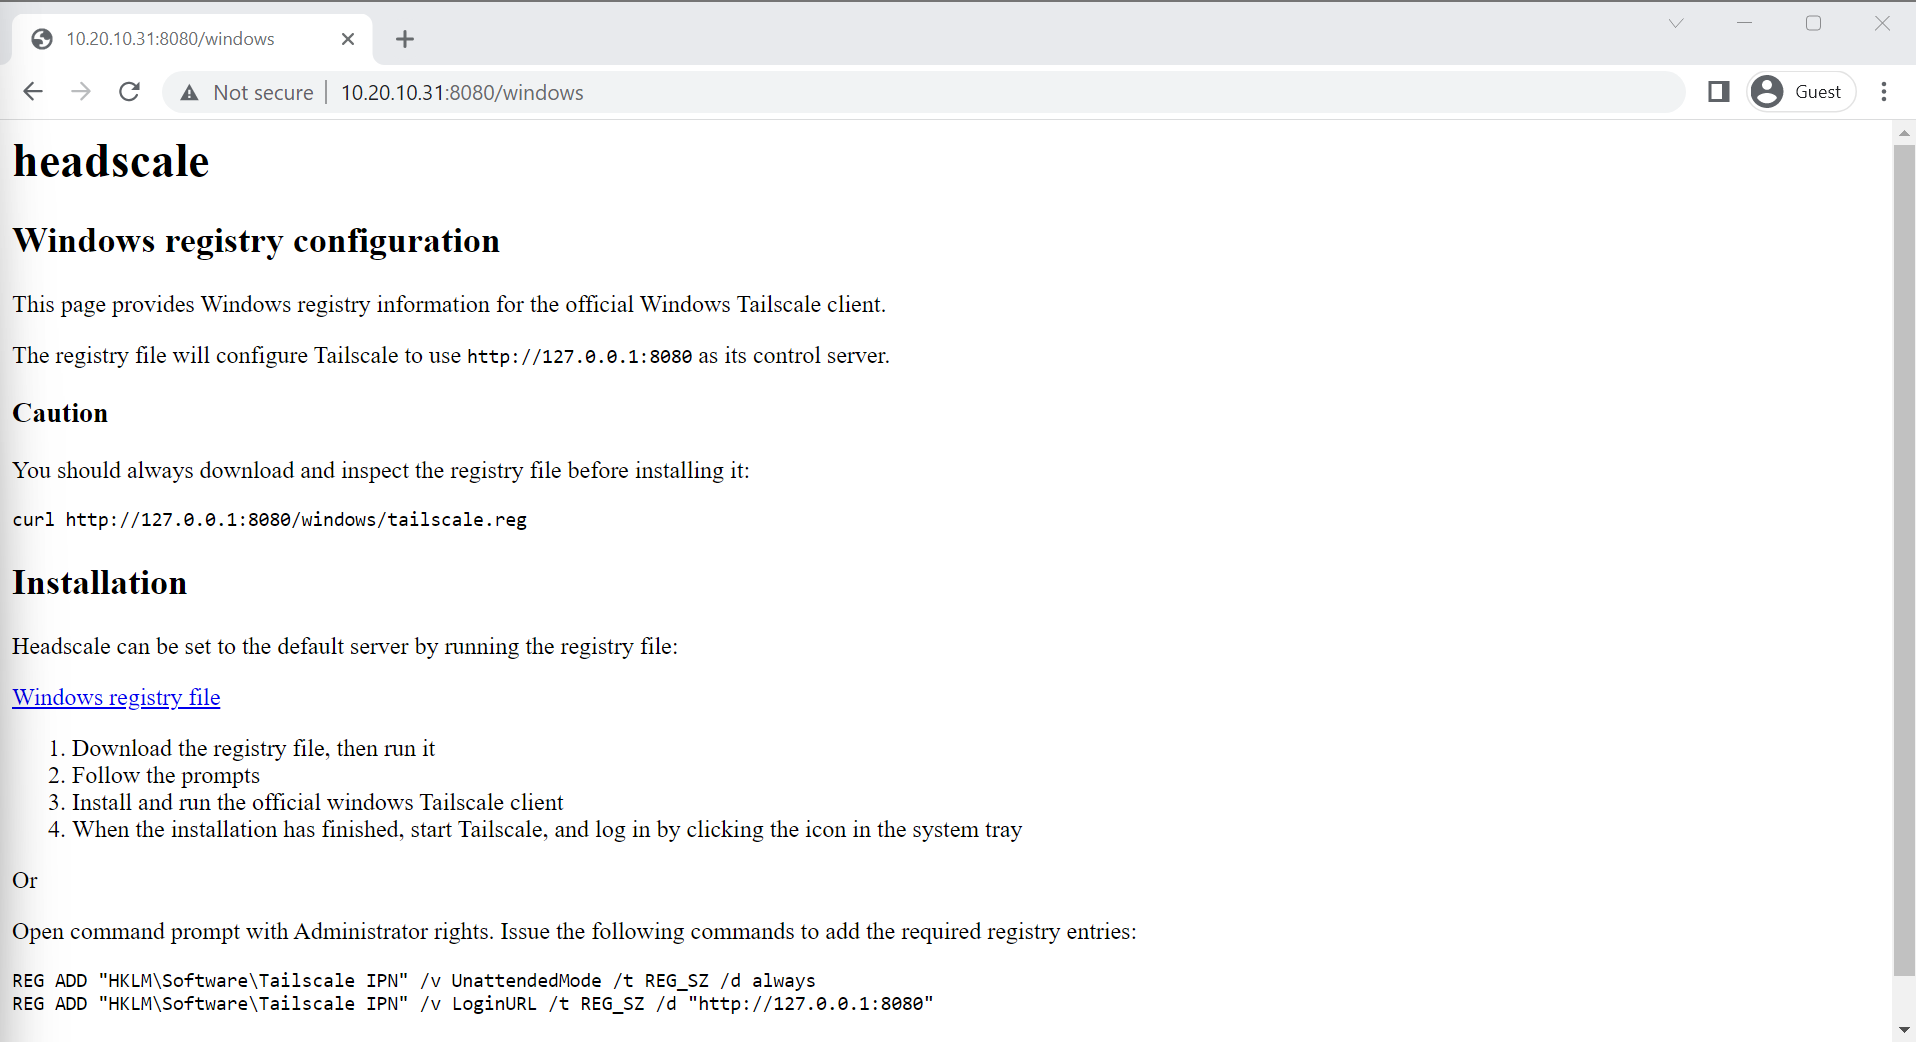
Success! Sort of.
Sort Of?
Well we have a functioning headscale server. We’re off to a good start. But no clients are going to use it because it doesn’t have a Fully Qualified Domain Name (FQDN) and it’s not being served on port 443 and it’s not HTTPS encrypted. Luckily, the solution to all of those can be found in a reverse proxy!
Moving On
Let’s start with configuring a reverse proxy.