Basic Usage of Caddy
Introduction
So what is caddy. Well it is, at the most basic level, a web server like nginx or httpd. Like other web servers, caddy can serve content, or it can intercept web traffic to serve other sites (this is the core feature of a reverse proxy).
Unlike other web servers, caddy has some nice features that make it more palatable as a host:
- Automatic SSL, whether you want to generate your own certs or use ACME servers
- very simple syntax for writing our configs. Most sites require a single directive.
- Based on go, a modern language with memory safety controls
- Sane defaults. By default caddy sets up sites securely and (usually) without any additional configuration
- A single, static binary. While our implementation will be docker focused, nothing is stopping you from installing caddy as a normal package or even as an executable on Windows.
Sounds good!
Looking at the Environment
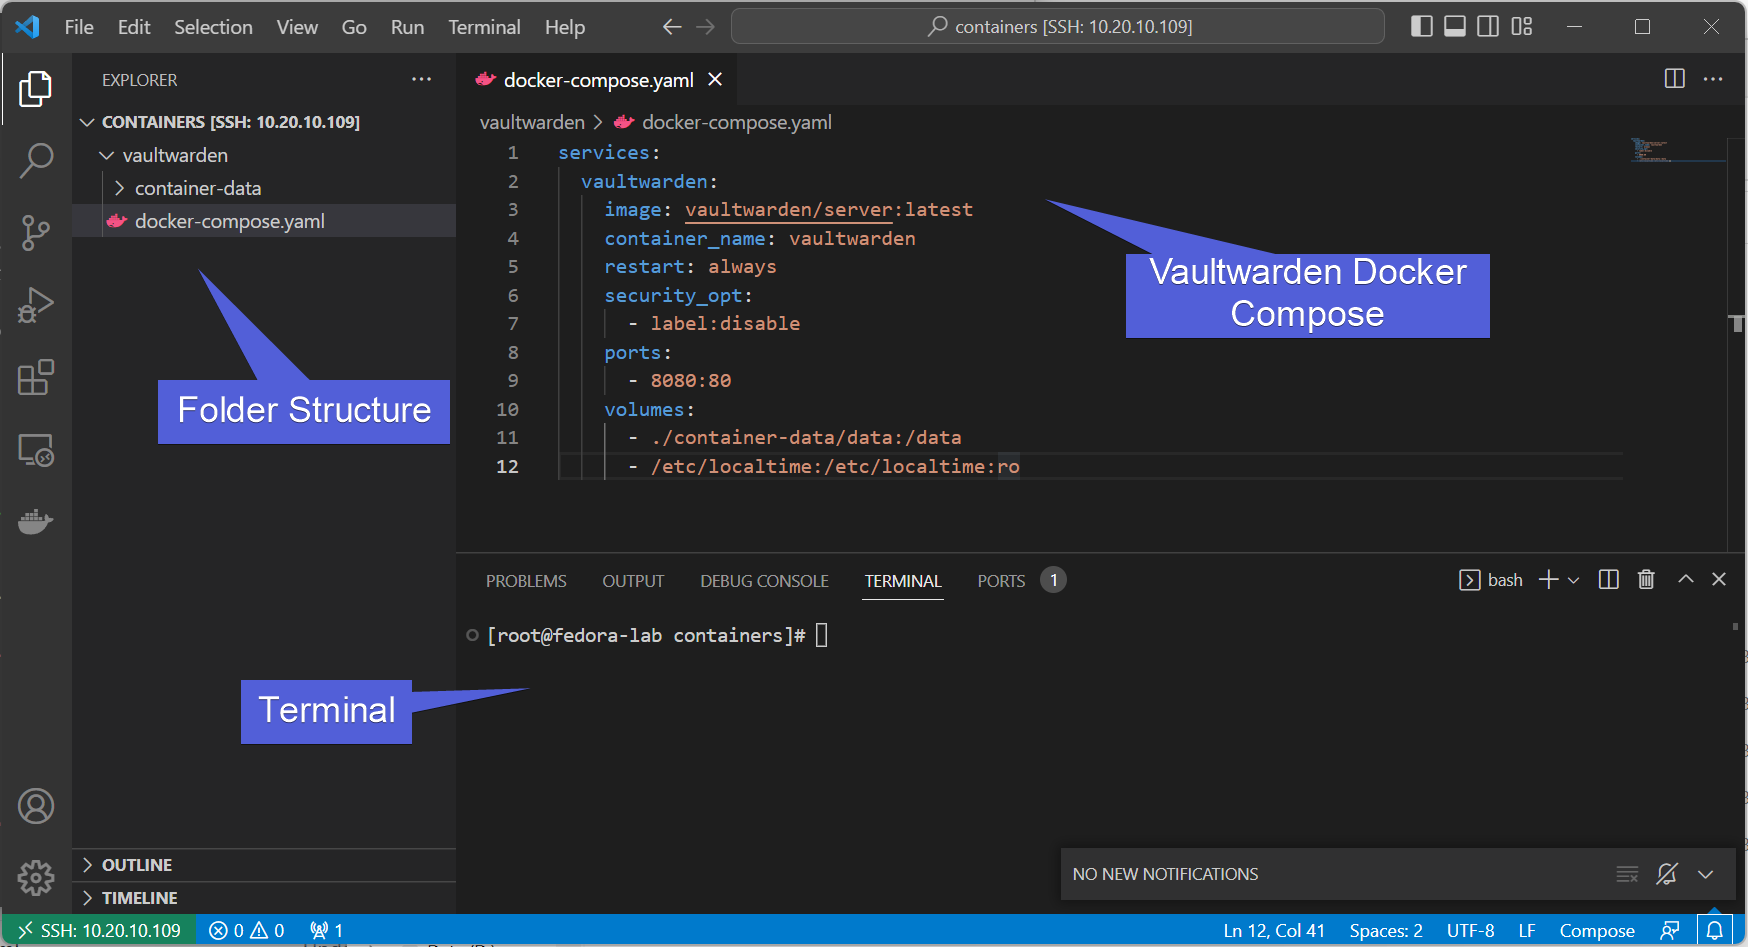
We are using a Fedora 37 server running as a docker host with relevant data in /mnt/containers. We also have a web service (vaultwarden, but really it can be any web service) forwarded on port 8080.
Info
vaultwarden is a bitwarden compatible password manager, designed to work automatically with bitwarden extensions.
services:
  vaultwarden:
    image: vaultwarden/server:latest
    container_name: vaultwarden
    restart: always
    security_opt:
      - label:disable
    ports:
      - 8080:80
    volumes:
      - ./container-data/data:/data
      - /etc/localtime:/etc/localtime:ro
Info
This guide is representing the host using Visual Studio Code over SSH. You can read more on how that works here.
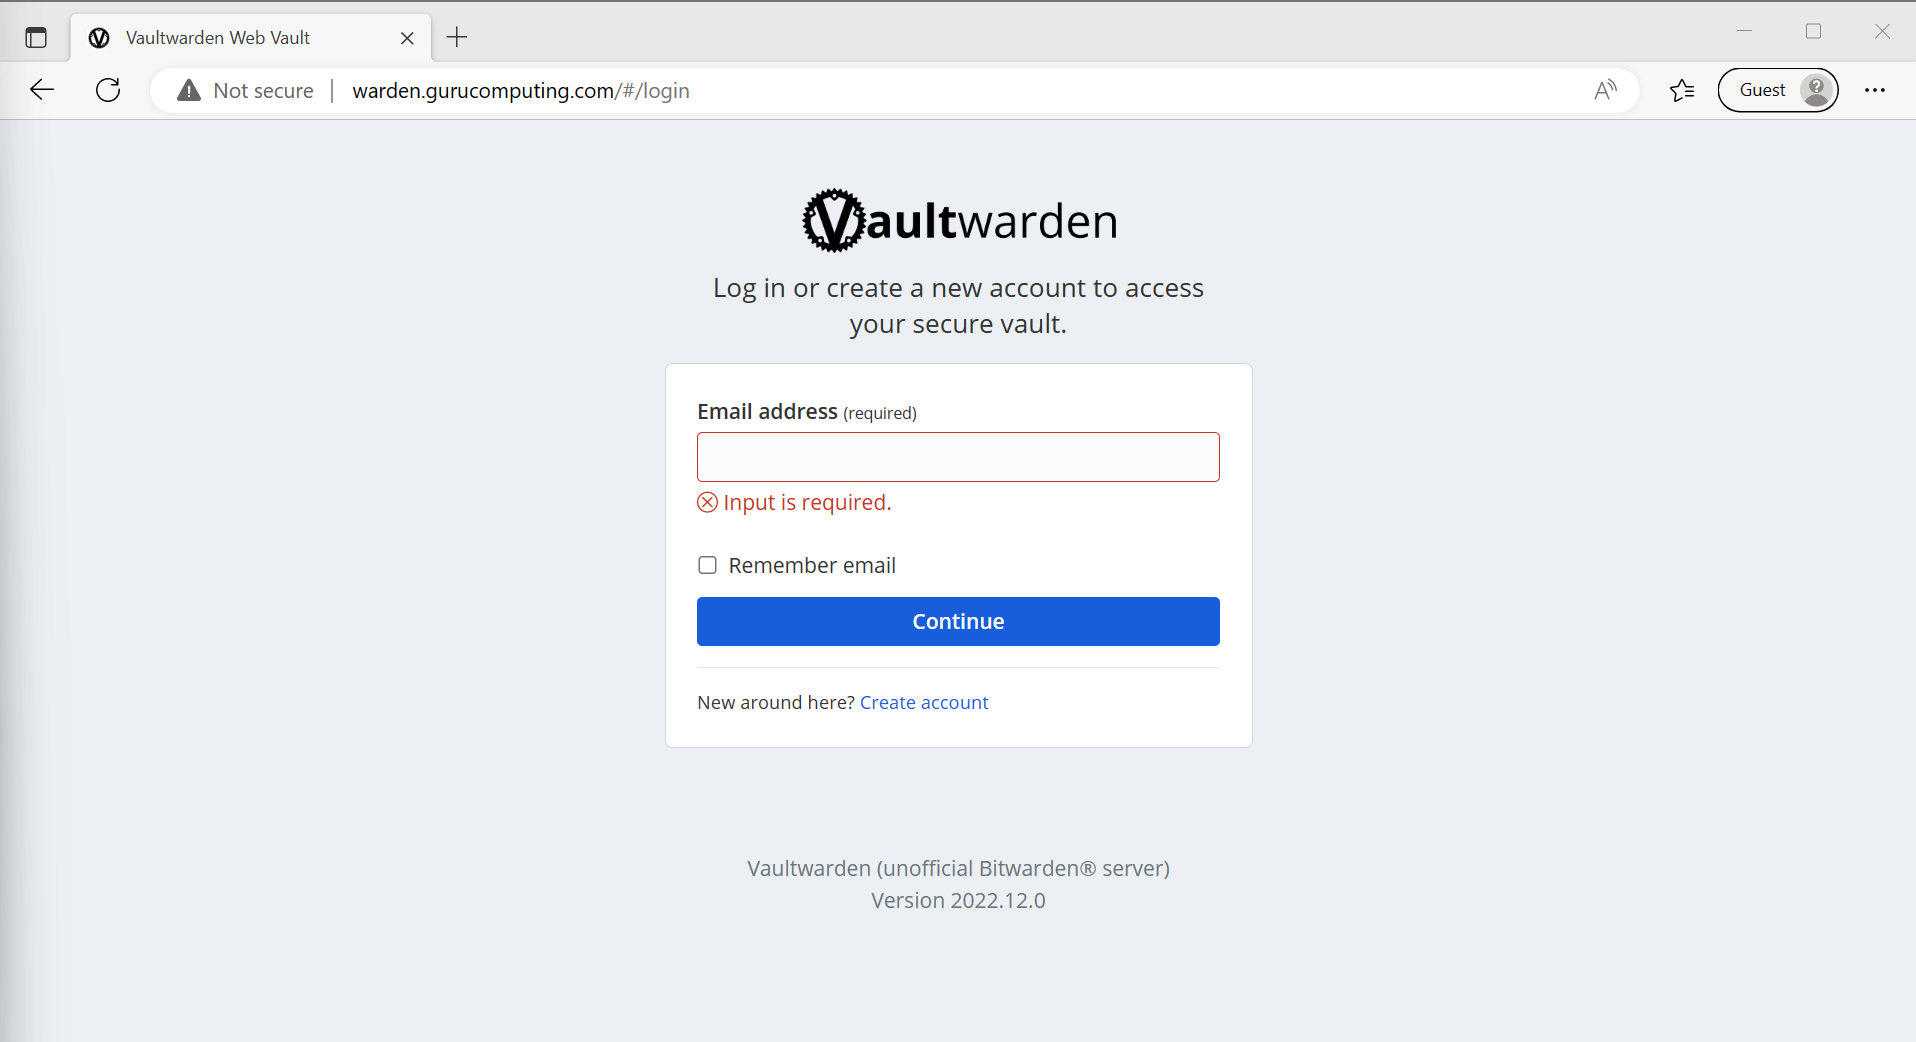
Awesome! Now how about our web service?
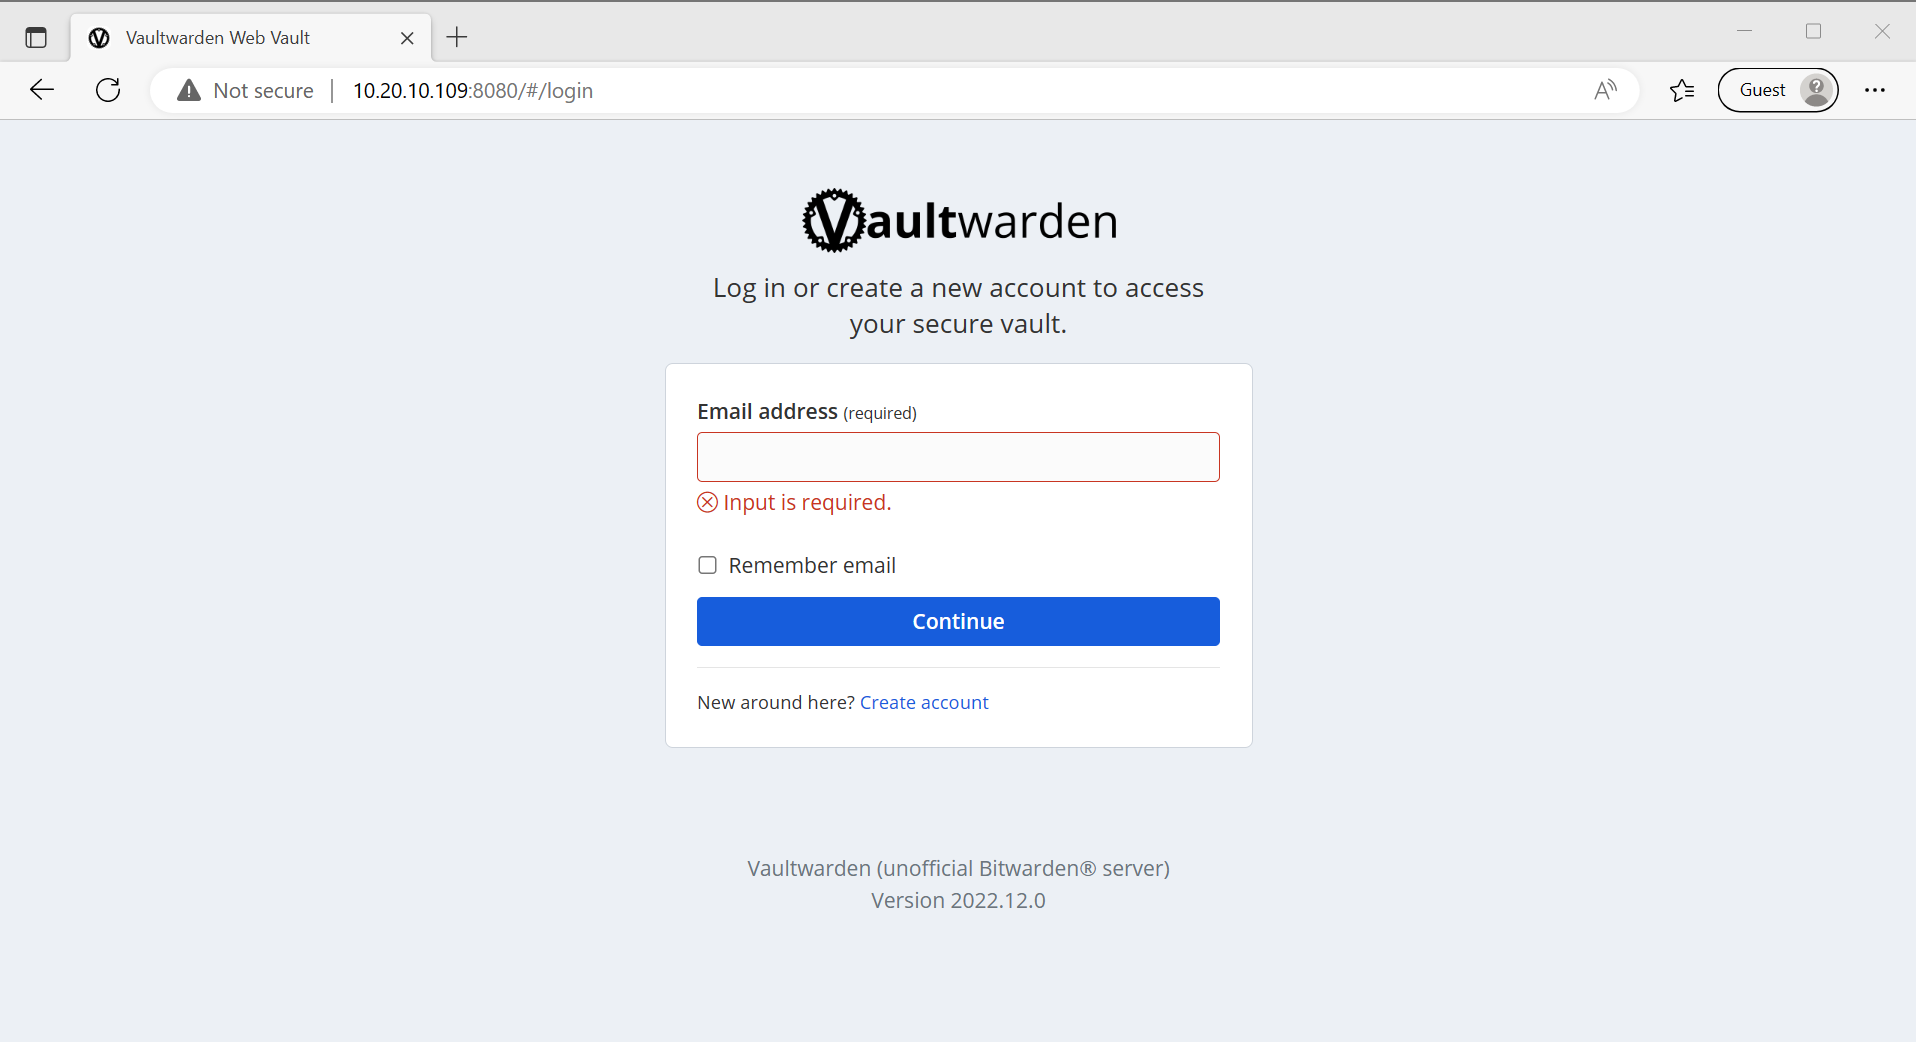
It’s working, but it’s being served on an IP and a port. Not ideal. It’s also not being served over HTTPS. Vaultwarden won’t even let you make an account without encryption (rightfully so):

Let’s fix that.
Routing by Hostname
Before we go any further, we need to stop using IP addresses and start using DNS. This allows us to leverage a reverse proxy to route based on the URL. The DNS hostname can be defined in:
- Your current computer’s host file (no)
- Your upstream router (sure)
- Your Domain/DNS provider (sure if you want to get publicly valid certificates)
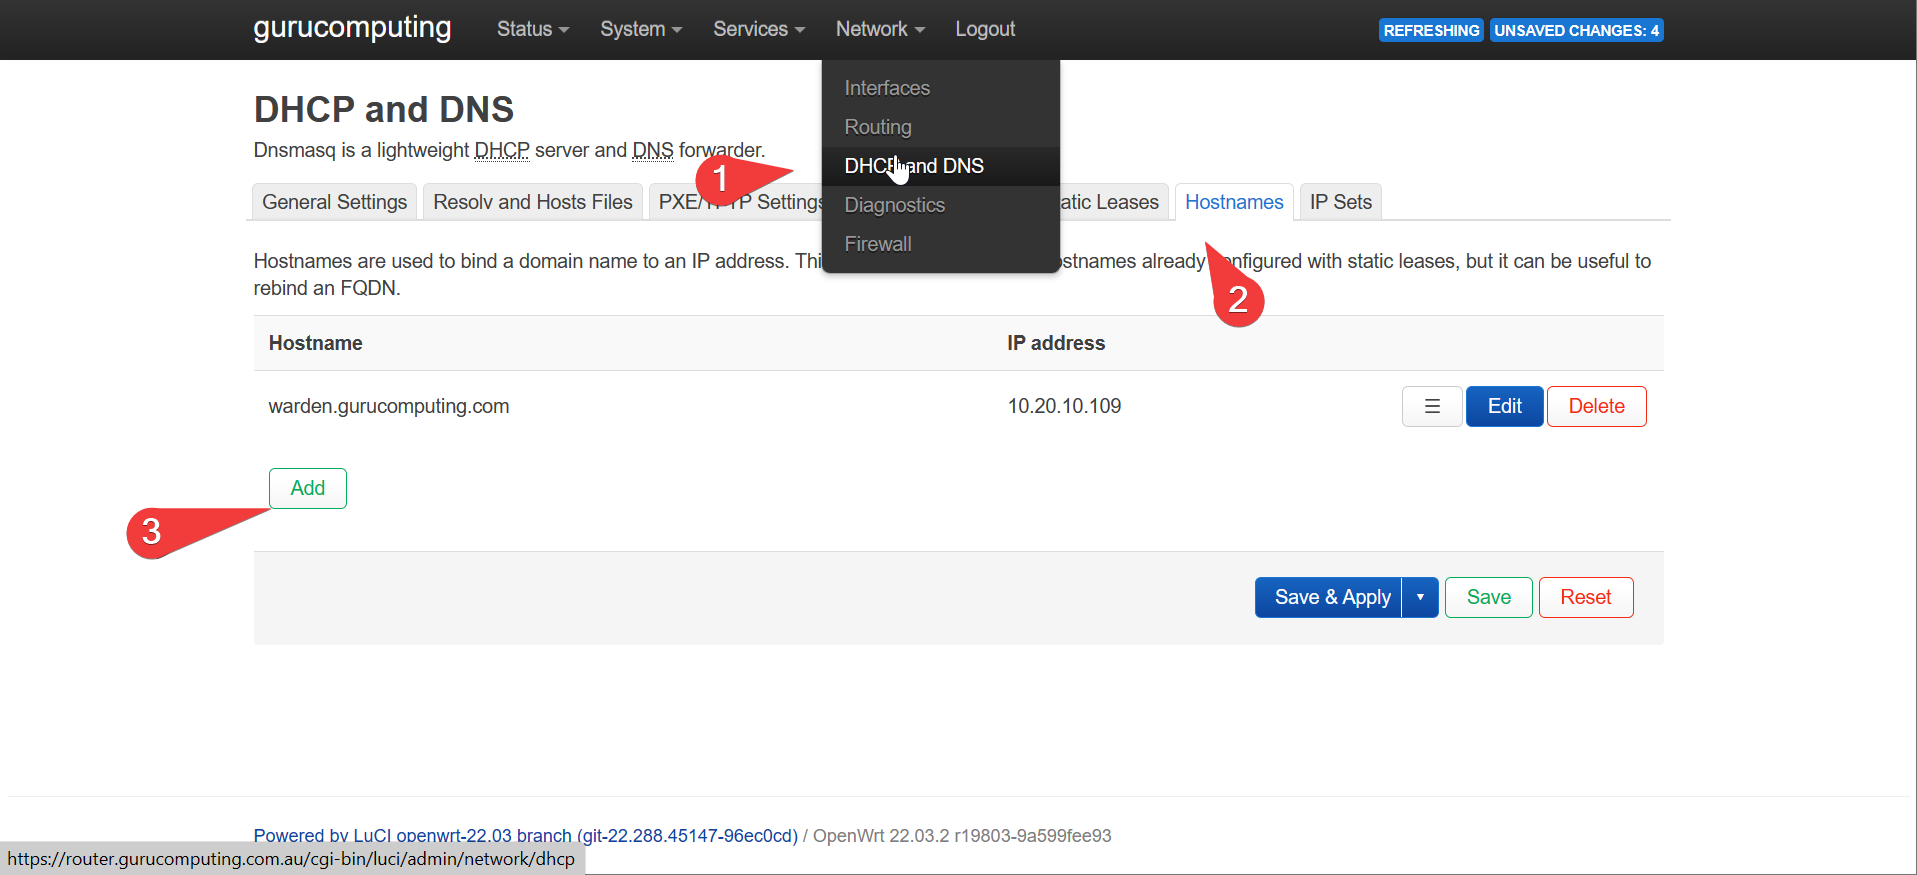
If you use OpenWRT (for example), you can do so in the latest version under hostnames.
- I am going to point my upstream router to route
warden.gurucomputing.comto my lab docker IP.
Creating a Caddy Config
Before we start up Caddy, we need to create a config. In caddy terms this uses a syntax called a Caddyfile.
Info
You can read up more on the caddyfile syntax here
Getting started is easy.
- Create a folder called
caddy, a subfolder calledcontainer-config, and a file calledCaddyfile(note the capitalization). - Paste the following config
Info
If that looks like it’s almost too simple, that’s just Caddyfiles for you. Very easy syntax

Installing Caddy
righto, let’s get the caddy service started.
- Place the following
docker-compose.yamlin acaddyfolder:
Info
We are using the latest tag here for convenience. In production, you should pin the version of caddy you are using to prevent updates potentially introducing breaking changes.
services:
  caddy:
    image: caddy:latest
    container_name: caddy
    restart: unless-stopped
    security_opt:
      - label:disable
    ports:
      - "80:80"
      - "443:443"
      - "443:443/udp"
    volumes:
      - ./container-config:/etc/caddy
      - /etc/localtime:/etc/localtime:ro
Info
If you are wondering what label:disable does, it automatically sets SELinux folder permissions for volumes on a SELinux enabled distro, like fedora or centOS
- Bring it up with
docker-compose up -d
- If all goes well, you can now access your web service (vaultwarden) on your URL!
Moving On
Alright, we’ve now managed to route a service by the URL (and potentially route many more services in the same fashion). However, we’re only halfway there. Let’s cover IP whitelisting, encryption, and leveraging docker networks in Advanced Usage of Caddy.