Designing our Workspace
TL;DR
In this article, we will:
- Set up a btrfs subvolume for our work area
- Discuss options for managing your workspace
- Set up Portainer for workspace management
Introduction
Keeping organized with docker is the name of the game. As much fun as it is to YOLO docker pulls with long, long, (long) commands, it’s hard to keep maintained. More importantly, it’s hard to keep consistent.
This is where the philosophy of Infrastructure as Code comes in. Infrastructure as Code (at its core) just means that config files describe how your environment gets built. As long as you have your data and your config files, you can just start blasting away at your servers. Sound in the knowledge that rebuilds are a few short commands away.
To this effect, we will be using docker compose to generate our configuration files.
Creating a Subvolume
If we are working with docker, we need a place to work with. We will do that now. We’re going to create a folder at /mnt/containers to hold both our configuration and our data. However, there’s a reason we chose Fedora for our operating system. You may have noticed that we chose btrfs during the installation phase. This comes into play now.
Instead of mkdir for creating a folder, we will instead create a subvolume:
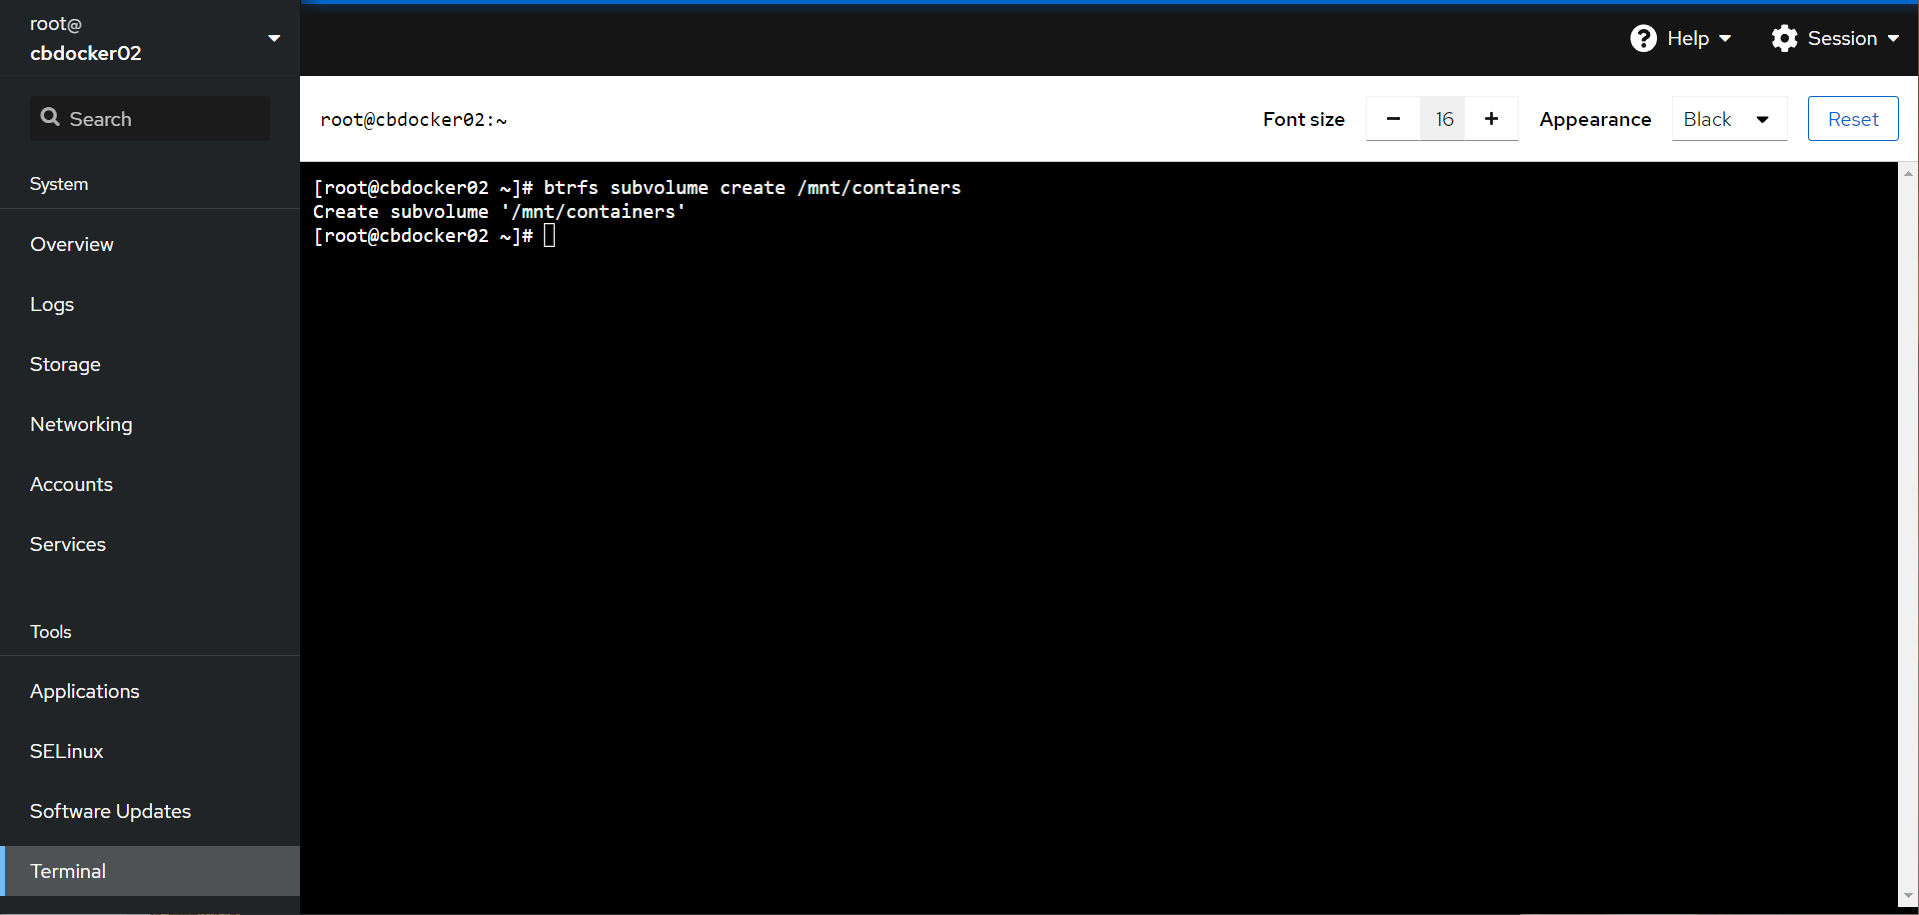
functionally this subvolume will work as a folder for all intents and purposes. It’s value comes clear later on when it comes to backups.
:::If you are looking for the advantages of btrfs on a slower moving distribution, opensuse is also a solid choice recognized by businesses worldwide. No Cockpit support yet though :(. If you are looking for the advantages of btrfs on a slower moving distribution, opensuse is also a solid choice recognized by businesses worldwide. No Cockpit support yet though :(.
:::
Managing our Workspace
Working within our docker environment can be approached many different ways: After all, it’s just config files and data. There’s a couple ways to approach this:
- Just using good ol micro and mc in the cockpit command line. This is a fully legitimate way of managing your system and it benefits from not needing any extra sites or tools for doing so. You can read up more on my side article here.
- Using Visual Studio Code. Visual studio code is a development environment from Microsoft, that you may already use. VSCode is a fantastic, next generation text editor and IDE. It’s also got some crazy powerful tools under the hood: such as being able to remote into your server over SSH and provide file management, integrated development, and even Docker Management. You can read up more on that here.
- Using code-server. Code server is a fork of Visual Studio Code designed to run in the browser. You can use it to run a hosted version of Visual Studio Code. It’s a great option for a remote IDE, but the authentication options are a bit… basic.
Basic is bad when we’re talking about admin access to all of your container infrastructure. You’ll want to protect a code-server deployment behind an IP whitelist, reverse proxy and authentication proxy. We’ll approach that later. 4. Using Portainer. Portainer is a web management interface for Docker that supports docker-compose. Out of these options, this is the most approachable, and the one we will use in this guide.
Installing Portainer
Alright, let’s get back to being hands on. Let’s create a folder for portainer, and create a special file called docker-compose.yaml. We will then paste the configuration to get portainer up and running.
Run the following:
and paste the following (with control+v):
services:
    portainer:
      image: portainer/portainer-ce:latest
      container_name: portainer
      restart: always
      privileged: true
      volumes:
        - /mnt/containers/portainer/container-data/data:/data:Z
        - /var/run/docker.sock:/var/run/docker.sock:Z
      ports:
        - 9443:9443
Info
You can quit out of micro with the control+q shortcut, and save by pressing y
You can see me do this below:
Info
You may notice that we append a :Z at the end of the volume lines. This is required in se-linux enabled distributions (like Fedora) for docker to write to the volume
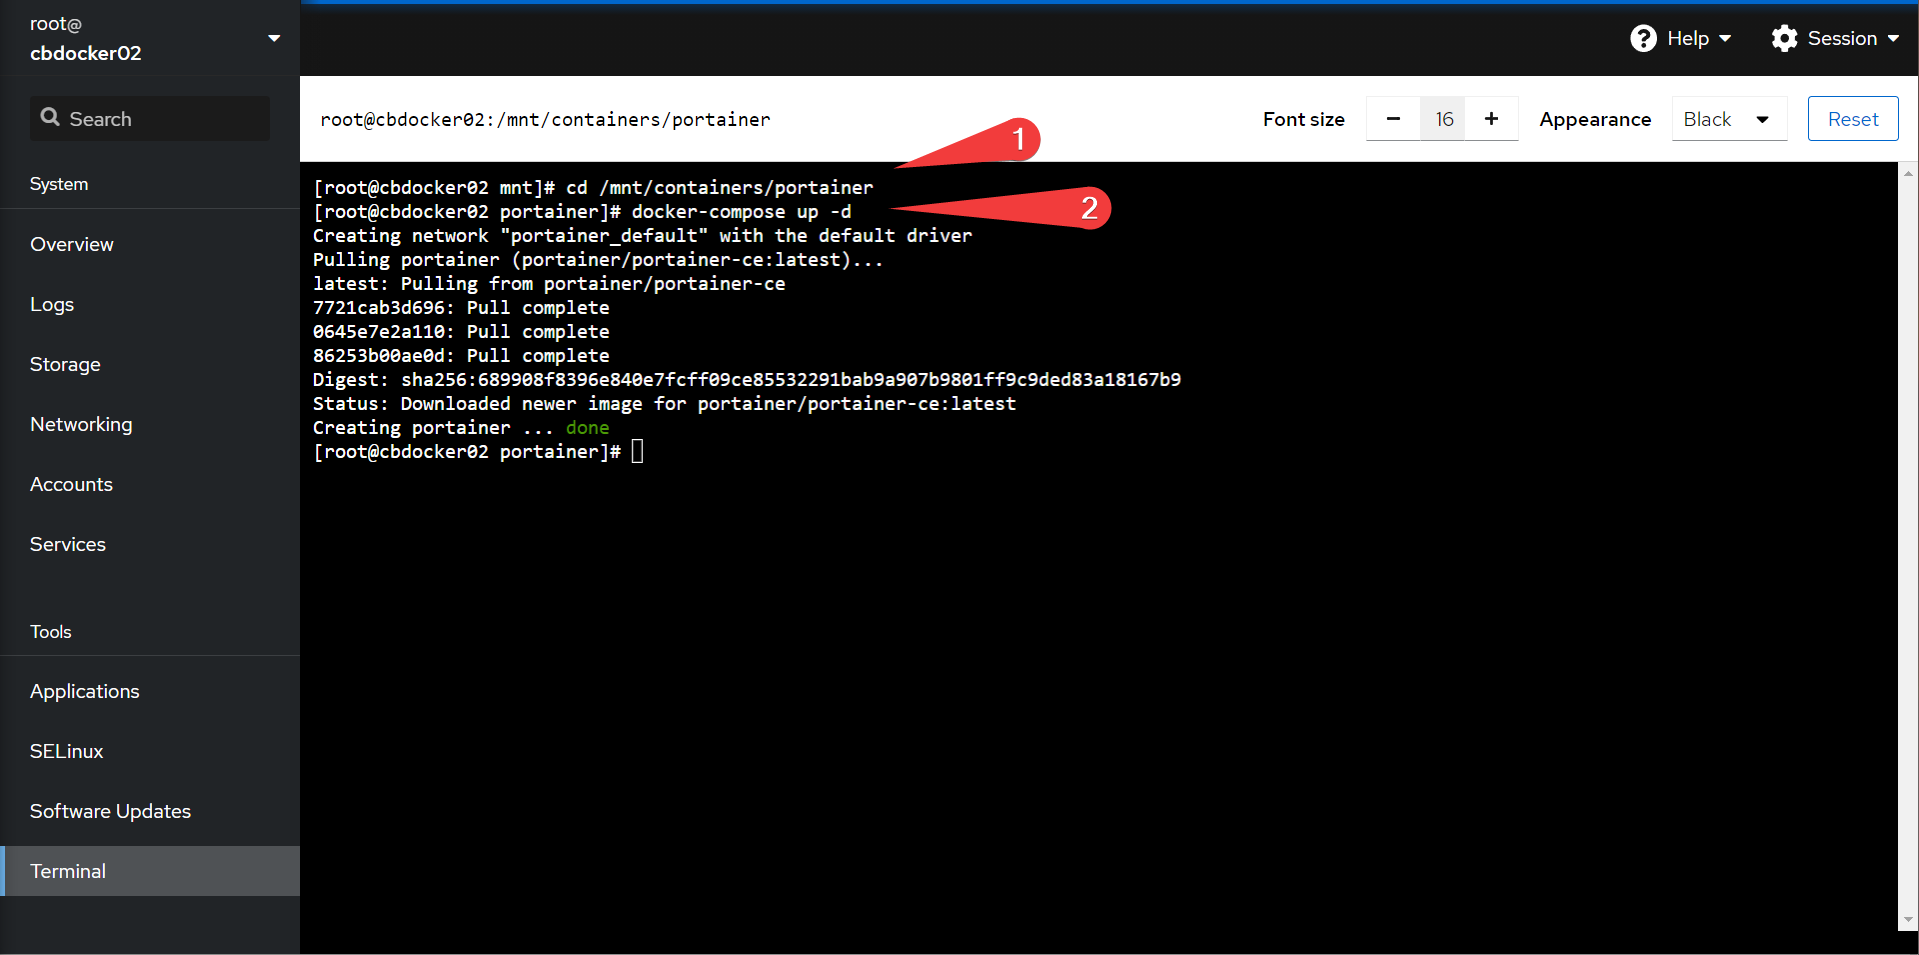
You can now bring up portainer by navigating to the folder (cd /mnt/containers/portainer) and running docker-compose up -d.
Info
the -d notation means that we execute the config file in a detached state (ie: in the background). Docker compose commands always run in the context of the folder you navigate into.
Starting Portainer
With that out of the way, we can navigate to portainer! You can do so by going to https://(your-ip):9443. You should get a prompt to set a new admin password:

Follow through with the “get started” prompt, and you should get to a new dashboard! You can even navigate to the Containers section and see your existing (and stopped) caddy container. Feel free to remove it, I do so below:
Success! We have now bootstrapped our docker environment inside Portainer, and we can now administrate our docker environment on port 9443.
Deciphering the Docker Compose File
To do all this, we had to set up a docker compose file. Let’s go through what each directive in the file did:
Info
We are not going to go into the whole docker-compose language. This section is just to provide a brief intro into docker compose. There is lots of documentation on how docker-compose works online, including the linked official documentation.
- directed docker to pull the
portainer-ceimage from dockerhub registry, by theportainermaintainers. thelatesttag says to pull the latest version dynamically (you can also specify a specific version). You can also specify a different registry altogether by adding a domain (likequay.io/<maintainer>/<image>).
- Direct docker to name the container as
portainer(so we can identify it)
- Always restart the container on boot
- For portainer to be able to access the docker socket (and essentially have admin rights over your docker environment) we direct the container to run in a privileged context
volumes:
  - /mnt/containers/portainer/container-data/data:/data:Z
  - /var/run/docker.sock:/var/run/docker.sock:Z
- Tells Docker that we are mapping a container folder to a host folder (also known as a bind mount). We are putting the portainer data in
/mnt/containers/portainer/container-data/data, and we are exposing the computer’sdocker.sockAPI to portainer for management. The:Zlabel at the end indicates to docker that we are using a SE-Linux based distribution, and docker needs to take additional steps to allow access to the folder.
Info
You can place your bind mounts wherever you like: however, I use the convention <container service>/container-data/<folder or folders containing data>, with relevant environment or compose files in the <container service> directory.
- What ports we want to expose from the host to the container. We can also map to a different host port by changing the number to the left of the column.
Moving On
Alright, we now have management interface for our docker environment so we can see what we are doing. We also have dipped our toes into deploying docker-compose based containers, starting with our portainer container!
As mentioned before, portainer isn’t strictly necessary for docker management. We can perform everything we are about to do in portainer simply by continuing to use the command line (or VSCode). However, portainer does provide excellent at-a-glance functionality: it’s very easy to see what’s happening and how our changes affect our docker environment.
Let’s get started now by creating a stack inside portainer.