Using Remote VSCode
Introduction
Especially when starting the transition from windows to linux, it’s hard to navigate the command line. Even something as simple as “uploading or downloading files” becomes cumbersome when you’re trying to do it using sftp on the command line. Using vim to edit a document? Forget about it.
In this situation, Visual Studio Code is our savior. VSCode provides a file navigation tree, drag and drop uploading, downloading, a built in command line (for when you need to get nitty gritty), and best of all: a world class text editor. Given how often you are editing text on linux, that’s great!
This article will go into how to perform a key exchange with a linux machine running cockpit, and then connecting your vscode installation.
TL;DR
In this short guide, we will:
- Generate a keypair on our windows machine
- Perform a key exchange with the root account (or account of your choice) using cockpit’s account section
- Install Visual Studio Code and use their Remote extension to open our remote host.
- Create a test directory and create a html file
Pre-Requisites
- Visual Studio code, downloaded and installed
- A Windows 10 Machine
- A remote server running cockpit
Key Exchanges
Key exchanges can be tricky for beginners. A key exchange is essentially two encoded files: one private (you keep) and one public (you give to another person). That other person can use that public key to verify your identity, when you try to talk using your private key. In fact, your private key is decrypting your conversation, so they can’t read your information without the other key.
We do all this work because it’s more secure than using a password or passphrase. By having a secure file instead of a password, we can automate the connection process!
Generating a Key in Windows
These days generating a key in windows is actually quite trivial. It’s built in! Open a command prompt (type cmd in the start menu) and type “ssh-keygen”. Hit enter about 3 times and you’re done! You can see me do this below:
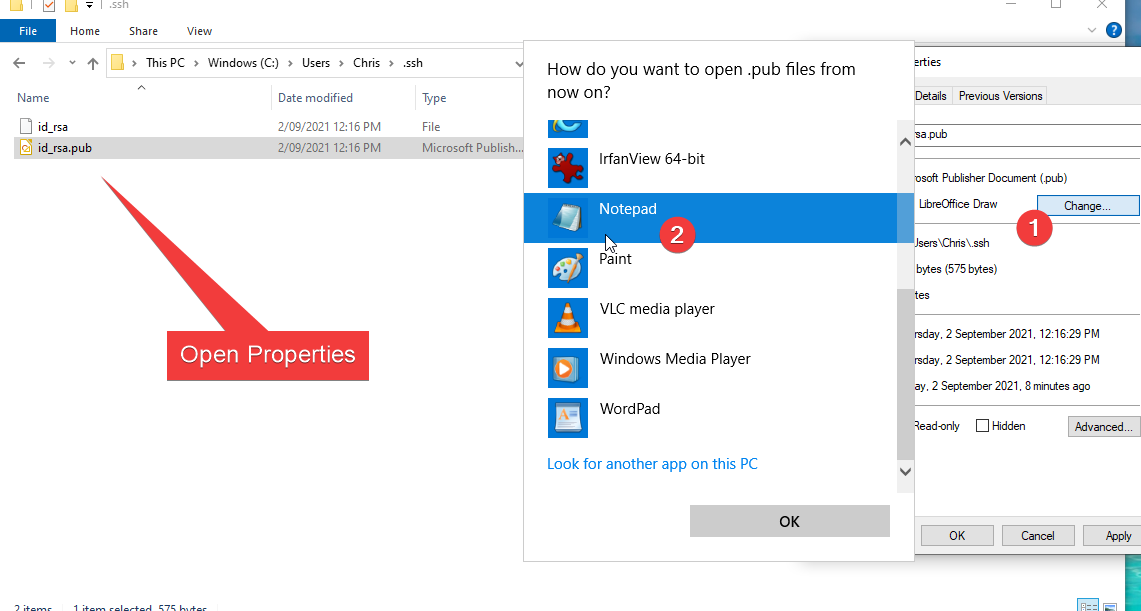
This creates two files under C:\users\<your user>.ssh: id_rsa and id_rsa.pub. They’re actually just text files with a big long encoded string. id_rsa (the one without the extension) is your private key. Vscode will look there by default, so you can just leave that alone. That’s essentially your password, so it’s worth copying that into a password manager or a secure location.
the id_rsa.pub file is the string we need to copy to the machine we want to remotely manage. By default, it will open with publisher (ugh) so we need to change the file to open to notepad:
Placing the Key on the remote host
If you’re following my guide, you are remotely managing using cockpit. In cockpit, under Accounts, choose the user you want to log in as (my guide’s just sticking to the root user. In a production setup, you’d be using a regular user with the right permissions assigned via sudo).
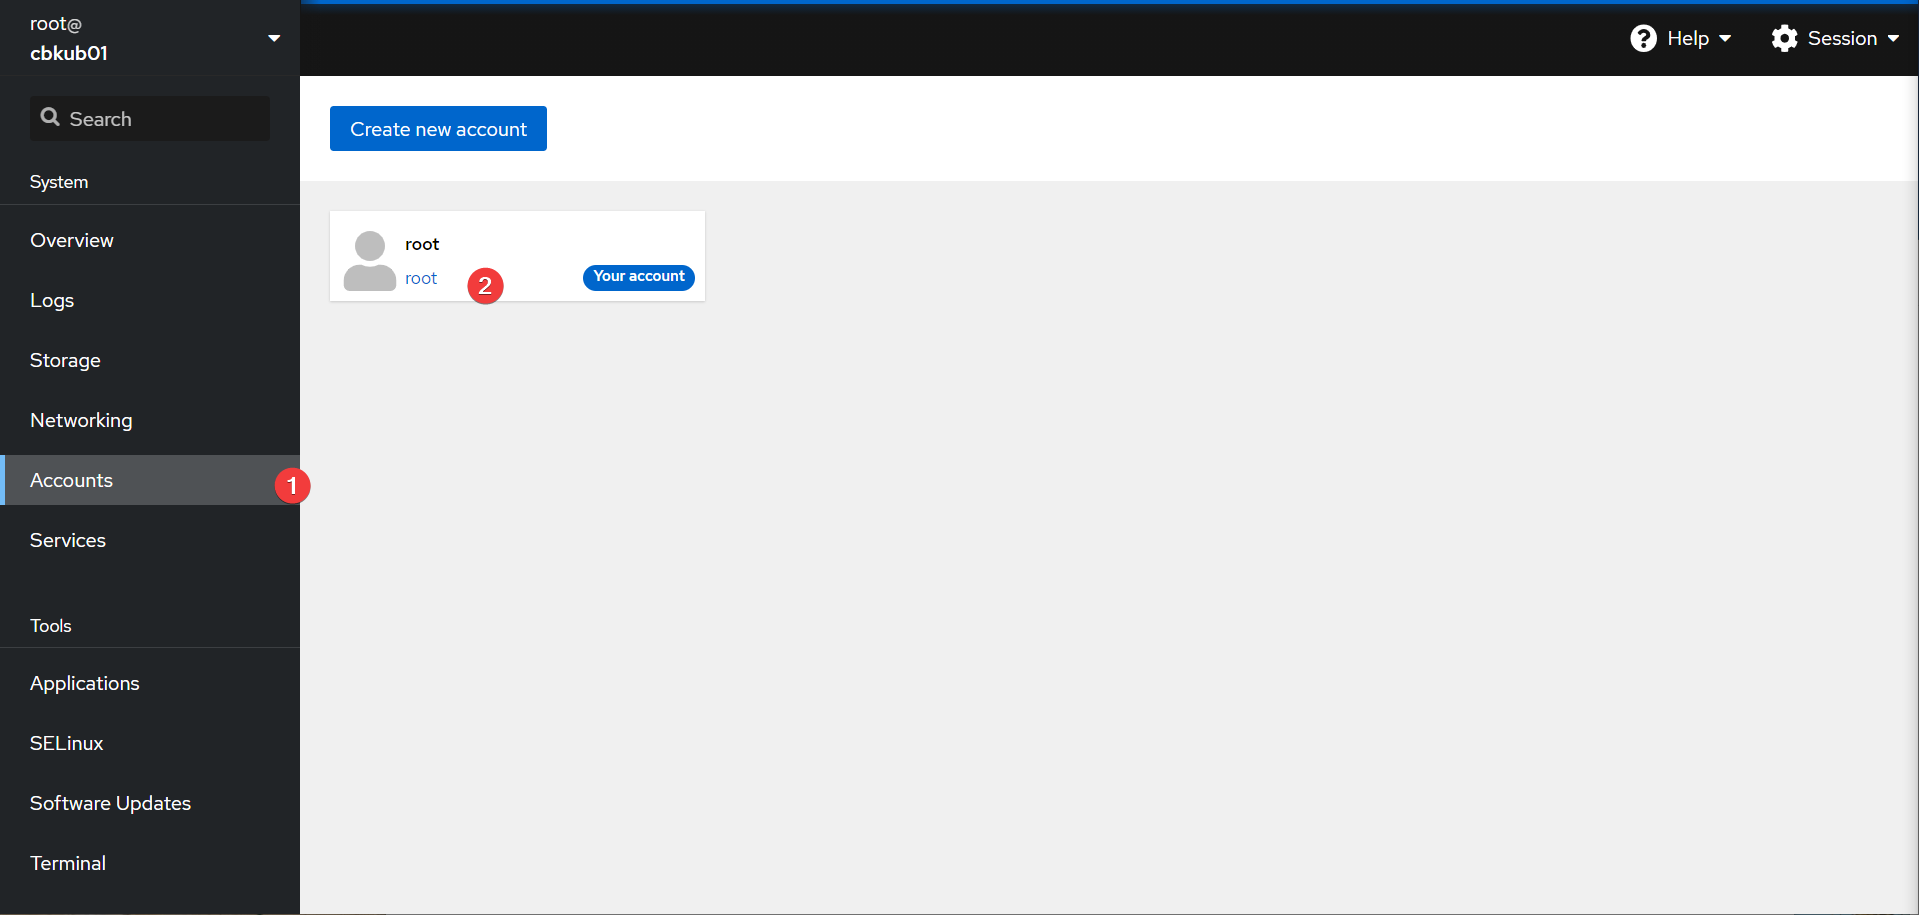
Inside the account, you have an option to add key. copy the id_rsa.pub file and paste it into the add key section. Press ok. You’re done! You can see me do this below:
Using VSCode to Remotely Connect
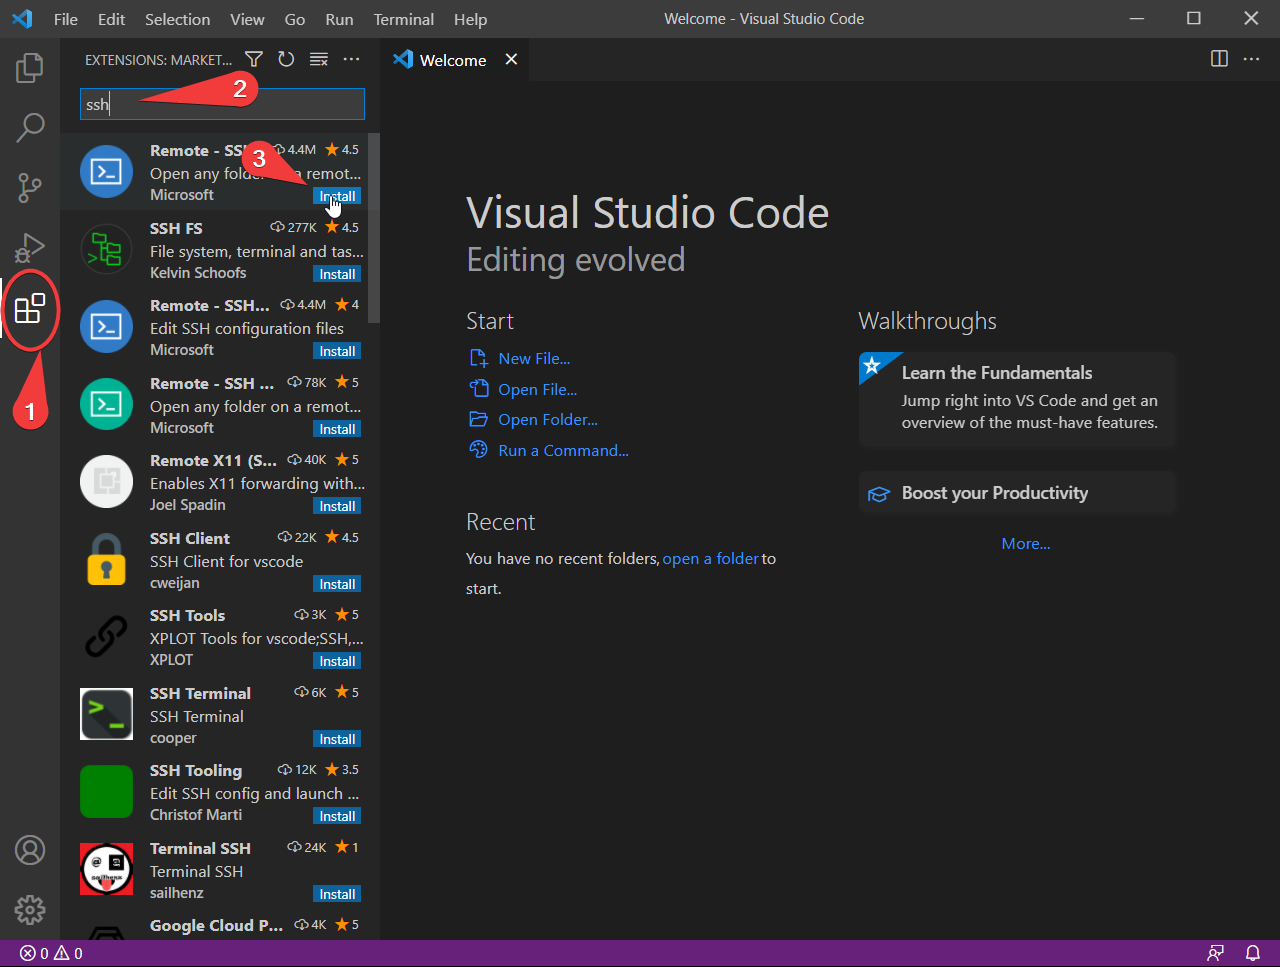
Open up VSCode. On the side bar, choose the extensions section. Search for ssh and install microsoft’s remote ssh extension:
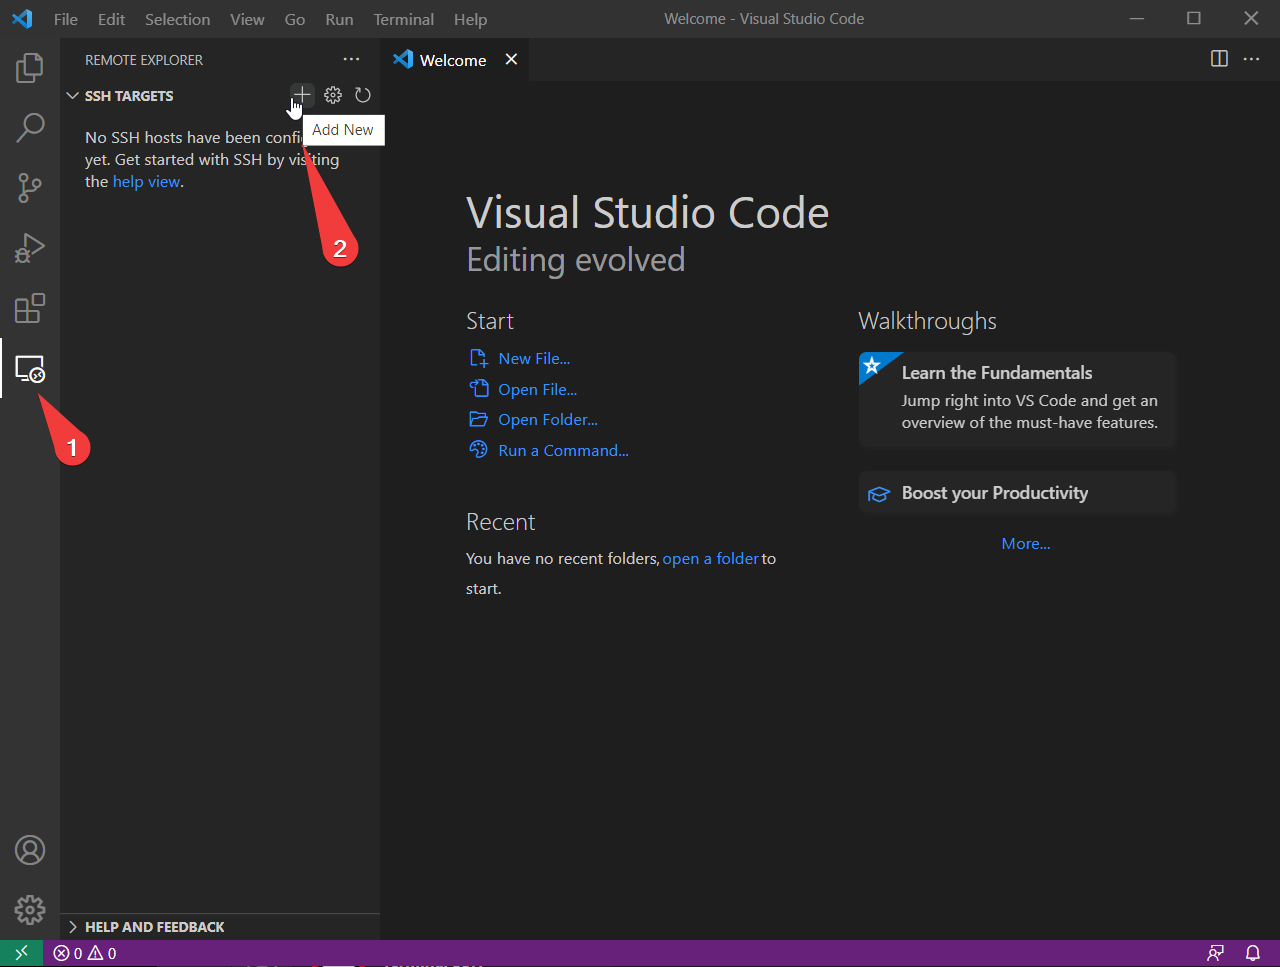
You should get a new icon on the sidebar called remote explorer. Press remote explorer, and hover on the SSH Targets title. You should get a plus sign:
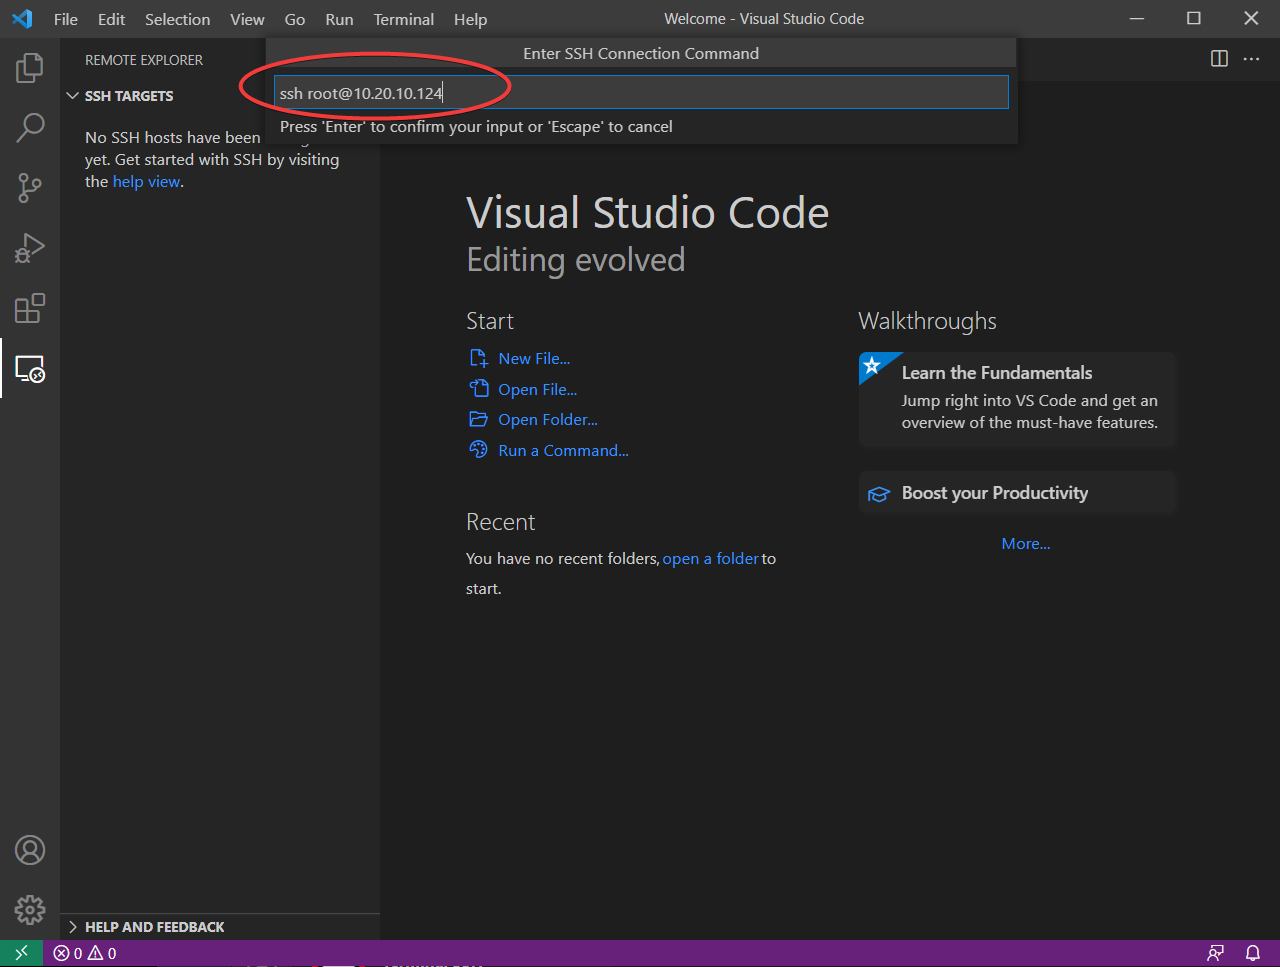
A dialogue box should come up. Type in ssh root@<your remote target IP>. If you aren’t using root, substitute your user’s name. Once done, you should get a host added! dialogue
Info
This part has assumed that SSH (port 22) is open and ready on the target. This is true by default on Fedora 34. Even if you haven’t allowed root to connect via password, this key exchange allows you to connect as root anyway.
Right click your new ssh target entry and connect to host in current window.
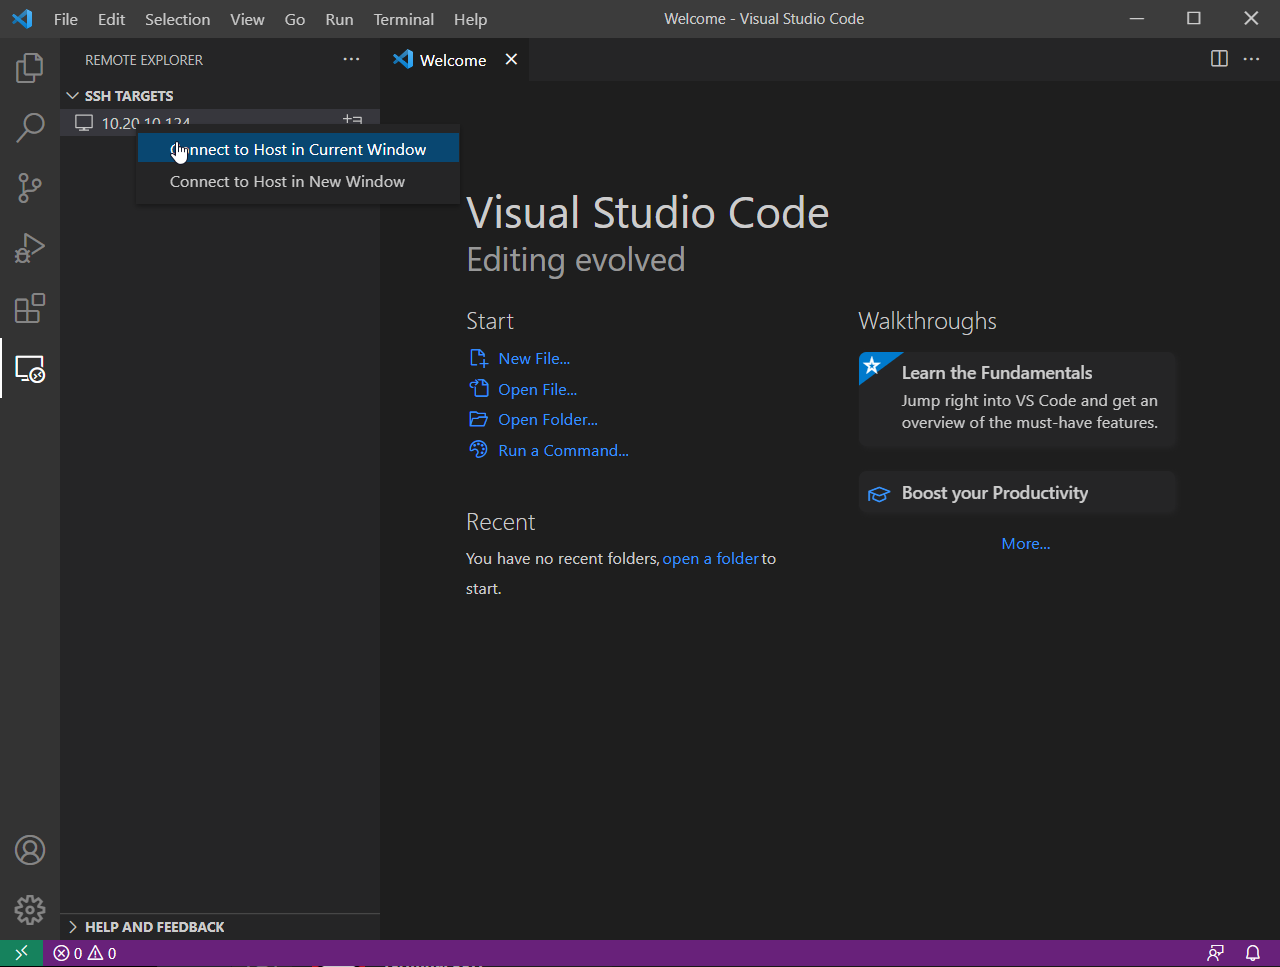
The first time you connect you will be asked what platform the remote target is (it’s Linux). You may also be asked to trust a thumbprint.
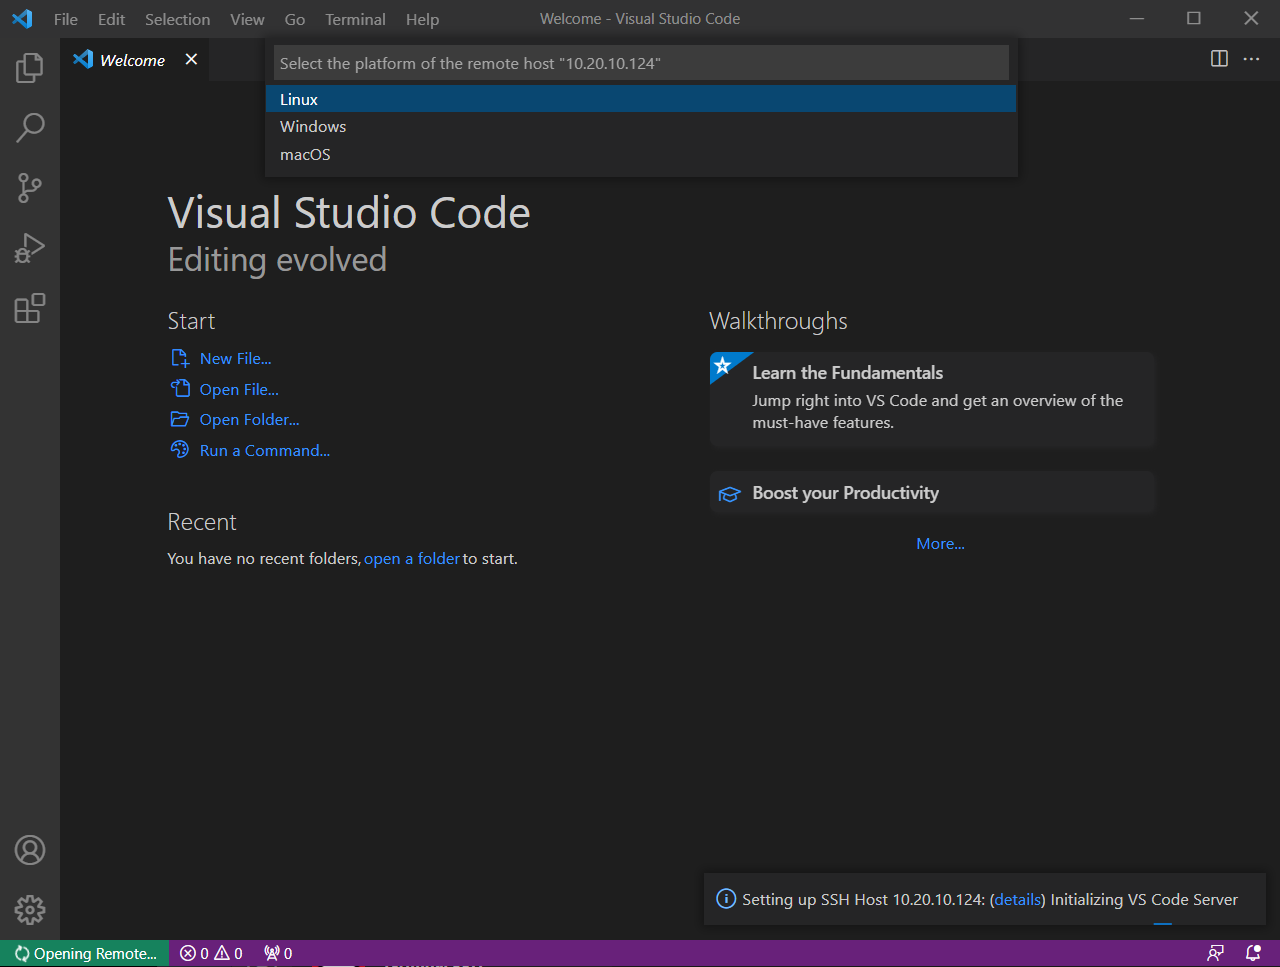
If all goes well you connected! You can now open up a folder. You can see me do this with the root directory (essentially allowing us to navigate the entire computer.

Info
When opening up a large set of folders (like the root directory) VSCode automatically stops monitoring live changes (for performance reasons). You can manually refresh the directory with the “refresh” icon that pops up when you hover over the “SSH:
Navigating the Filesystem
Since we opened up the root directory, we have access to the entire machine. We can edit files, upload files via drag and drop, and download files by right clicking→download. Fantastic! We can tell VSCode to open a subfolder instead, so we can focus on a project directory (for example, /mnt/containers). If the list of files in the directory is under a certain size, VSCode will also monitor for live changes.
Info
VSCode does install a small binary inside your remote user’s home directory to provide its functionality. Make sure that if you plan to use VSCode on a work server, that you have permission to run code on that server.
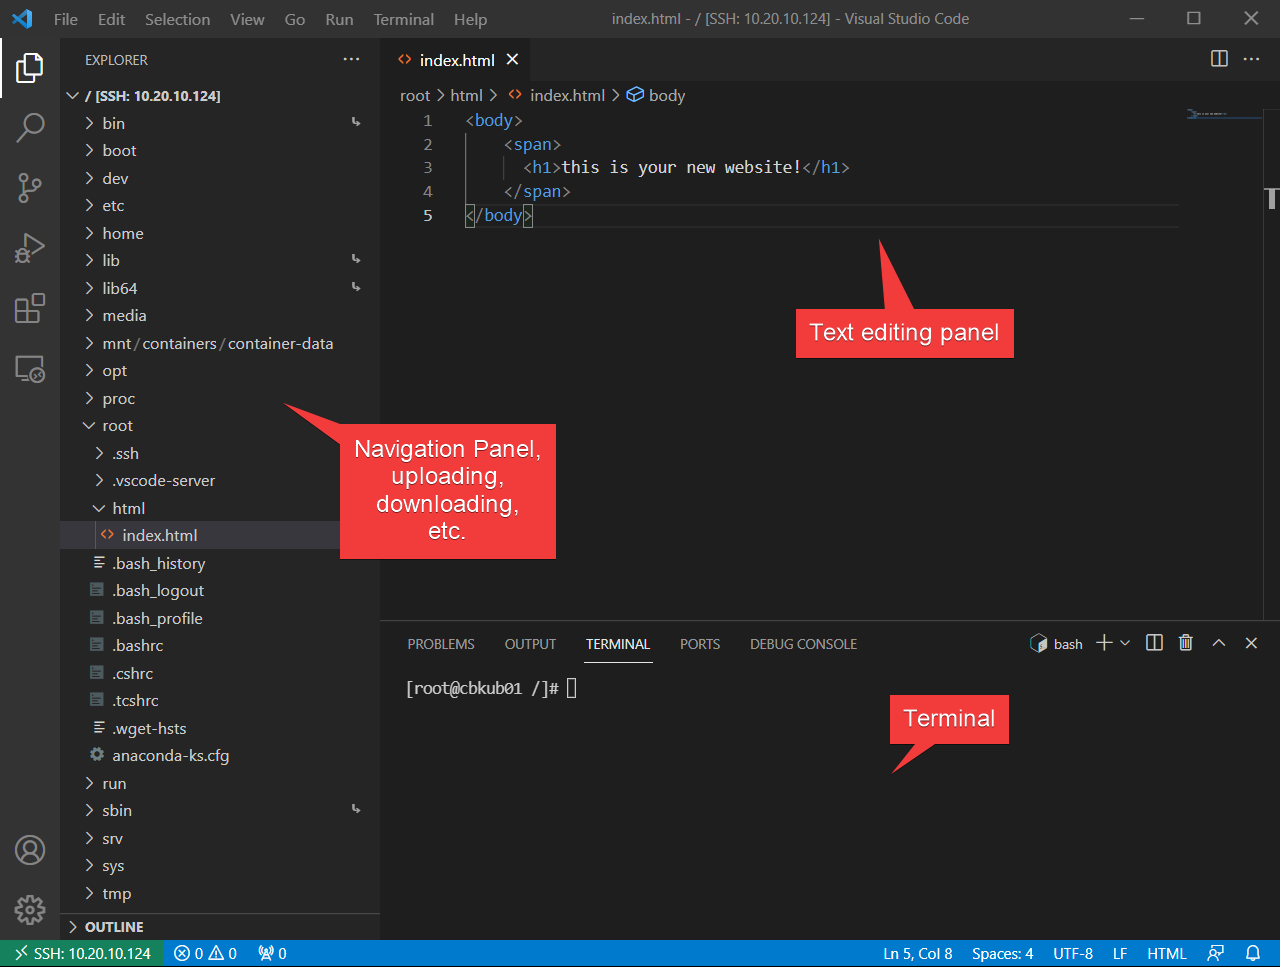
Opening a Terminal
Part of what makes VSCode great is the built in command line. Go to terminal→new terminal:
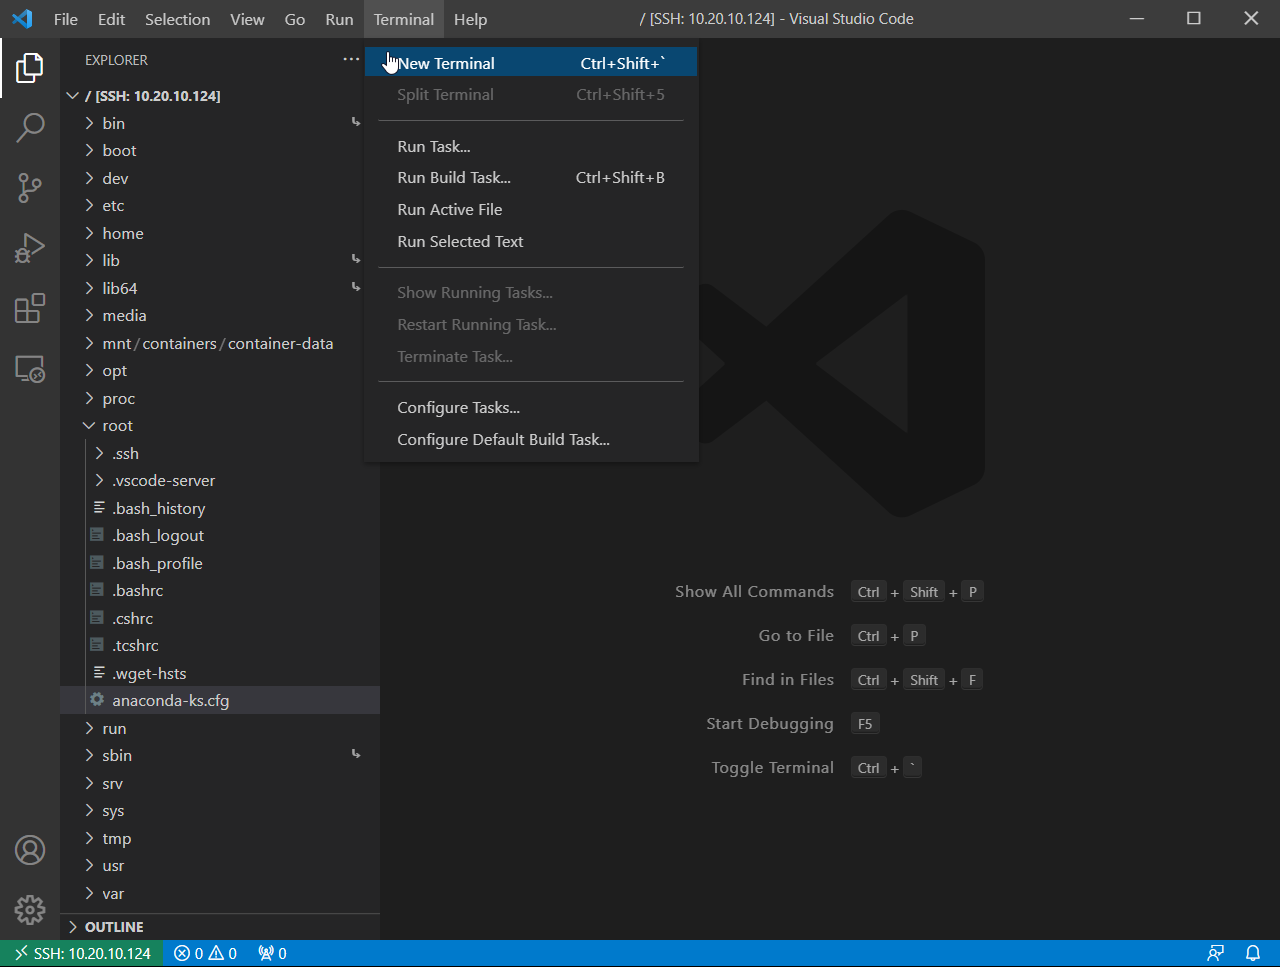
This will open a full ssh command line, same as you can do in cockpit. You can now also create and edit files as if you were using VSCode natively. Let’s create a new folder, and paste our “hello world” html page in it:
You can see me do this in the /root directory below:
Conclusion
And with that, you now have the tools to make your life in linux so much easier to navigate. No more trying to work out how the heck vim operates, or getting lost in the directory structure, or figuring out why your YAML doesn’t get parsed. VSCode will do all this for you.