Configuring the Headscale UI
Introduction
That’s right, headscale has a UI. I made it! Let’s get it installed.
TL;DR
In this section of the guide we will:
- Install the UI
- Enroll a windows client
- Test if the windows client can access internal resources
Configuring Caddy
The big stumbling block people walk into when installing the UI is that browsers hate lazy web setups for web applications. They don’t like plain HTTP, they don’t like IP addresses for domains, they don’t like services talking to eachother on different ports. Given that the UI uses your browser to do the heavy lifting, that’s problematic.
The fix is that the UI has to be served on the same domain. hs.gurucomputing.com in my lab’s circumstance. But how do we do that with two separate servers? Reverse proxy! We will tell caddy to serve a completely different service on the /web subpath of our site.
- Configure Caddy with the following
Caddyfile(replacing your domain). Restart caddy withcd /mnt/containers/caddy && docker compose restart
https://hs.yourdomain.com.au {
    reverse_proxy /web* https://headscale-ui {
        transport http {
            tls_insecure_skip_verify
        }
    }

    reverse_proxy * http://headscale:8080
}
Info
If this looks suspiciously like the recommended caddyfile on the UI site, that’s because it is

- Modify your
headscaledocker-compose.yamlto include the UI container
services:
  headscale:
    container_name: headscale
    image: headscale/headscale:latest-alpine
    restart: unless-stopped
    # ports:
      # - 8080:8080
    volumes:
      - ./container-config:/etc/headscale
      - ./container-data:/var/lib/headscale
    entrypoint: headscale serve
    networks:
      reverseproxy-nw:

  headscale-ui:
    container_name: headscale-ui
    image: ghcr.io/gurucomputing/headscale-ui:latest
    restart: unless-stopped
    networks:
      reverseproxy-nw:

networks:
  reverseproxy-nw:
    external: true
Info
headscale-ui is completely client side, so no volume mounts are required
- Bring up with:
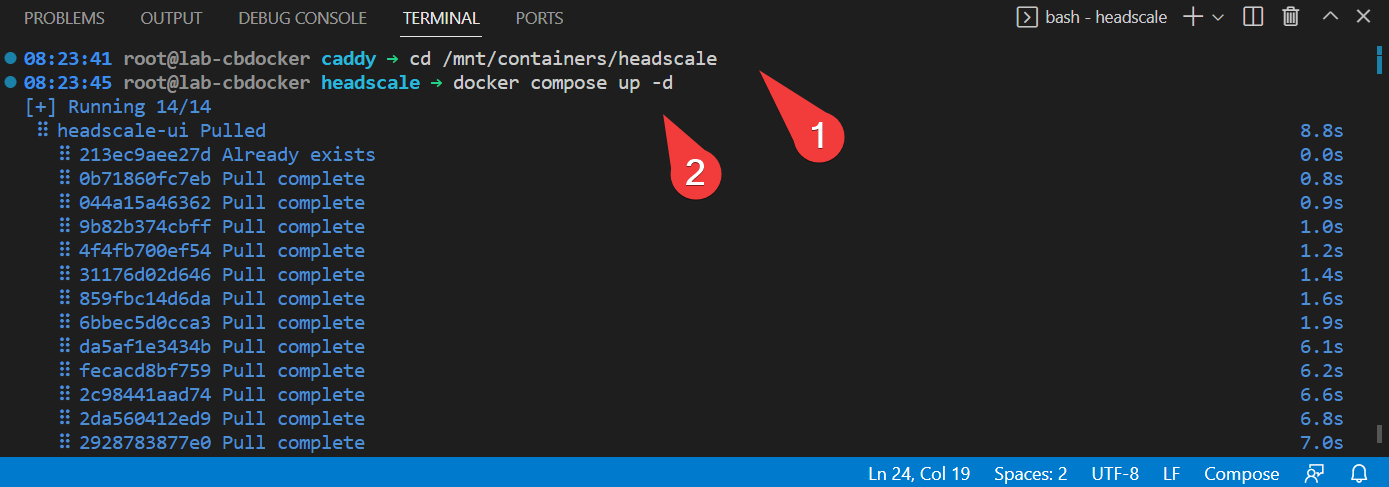
- Test if you now have a ui at
<your-domain>/web
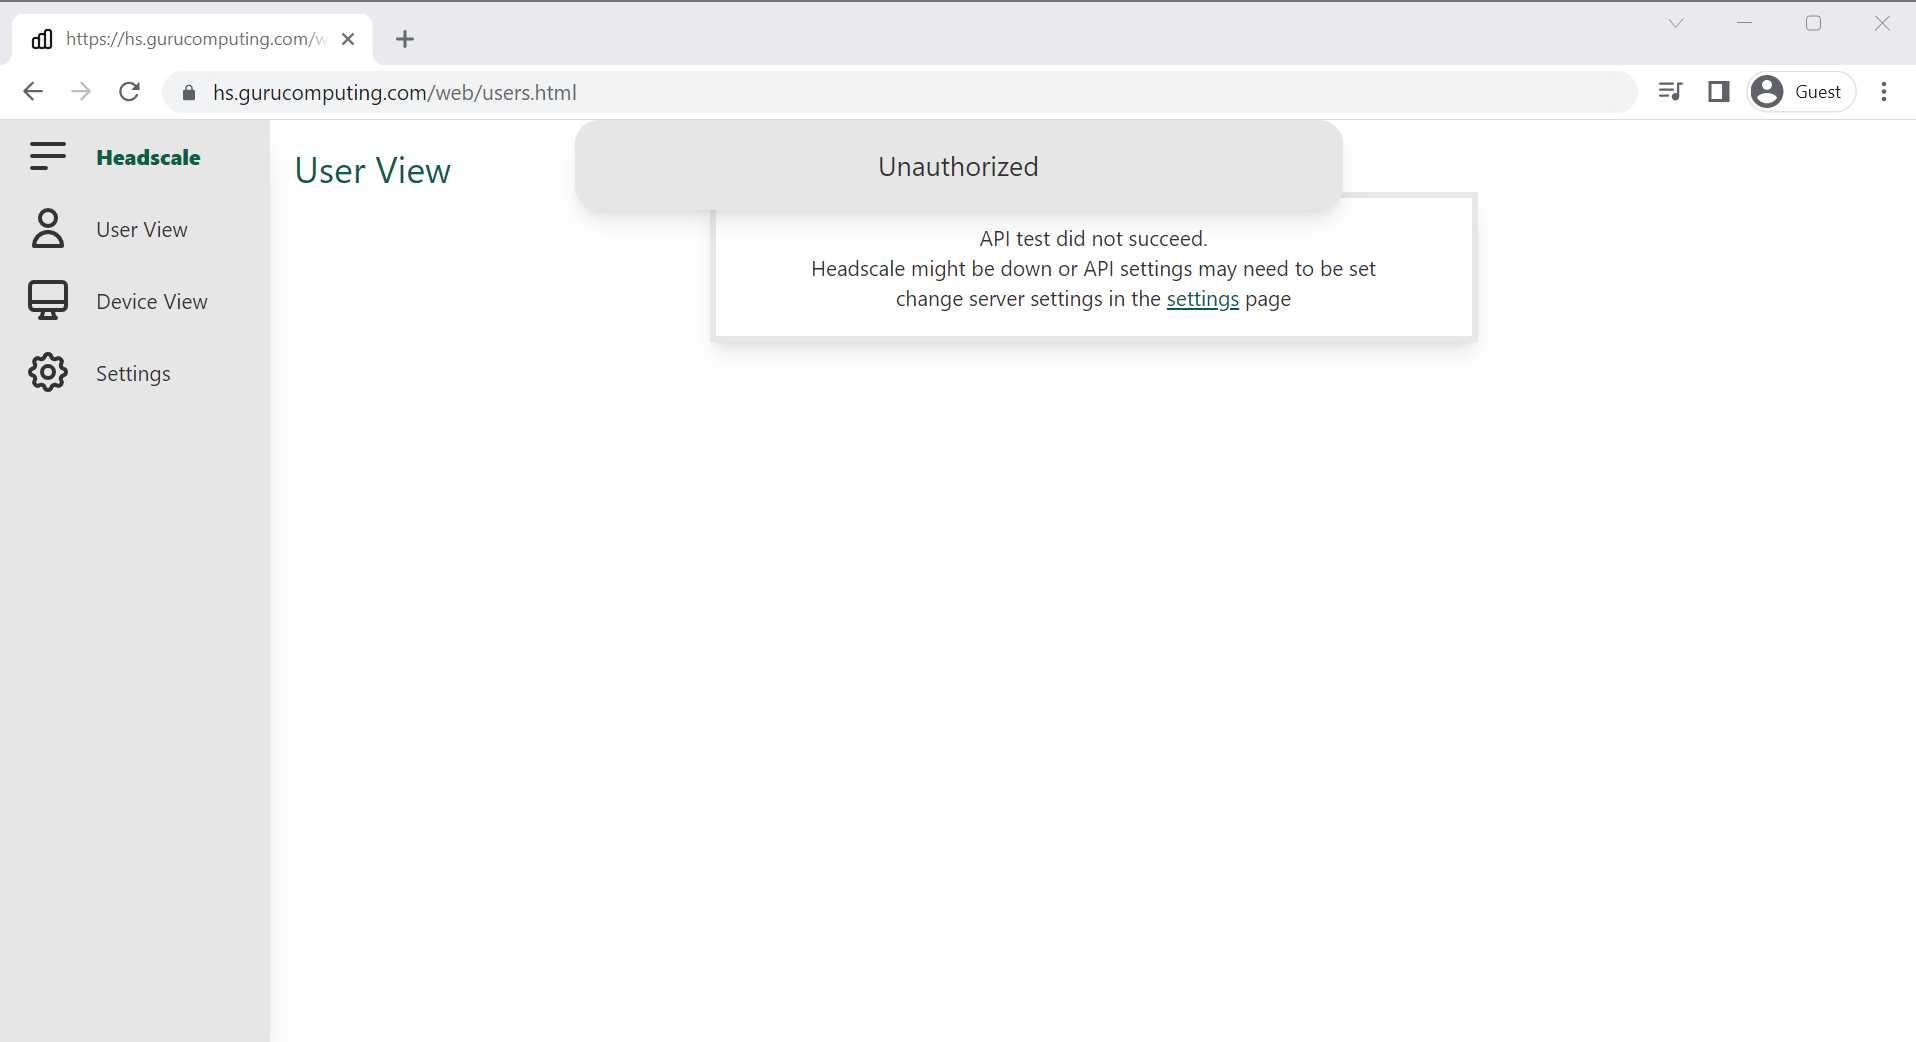
Success! well sort of. again
Adding the API Key
For the UI to talk to our headscale instance, we need to generate an API key and put it in the UI.
- Back on the docker host, generate an API key (don’t share it, this demo key is wiped)
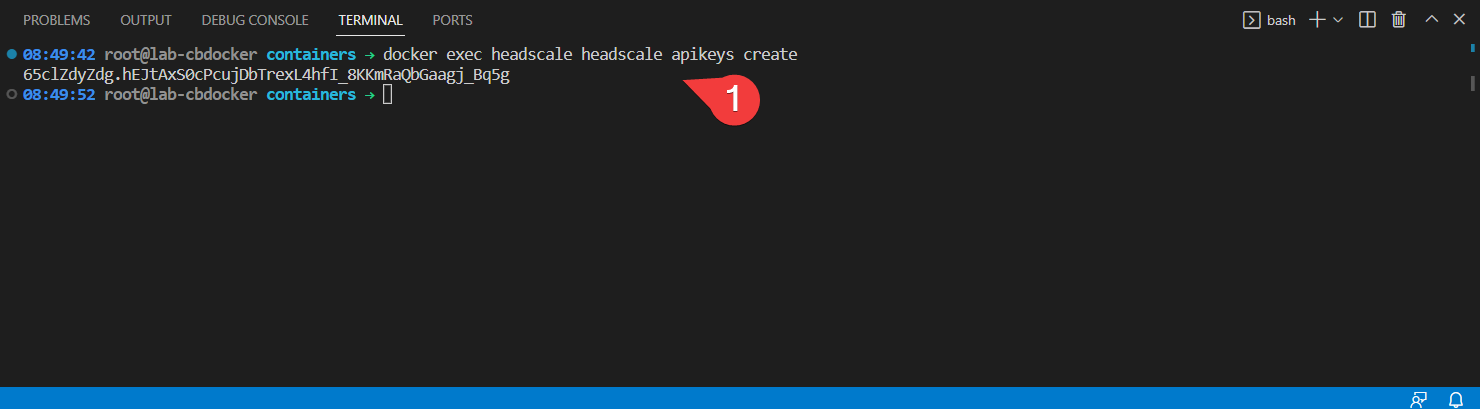
- Paste it into the settings section of headscale UI
Info
Headscale-UI saves all sensitive settings locally to the browser. There are better alternatives, but this is the “best” option when relying on client side only authentication. You don’t have to fill out the website URL if it is on the same domain.
Success! Now you can manage your users and devices much more easily.
Add a Windows Client
Adding a Windows client requires a reg entry.
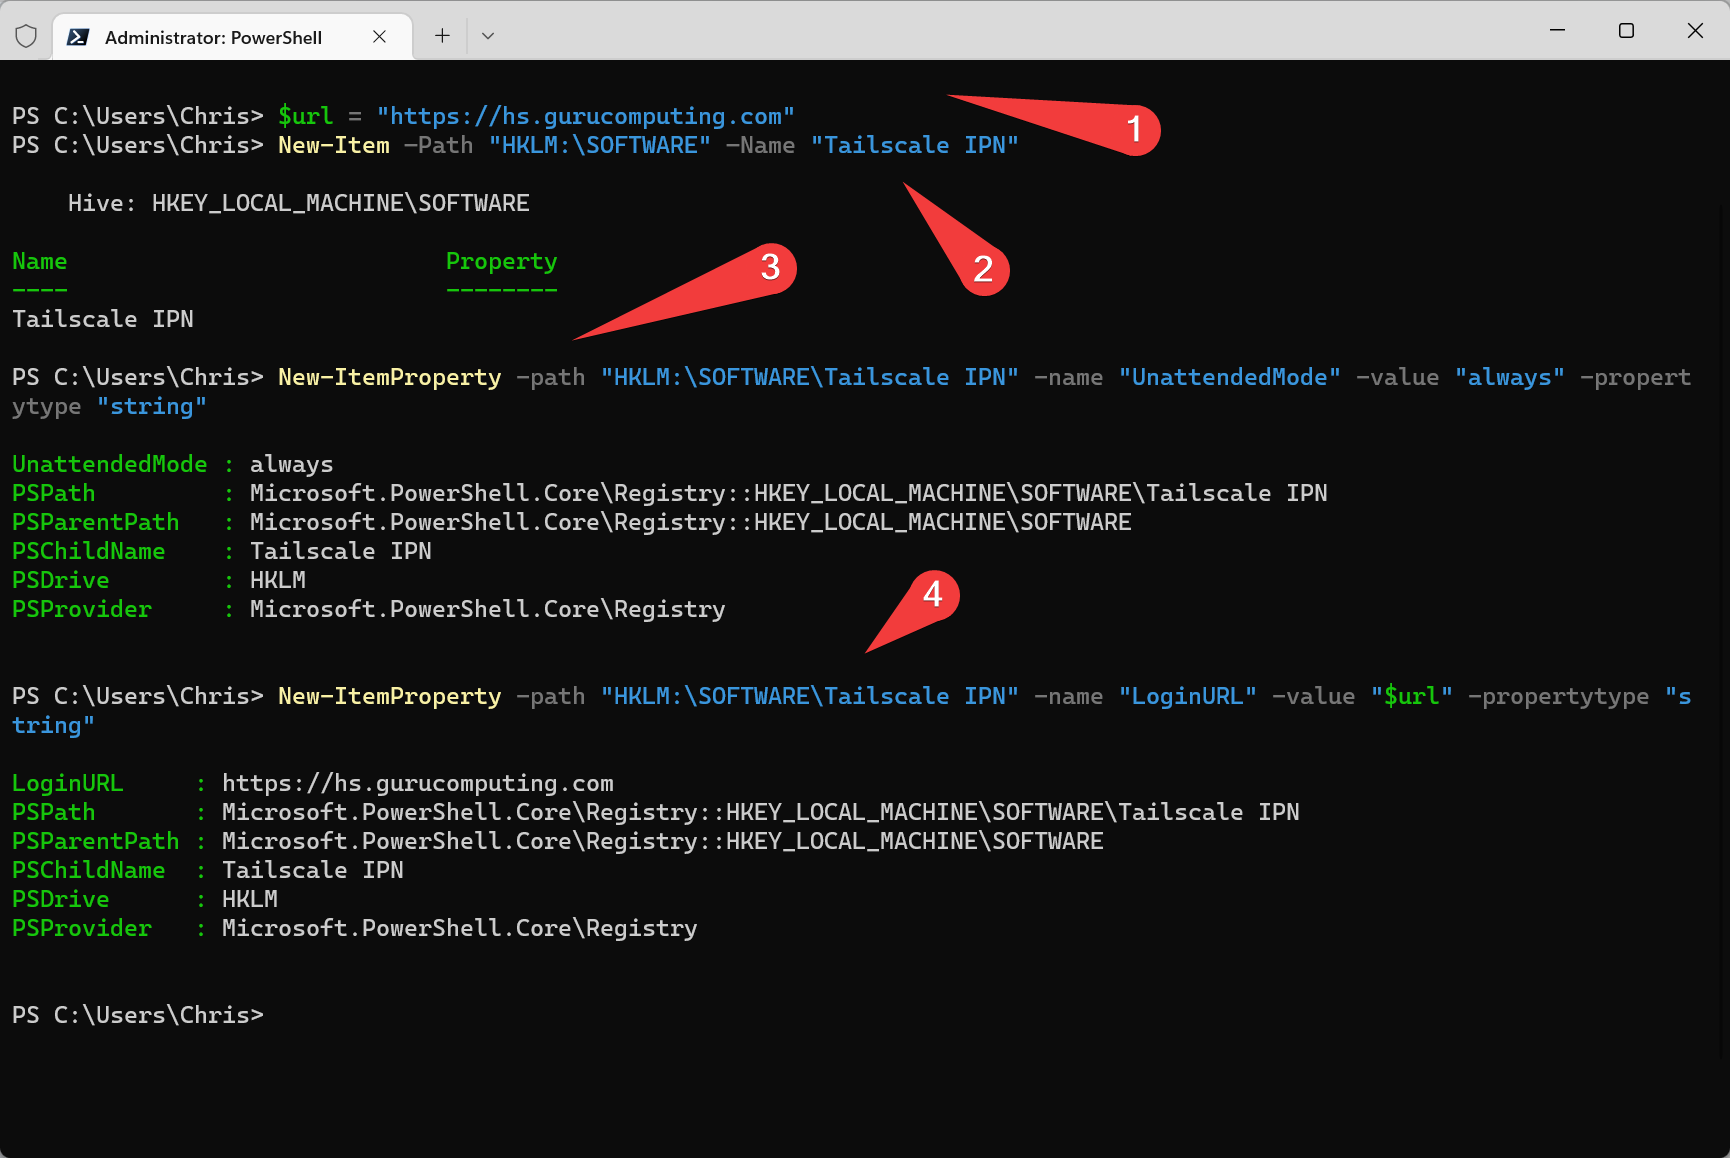
- On the computer you want to add, run the following (admin) powershell to configure tailscale (replacing the URL):
\$url = https://hs.<your-domain>.com
New-Item –Path "HKLM:\SOFTWARE" –Name "Tailscale IPN"
New-ItemProperty -path "HKLM:\SOFTWARE\Tailscale IPN" -name "UnattendedMode" -value "always" -propertytype "string"
New-ItemProperty -path "HKLM:\SOFTWARE\Tailscale IPN" -name "LoginURL" -value "\$url" -propertytype "string"
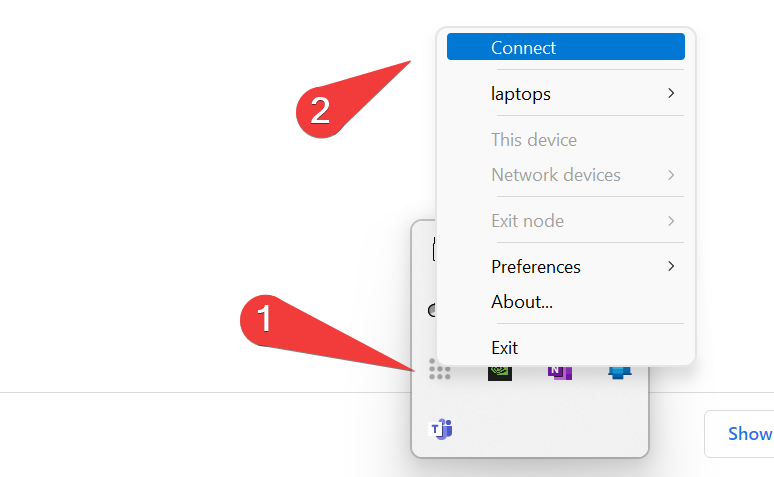
- now, install tailscale like normal. Once installed, find the tray icon and attempt to connect.
- If all goes well, you should get some instructions with a key
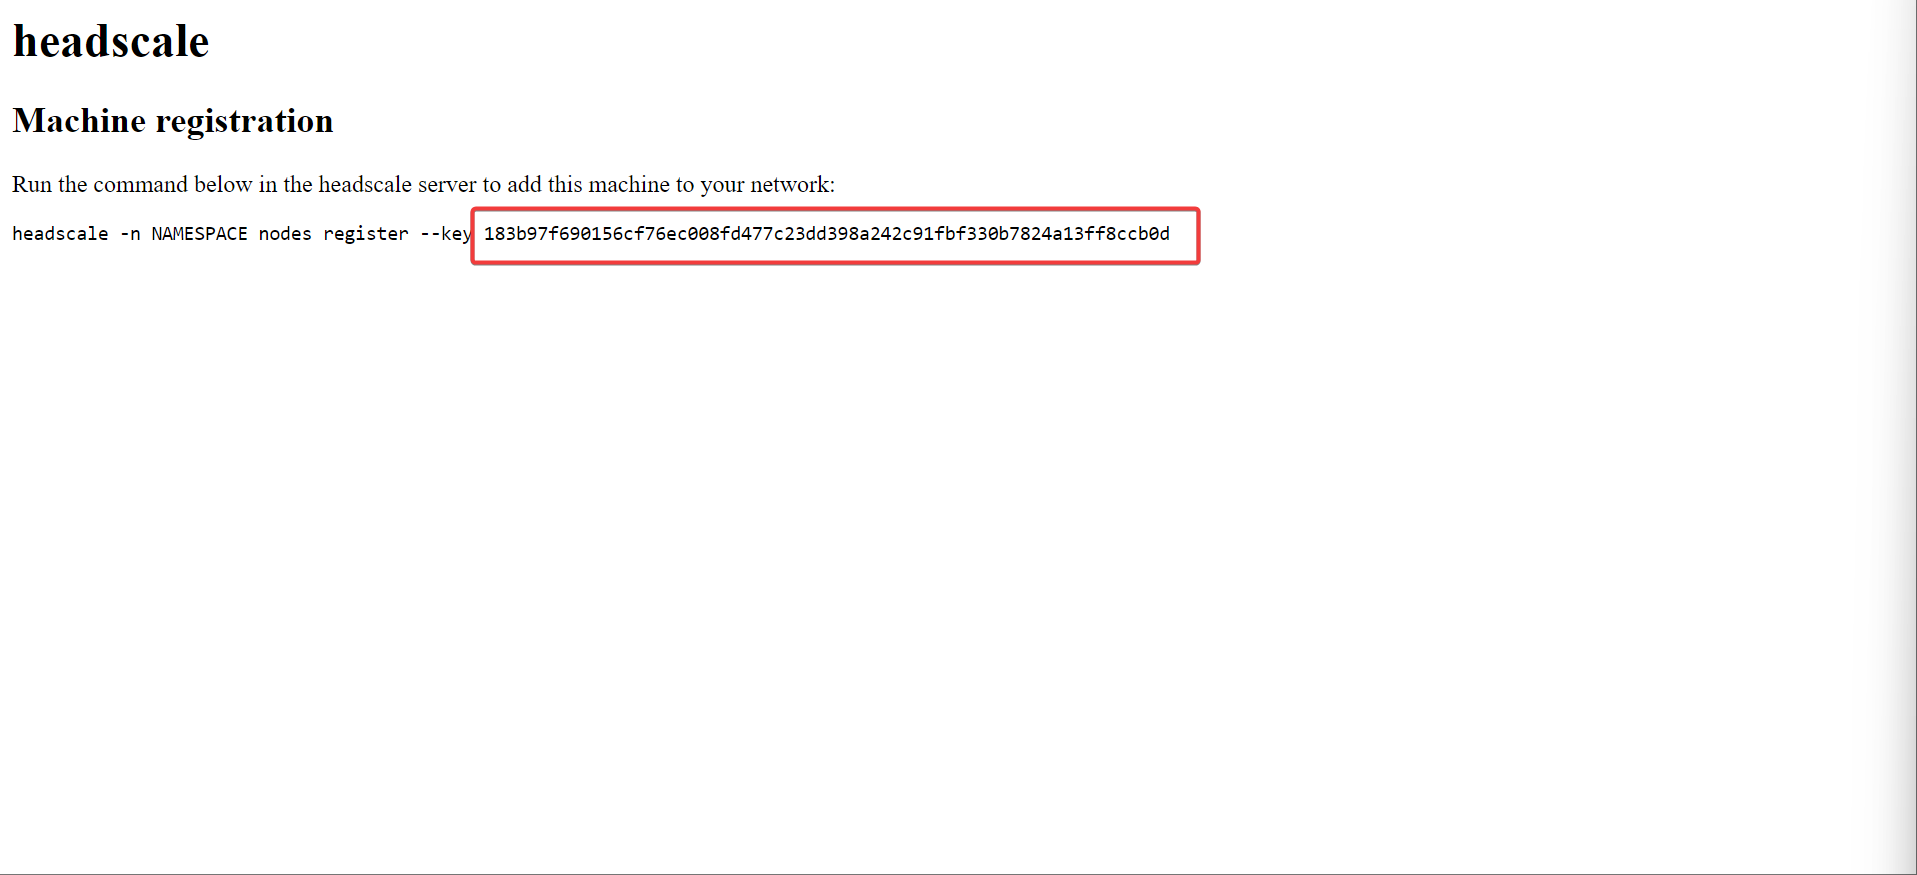
- Create a new user for your windows device. Add that device in the UI by copying the key across.
Testing it all together
So, we’re connected. Not very dramatic, what does that mean?
Well in the absence of ACL rules, headscale will automatically allow interconnections. And interconnections means that I should have access to my internal subnet. So let me join a separate network and see if I can still ping my internal docker host and router:
Success!
Conclusion
We’ve done it! We’ve functionally created an equivalent of a wireguard connection with a whole lot more effort.
Well that’s being facetious. What we have actually done is laid the ground work for a scalable VPN solution that can be incredibly complex. We can define rules about who can talk to who, join other devices with little to no effort, enable authentication (if we so choose), and it all works from anywhere.
This is a system that can easily scale to thousands of units, all functioning in a peer to peer fashion, with central control and management. How cool is that.