Authentication with Keycloak
Introduction
Authentication is hard. Like, super hard. It’s the backbone behind protecting your web services from nasty people trying to get in, and it’s really not something you want to have mess up at the wrong time.
In this regard, having a solution that can provide an audited, pen tested, secure solution to be your authentication is invaluable. What is even more invaluable is having that same solution protect all of your services! This is where Identity management, authentication, and Keycloak comes into play.
Pre-Requisites
- A docker host of some description (this guide will be using a debian docker host with Visual Studio Code for management. You can refer to this guide for more details).
- A Reverse proxy with valid certificates (you can refer to my caddy guide if you need help setting up a reverse proxy)
Configuring the reverse proxy
To set the stage, we are going to start with a view on our docker host.
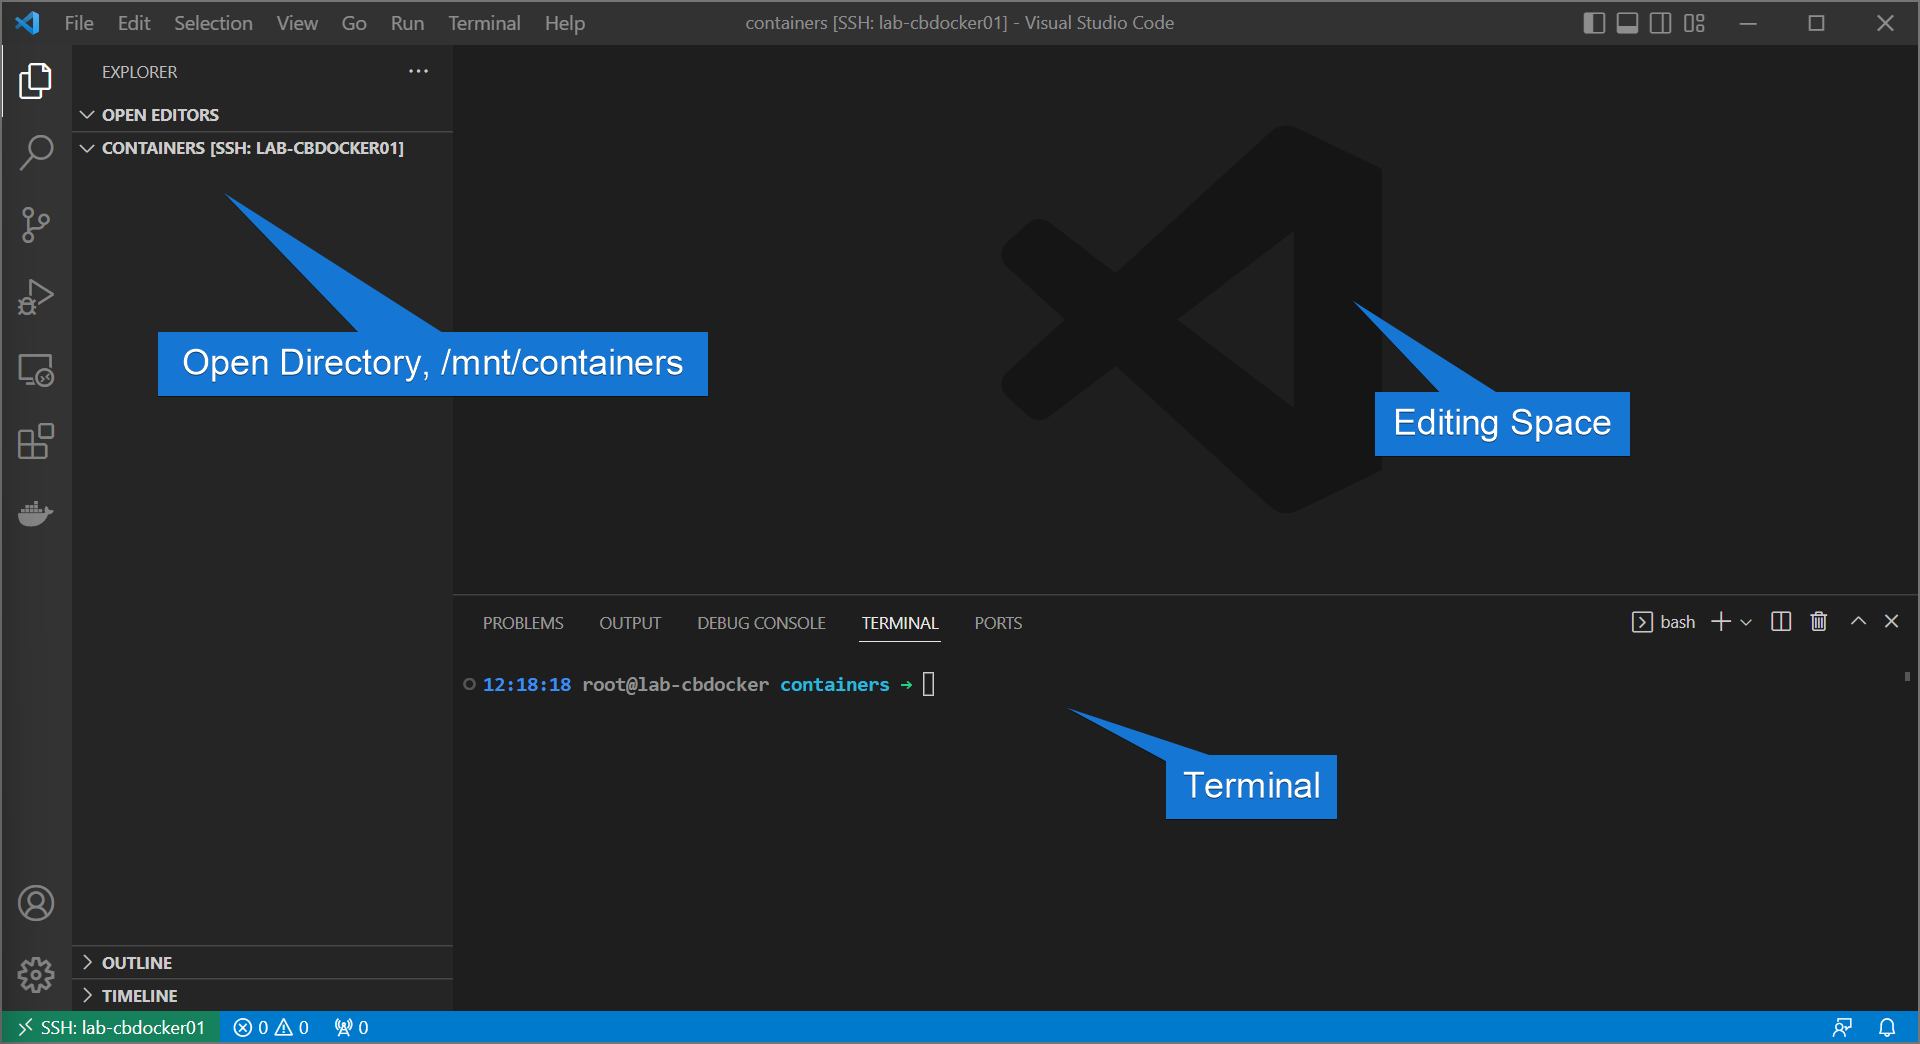
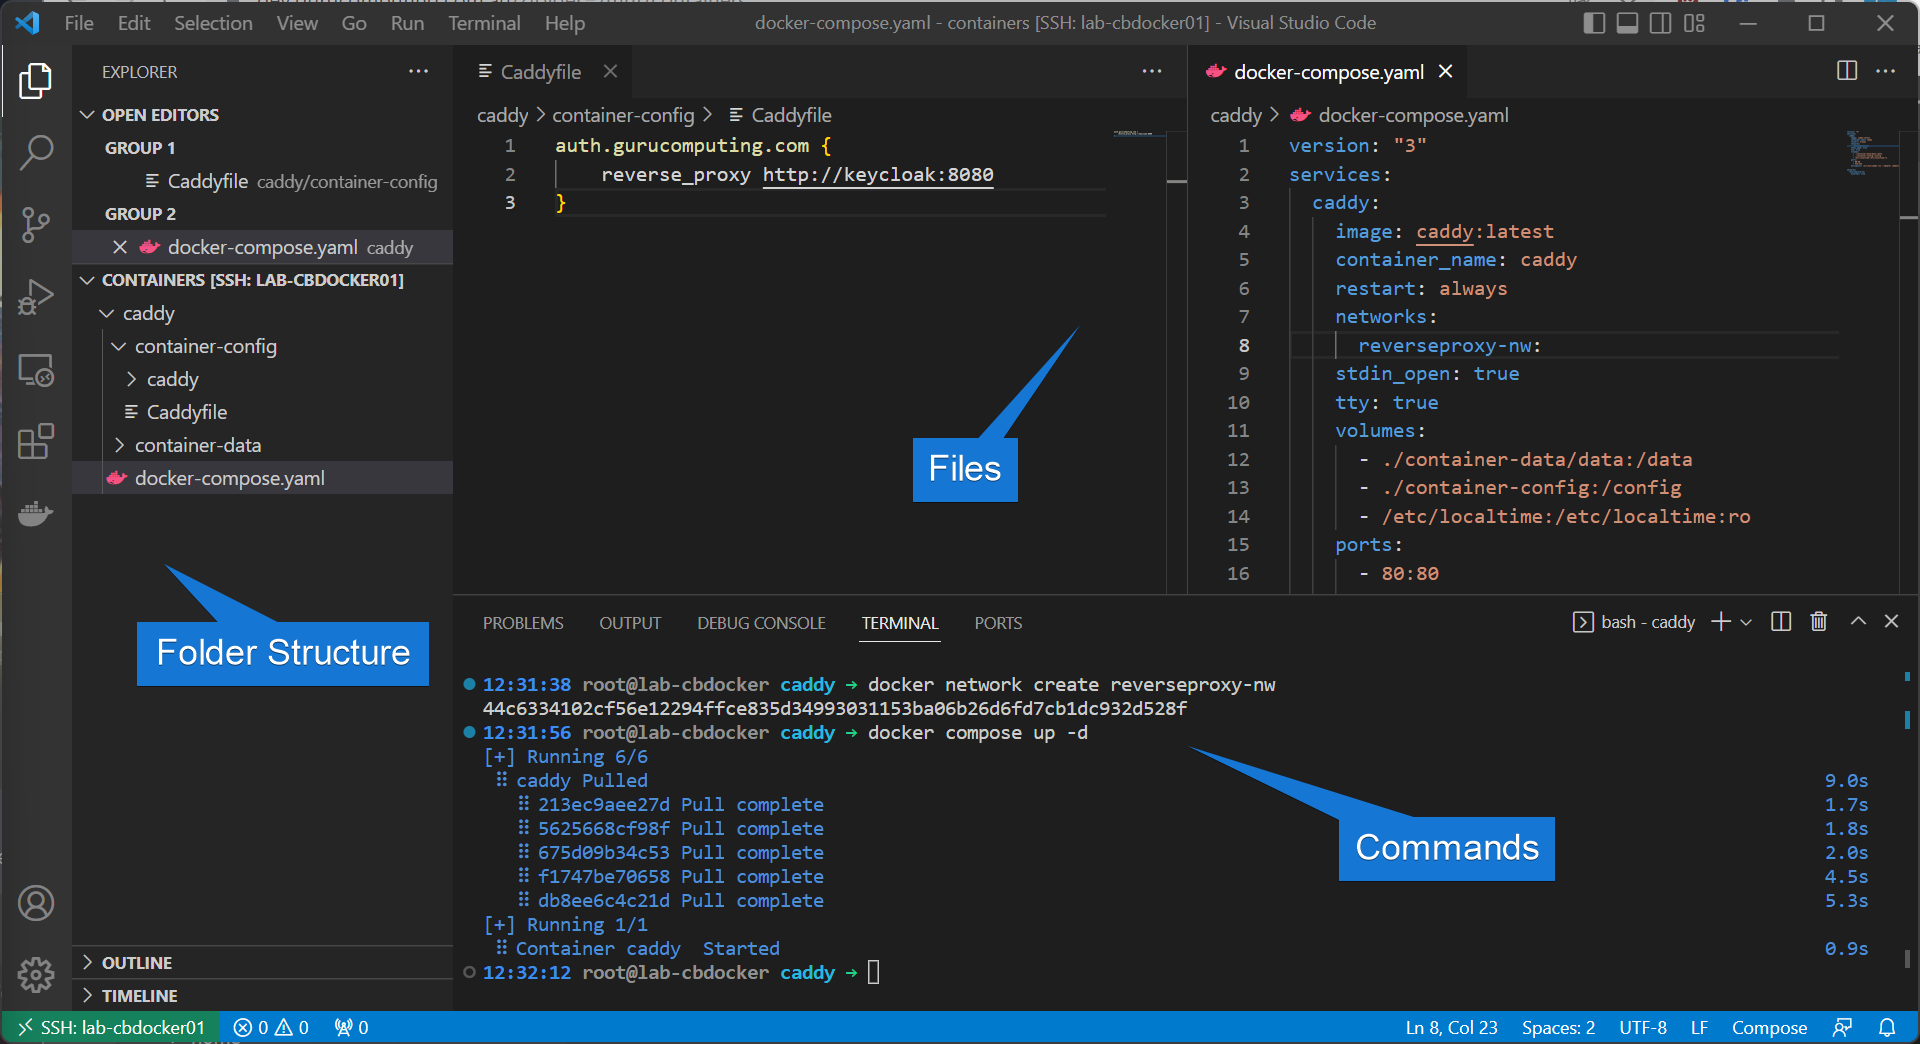
Yep, pretty barebones. Let’s get keycloak going! Let’s start with setting up a reverse proxy. I’m gonna set my dns to auth.gurucomputing.com (replace with your own authentication portal url) and make a reverse proxy entry to keycloak:8080
Info
You can read up more on how this works in the Caddy Guide. If you already have a reverse proxy, do the same in your proxy of choice.
- for the caddyfile (at
/mnt/containers/caddy/container-config/Caddyfile), replacingauth.gurucomputing.comwith your designated url:
- and for the docker compose (at
/mnt/containers/caddy):
services:
  caddy:
    image: caddy:latest
    container_name: caddy
    restart: always
    networks:
      reverseproxy-nw:
    volumes:
      - ./container-data/data:/data
      - ./container-config:/config
      - /etc/localtime:/etc/localtime:ro
    ports:
      - 80:80
      - 443:443
    entrypoint: /usr/bin/caddy run --adapter caddyfile --config /config/Caddyfile

networks:
  reverseproxy-nw:
    external: true
- Finally I’ll bring up my reverse proxy by creating the network and running up the container
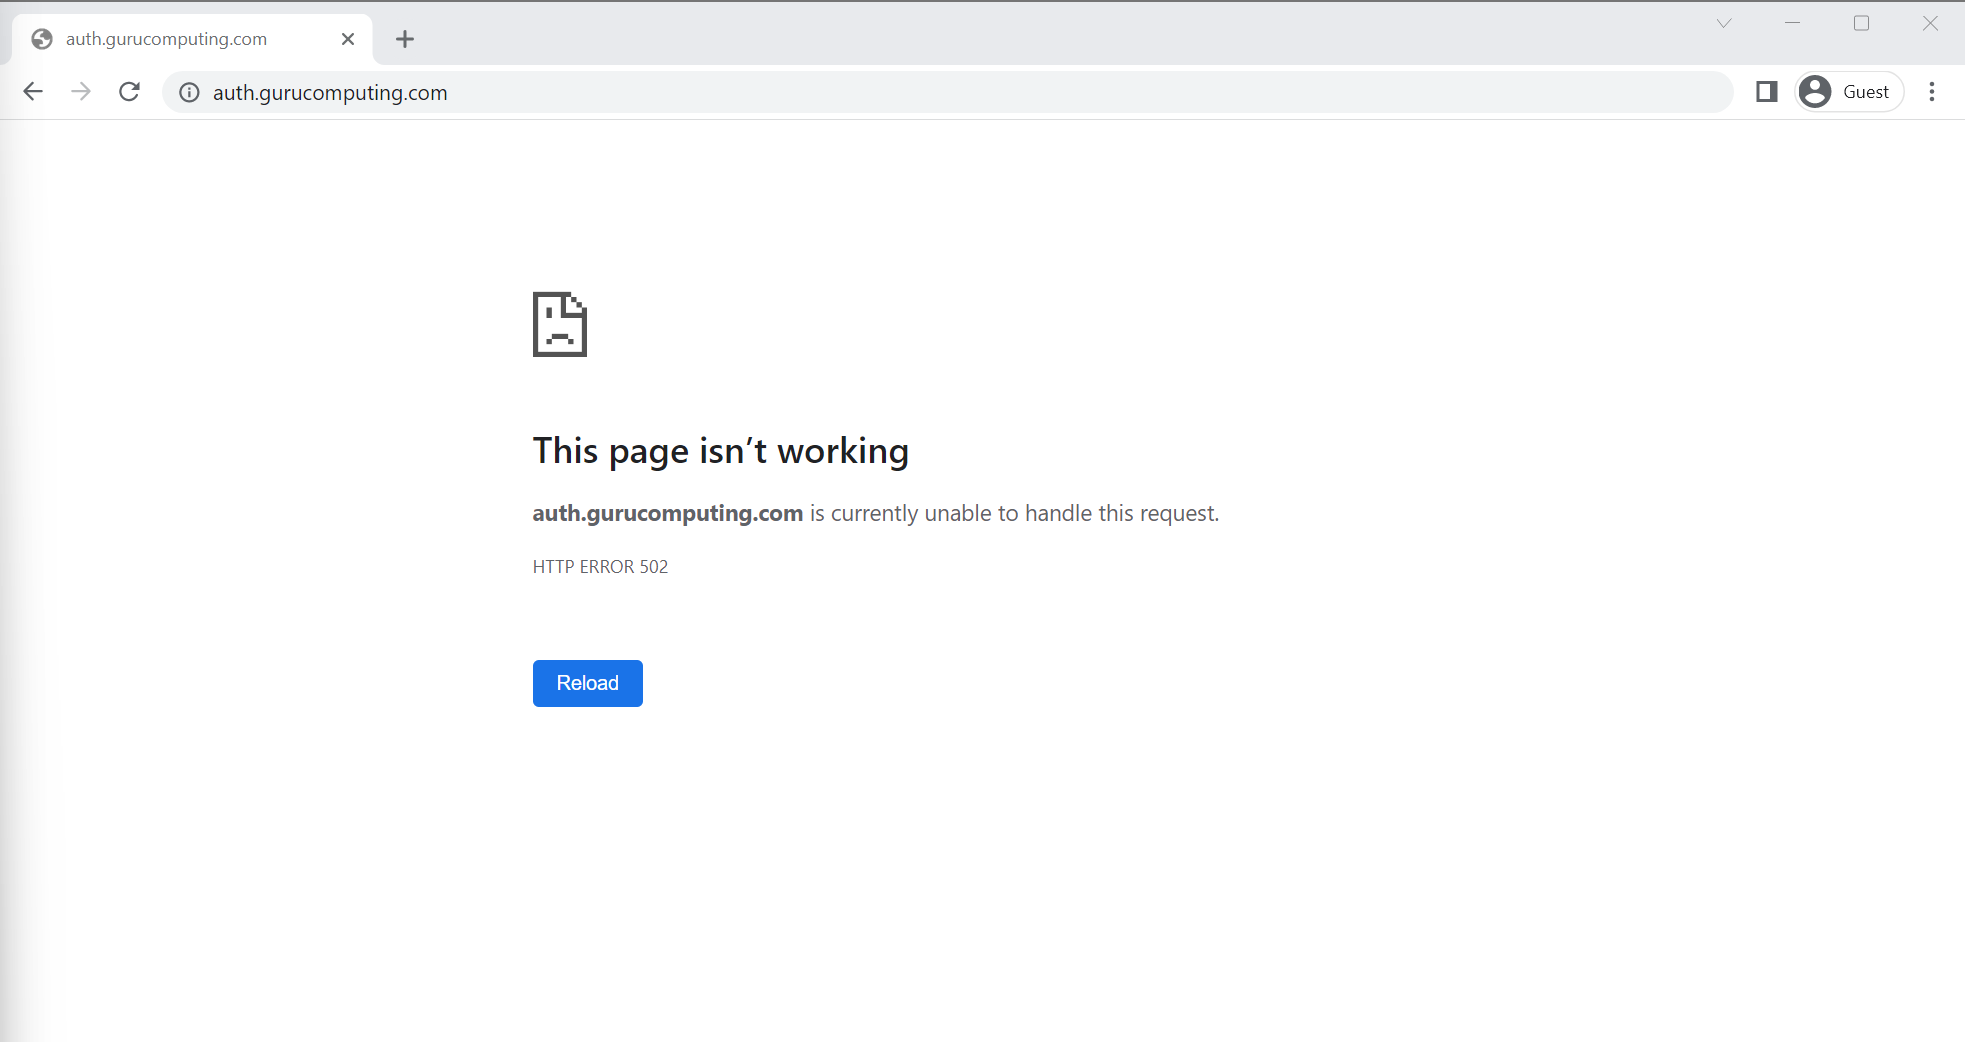
Great! Well sort of. our site’s not pointing to anything running so we’re just gonna get a 502 error.
Installing Keycloak
Alright, let’s get keycloak operational.
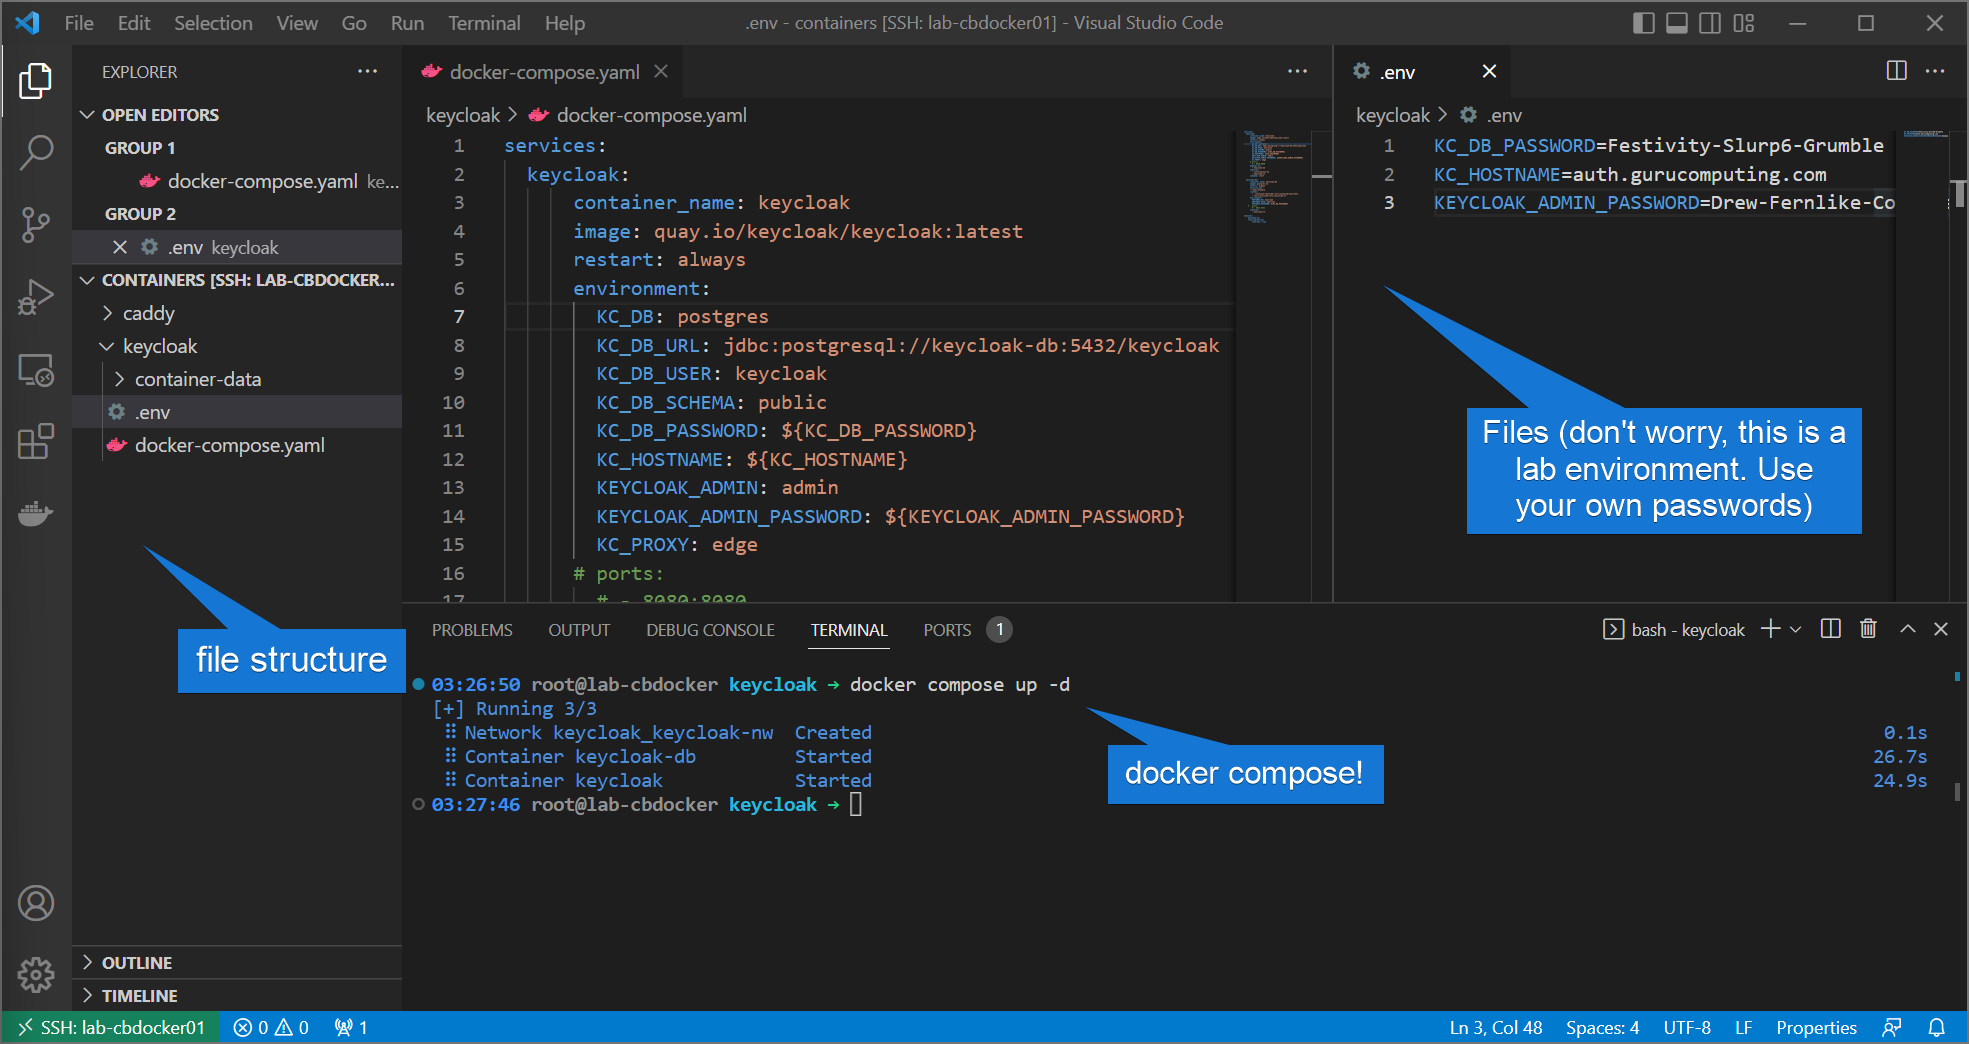
- Set up a
/mnt/containers/keycloakfolder with the following docker compose at/mnt/containers/keycloak/docker-compose.yaml:
services:
  keycloak:
      container_name: keycloak
      image: quay.io/keycloak/keycloak:latest
      restart: always
      environment:
        KC_DB: postgres
        KC_DB_URL: jdbc:postgresql://keycloak-db:5432/keycloak
        KC_DB_USER: keycloak
        KC_DB_SCHEMA: public
        KC_DB_PASSWORD: ${KC_DB_PASSWORD}
        KC_HOSTNAME: ${KC_HOSTNAME}
        KEYCLOAK_ADMIN: admin
        KEYCLOAK_ADMIN_PASSWORD: ${KEYCLOAK_ADMIN_PASSWORD}
        KC_PROXY: edge
      # ports:
        # - 8080:8080
      depends_on:
        - keycloak-db
      networks:
        - reverseproxy-nw
        - keycloak-nw
      command: start

  keycloak-db:
      container_name: keycloak-db
      image: postgres:latest
      restart: always
      security_opt:
        - label:disable
      volumes:
        - ./container-data/db:/var/lib/postgresql/data
        - /etc/localtime:/etc/localtime:ro
      environment:
        POSTGRES_DB: keycloak
        POSTGRES_USER: keycloak
        POSTGRES_PASSWORD: ${KC_DB_PASSWORD}
    #   ports:
        # - 5432:5432
      networks:
        - keycloak-nw

networks:
    keycloak-nw:
    reverseproxy-nw:
        external: true
- Also let’s set up a
.envfile at/mnt/containers/keycloak/.envto contain our sensitive variables:
KC_DB_PASSWORD=<insert long and scary password>
KC_HOSTNAME=<change this to your dns address>
KEYCLOAK_ADMIN_PASSWORD=<insert another long and scary password>
- and let’s get it going!
If all goes well (and your reverse proxy is working), you should now be able to navigate to auth.<yourdomain>.com and get a login prompt!
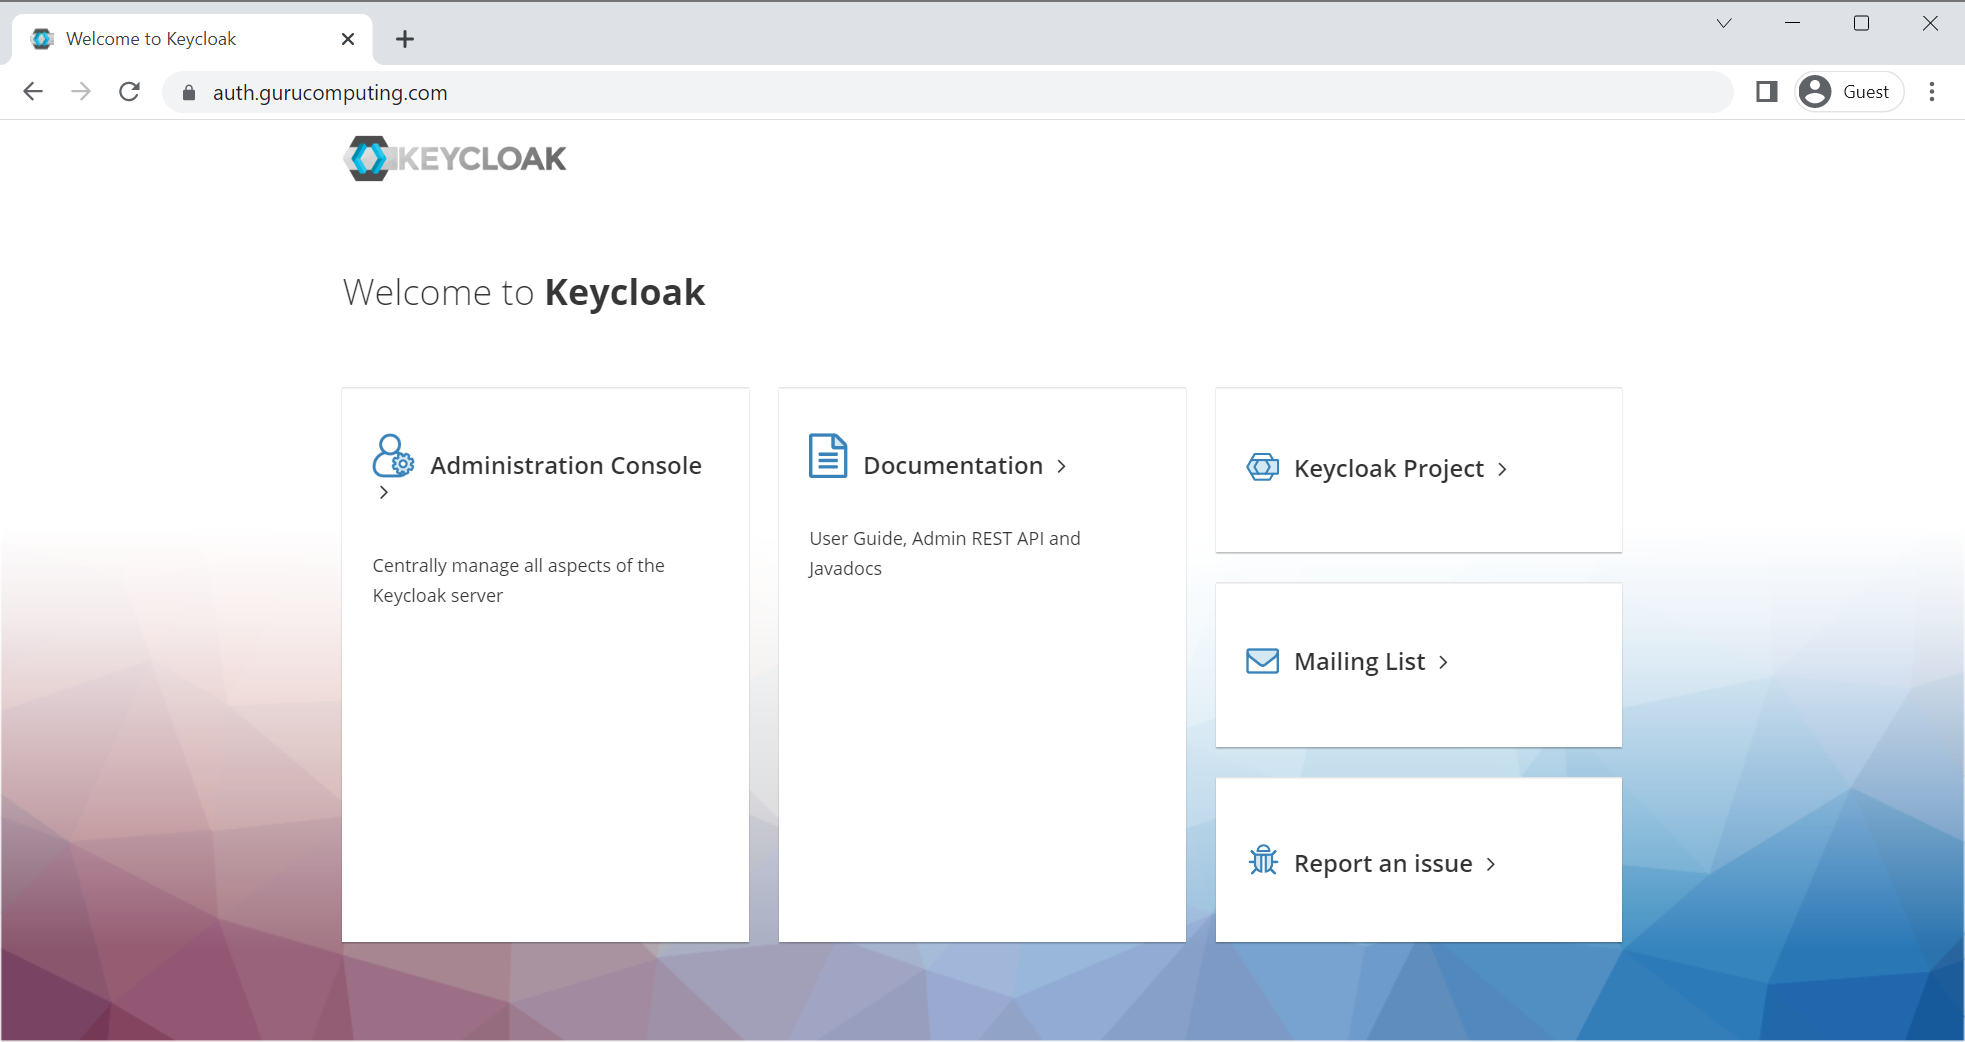
Let’s try logging in as an admin (using the admin password you set) and see what we get.
success!
Moving On
Great, we now have an environment for single sign on. But what can we do with it? Well let’s tackle that in the next section.