Proxmox Configuration
Introduction
Now that we have Proxmox installed, there’s some basic housekeeping to do before we get straight into the labbing.
TL;DR
Here we will:
- Log into Proxmox via the web interface
- Configure the updates to use the non-update channel
- Update the host
Getting Proxmox Happy
After navigating past the scary self-signed SSL warning, you should be presented with a capability to log in!
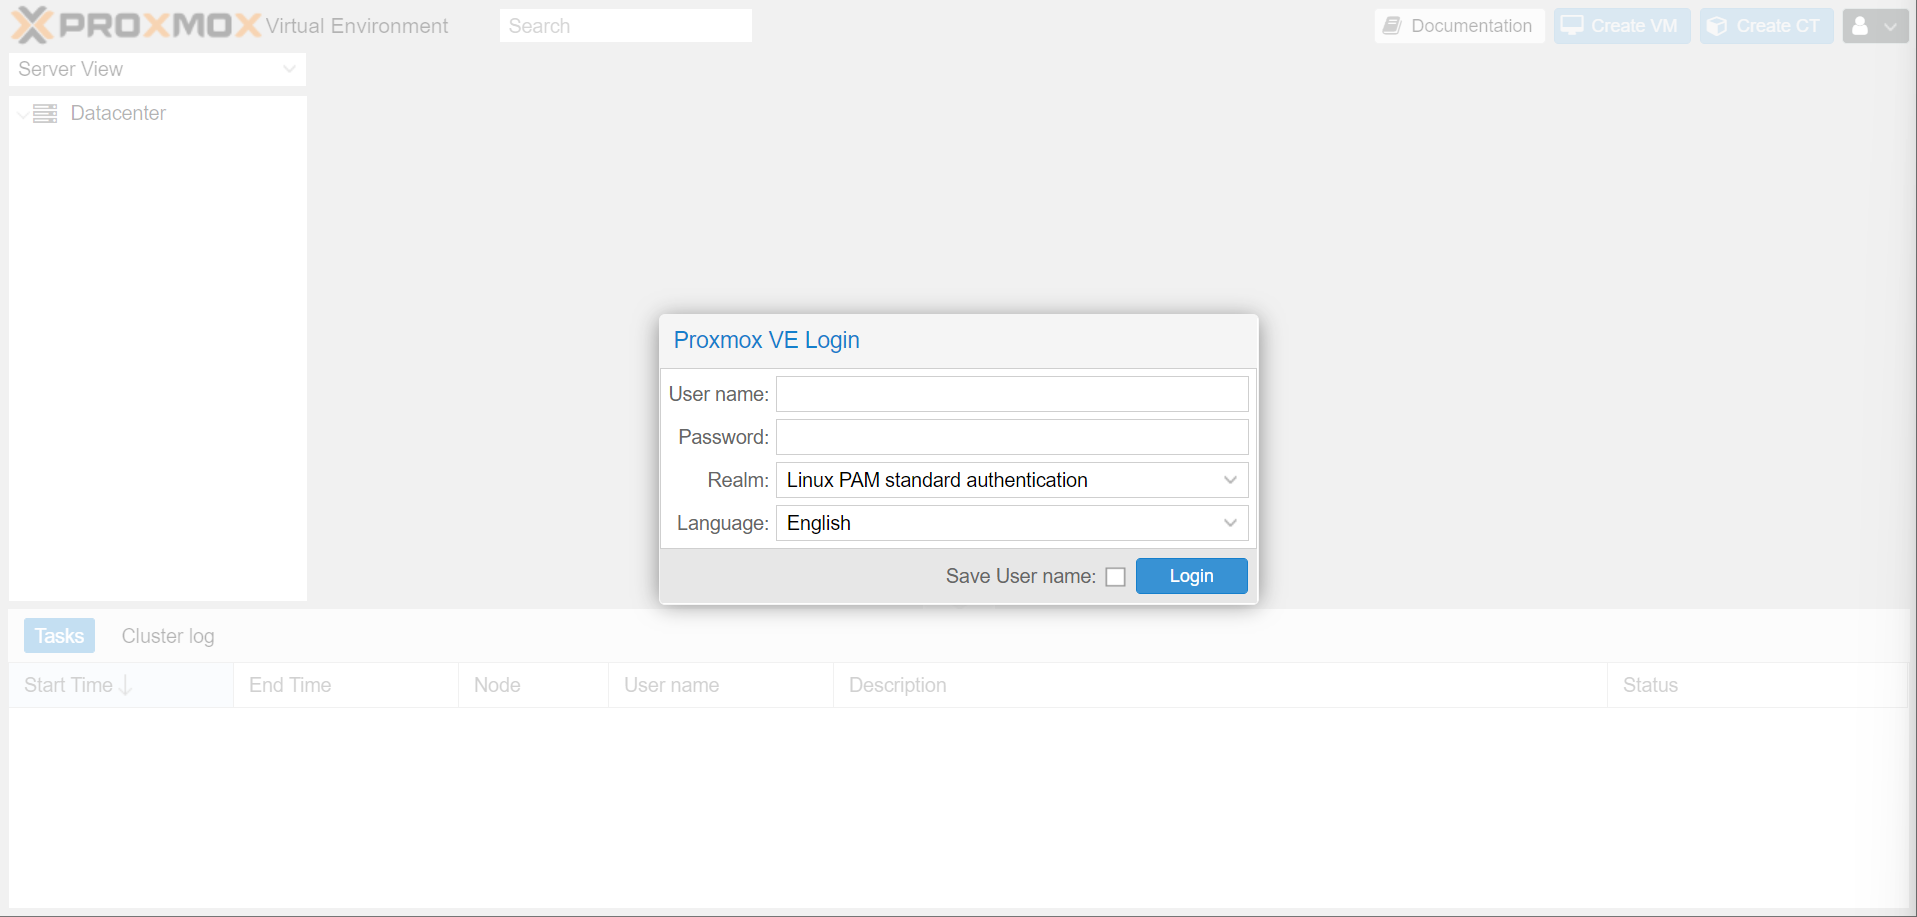
Log in with root/password made during install, and get presented with, well, a subscription warning.
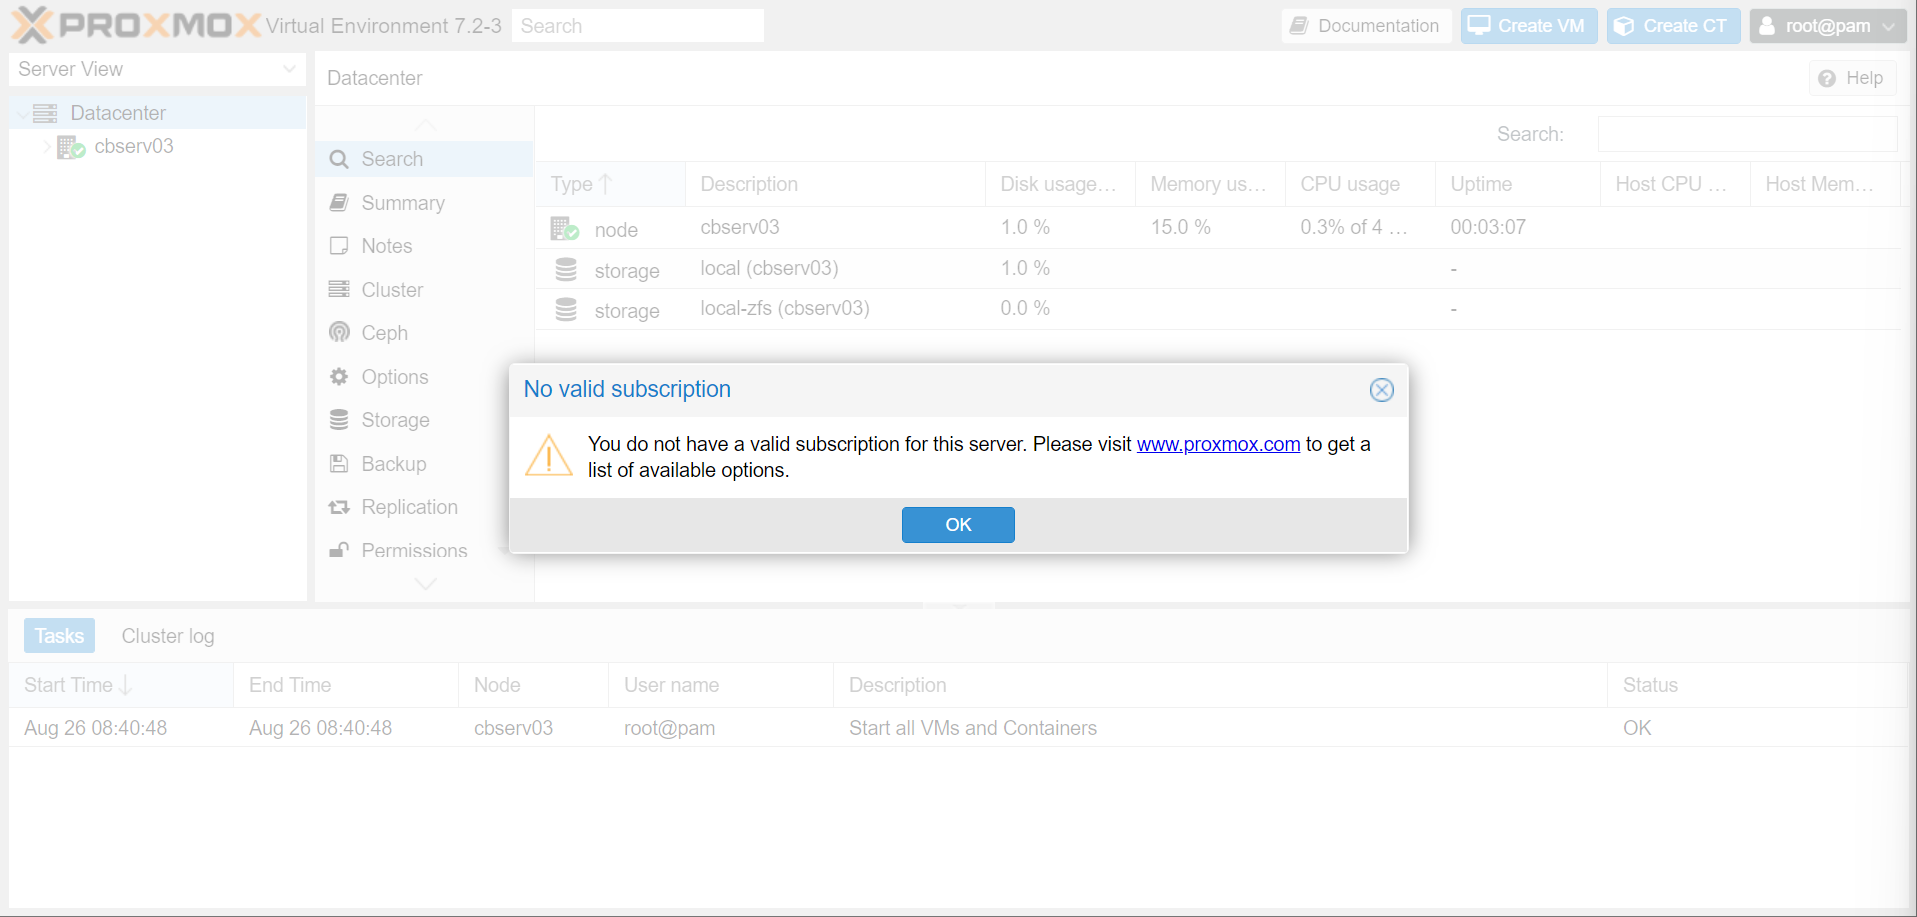
Proxmox follows the Red Hat licensing model, which is full functionality (hooray!) with constant reminders that you’re not paying for support (less hooray, but it’ll convince managers into paying for support after a certain business size).
Info
You can technically patch out the nag, but it’ll come back with updates, and it’s not too intrusive.
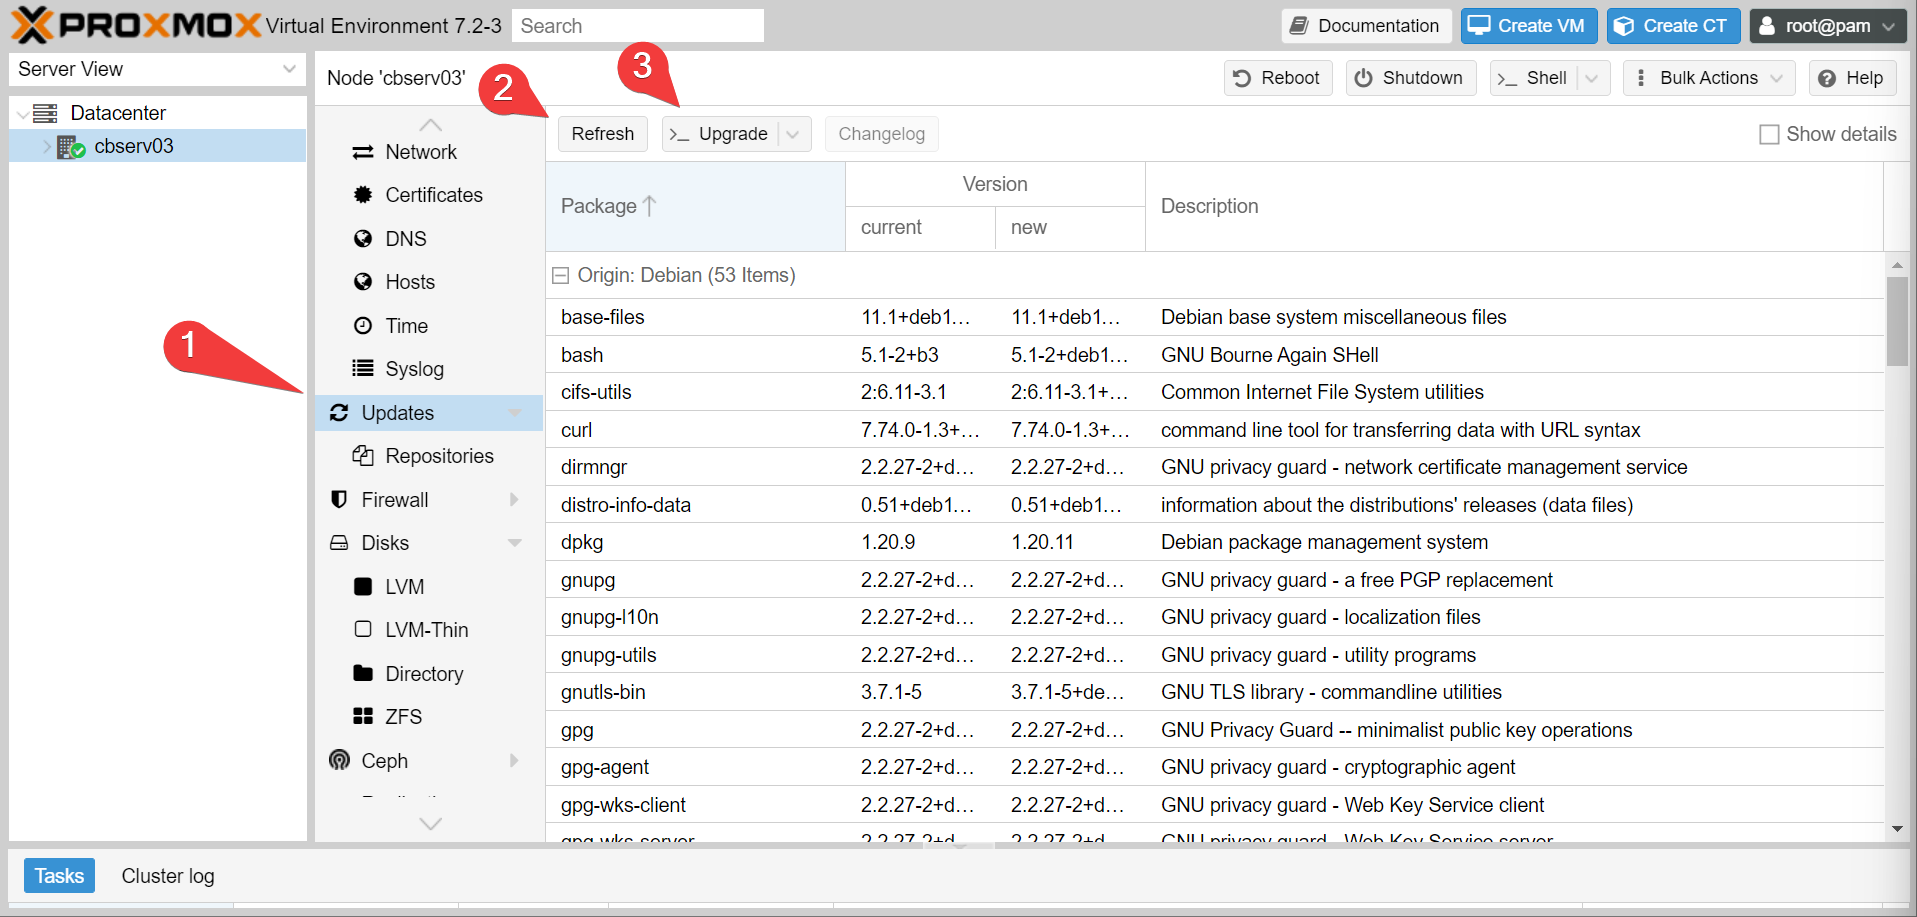
Now we need to configure updates to use the non-subscription model. Navigate to your node (cbserv03 in my case) and head to updates. We need to remove the enterprise update subscription channel and add the no-subscriptionchannel. You can see this below:

Now on the main updates category, go ahead and update your box. Reboot when finished.
Moving On
Alright, now what? Well if you don’t have a NAS, let’s set up a NAS!