Configuring a Virtual NAS Appliance
Introduction
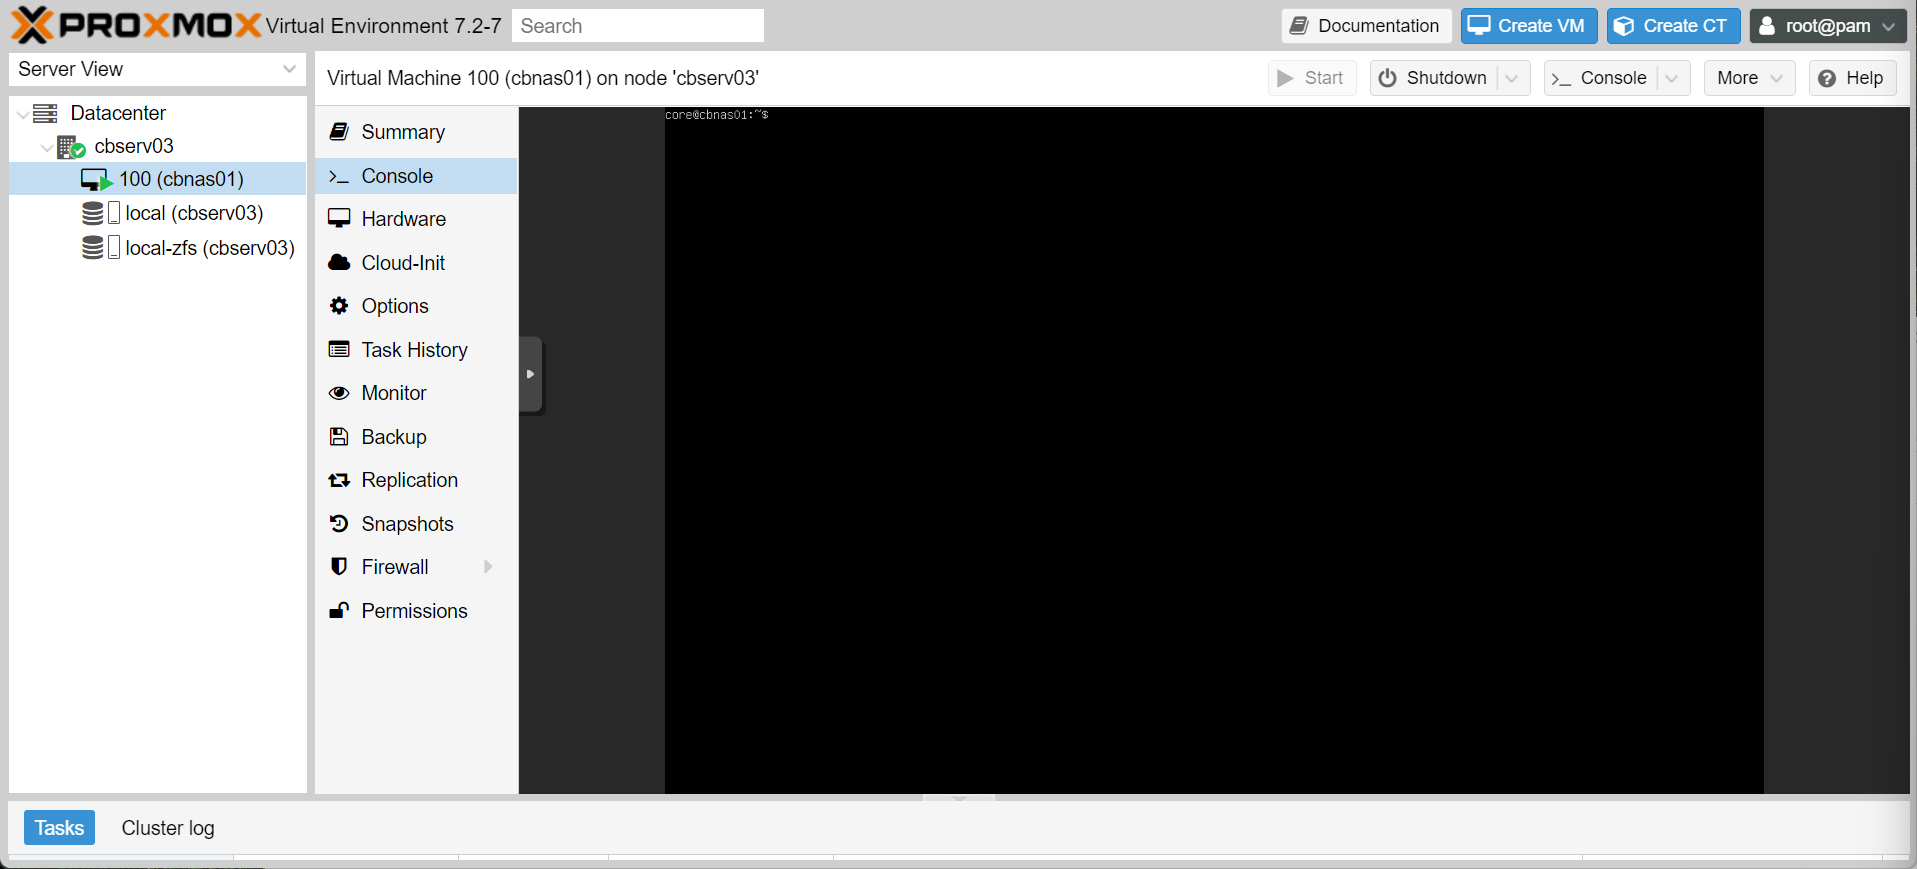
Well we have a ubuntu server installed, fantastic! Although the console isn’t much to look at. Let’s change that.
TL;DR
In this article, we will:
- Add the 45 drives repo for NAS based plugins
- Install the cockpit web interface including the NAS plugins
- Configure a SMB based fileshare
Installing Pre-Requisites
- As always, update first! Run
sudo apt-get update && sudo apt-get dist-upgrade -y - Add the NAS web UI repository with
curl -sSL https://repo.45drives.com/setup | sudo bash
Warning
Installing repos this way doesn’t do any checks to see if the code is safe. Only pipe to bash from trusted sources (or better yet, read the script you’re downloading before running)
- Install our dependencies.
sudo apt-get update
sudo apt-get install cockpit-file-sharing cockpit-identities cockpit-navigator qemu-guest-agent
Info
Note that we also included qemu-guest-agent. This is the software that lets the hypervisor do things like shut down the VM gracefully. This is a needed inclusion for any VM, linux or windows.
- Navigate to our new NAS web UI! check your ip with
ip a(and reserve it in your router), and navigate to<your-ip>:9090
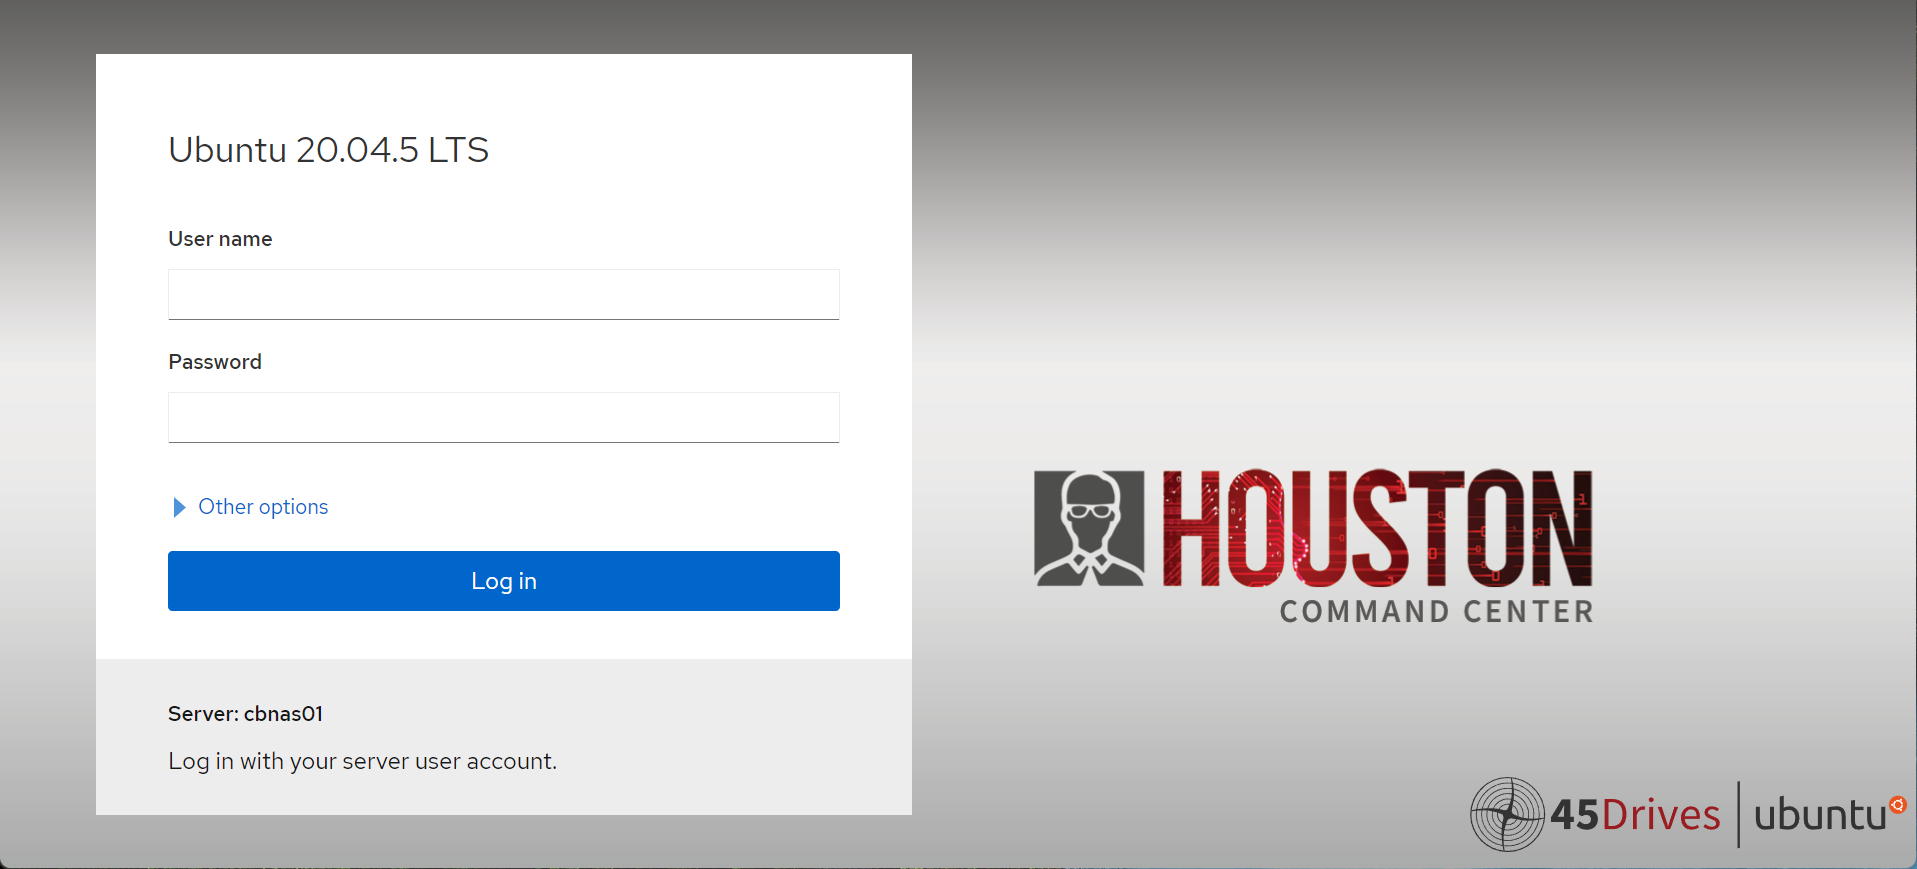
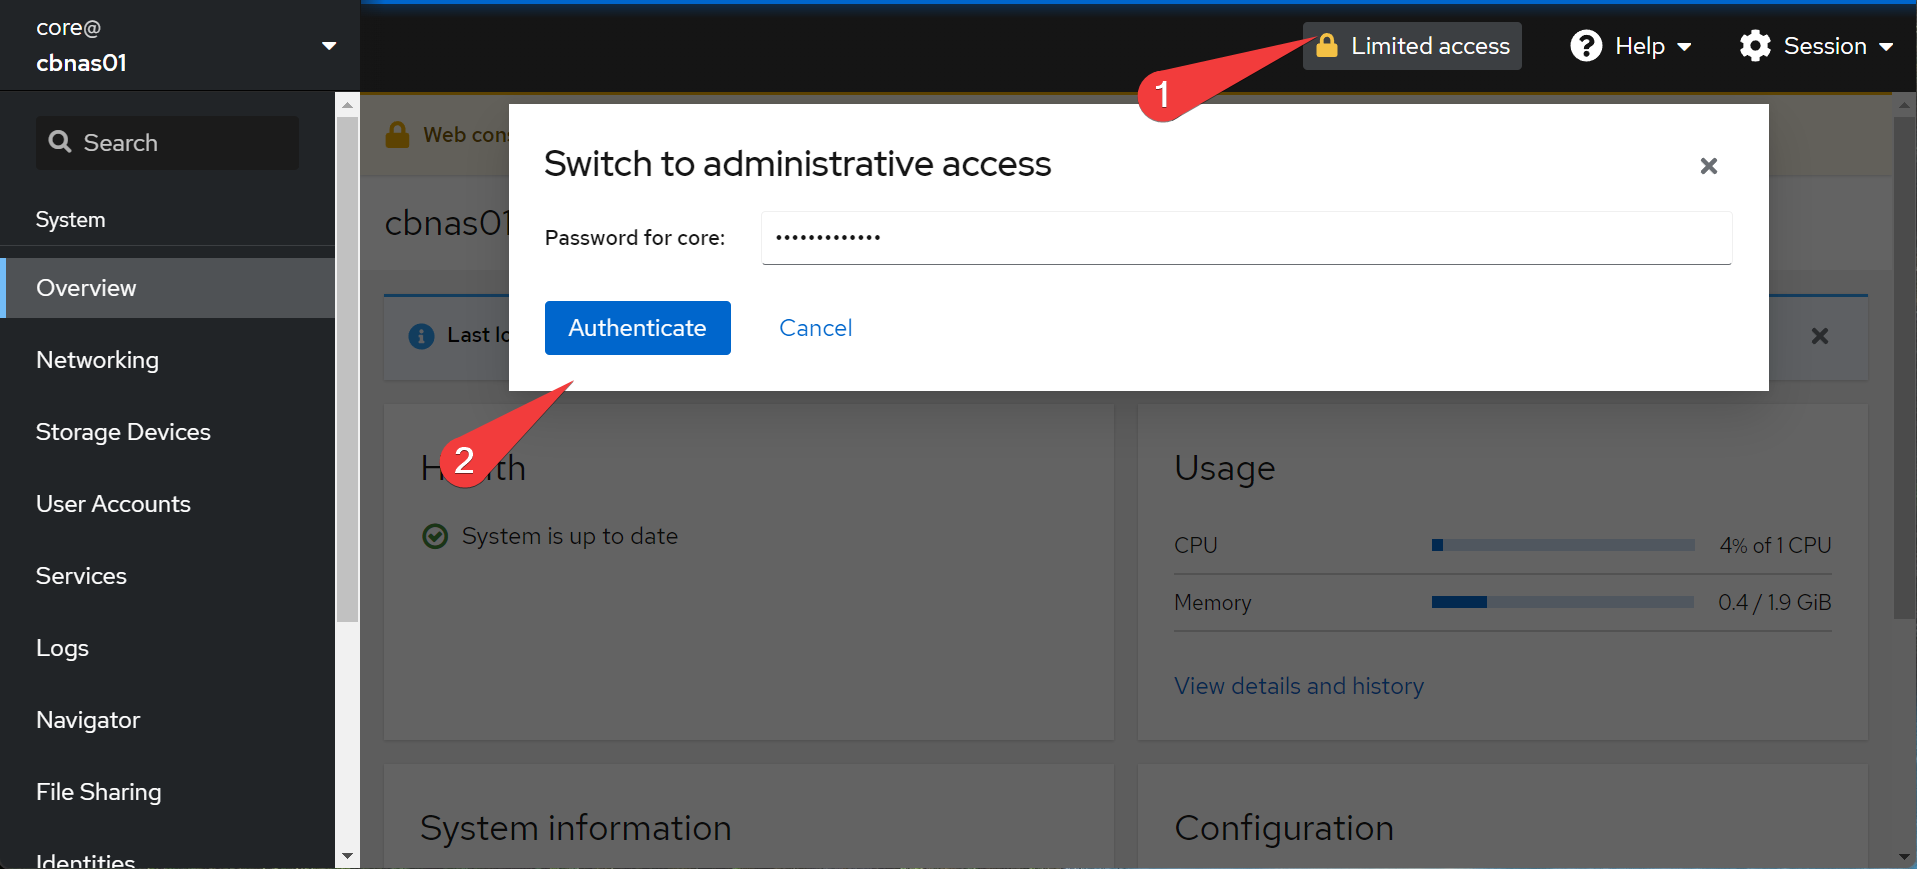
- Log in and switch to admin mode
Creating our File Storage
One nice thing about making a DIY virtual NAS is how flexible we can be with our storage. Do we want our storage to be xfs? btrfs? zfs? ntfs (probably not that one)? any combination of filesystems? Sure! I am partial to btrfs due to its many awesome capabilities, so that’s what I am choosing.
Info
If you plan to do a Raid5/6 setup instead (common for homelabs) you may prefer zfs. btrfs raid5/6 is experimental, zfs has the edge there and has a similar featureset to btrfs. zfs is also what proxmox uses!
Warning
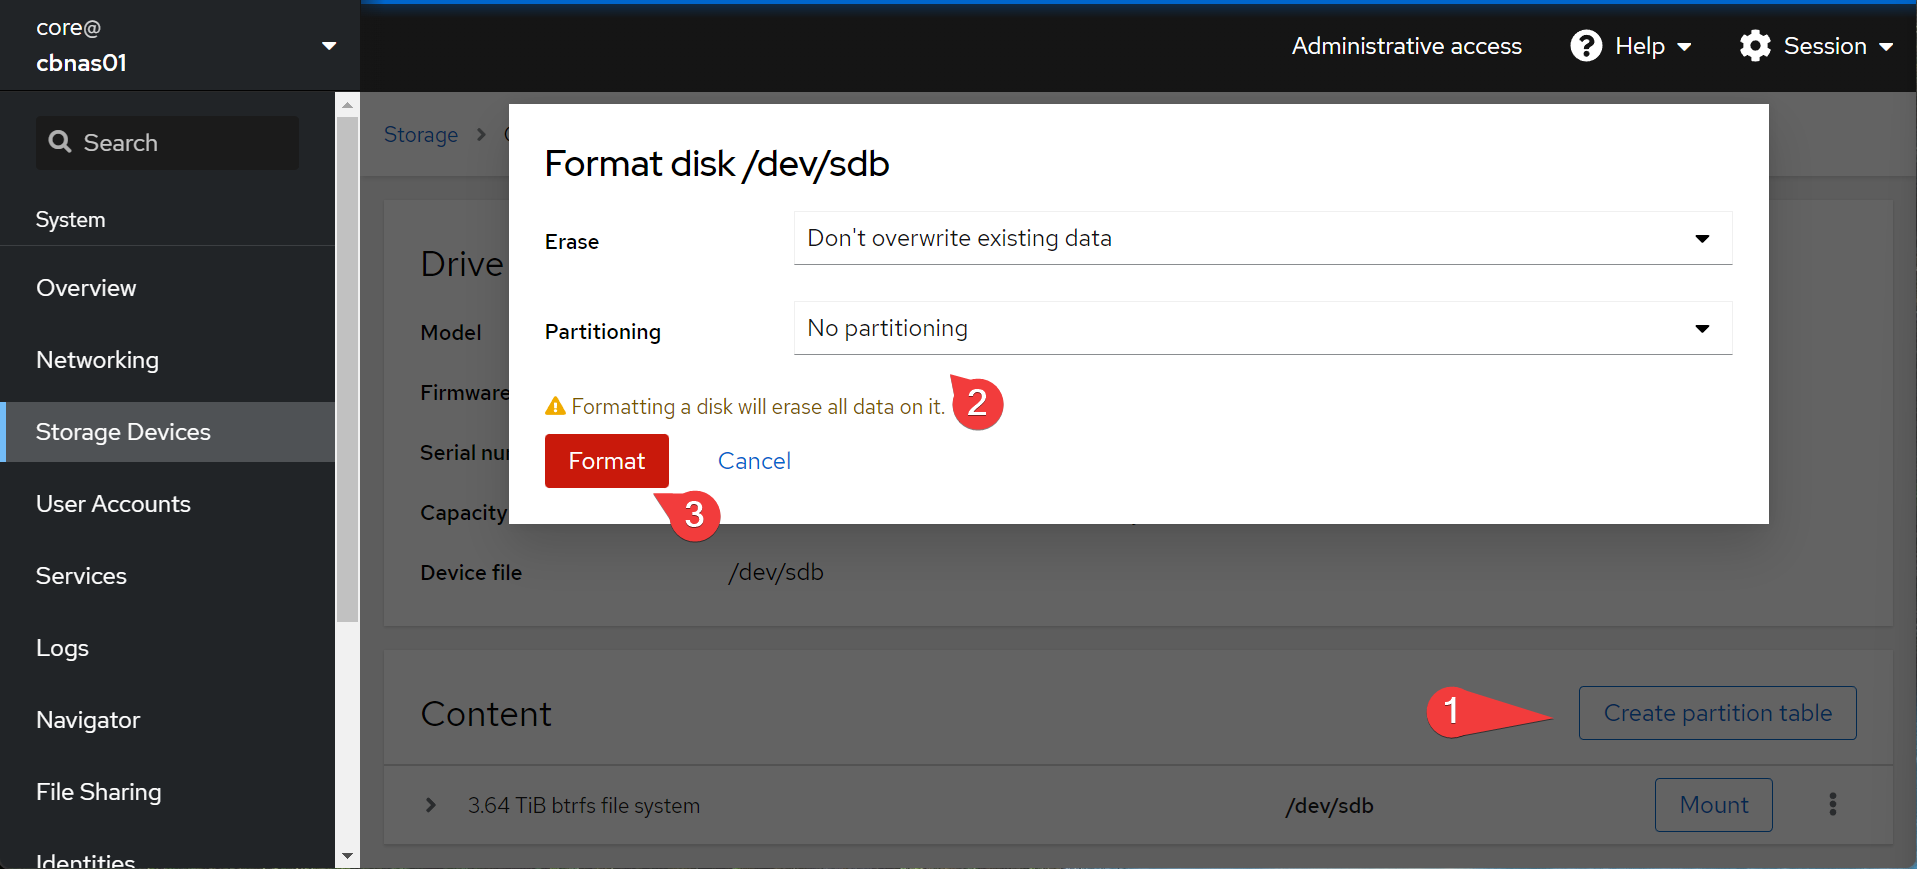
Creating a filesystem erases all data on the drive! You have been warned. This is not necessary if you just want to mount a drive.
- In
cockpit, find your drive understorage. If you have a drive with data already on it, you can just mount it at this stage. If not, choose the drive you want to format. Make note of the drive label (in this case,/dev/sdb
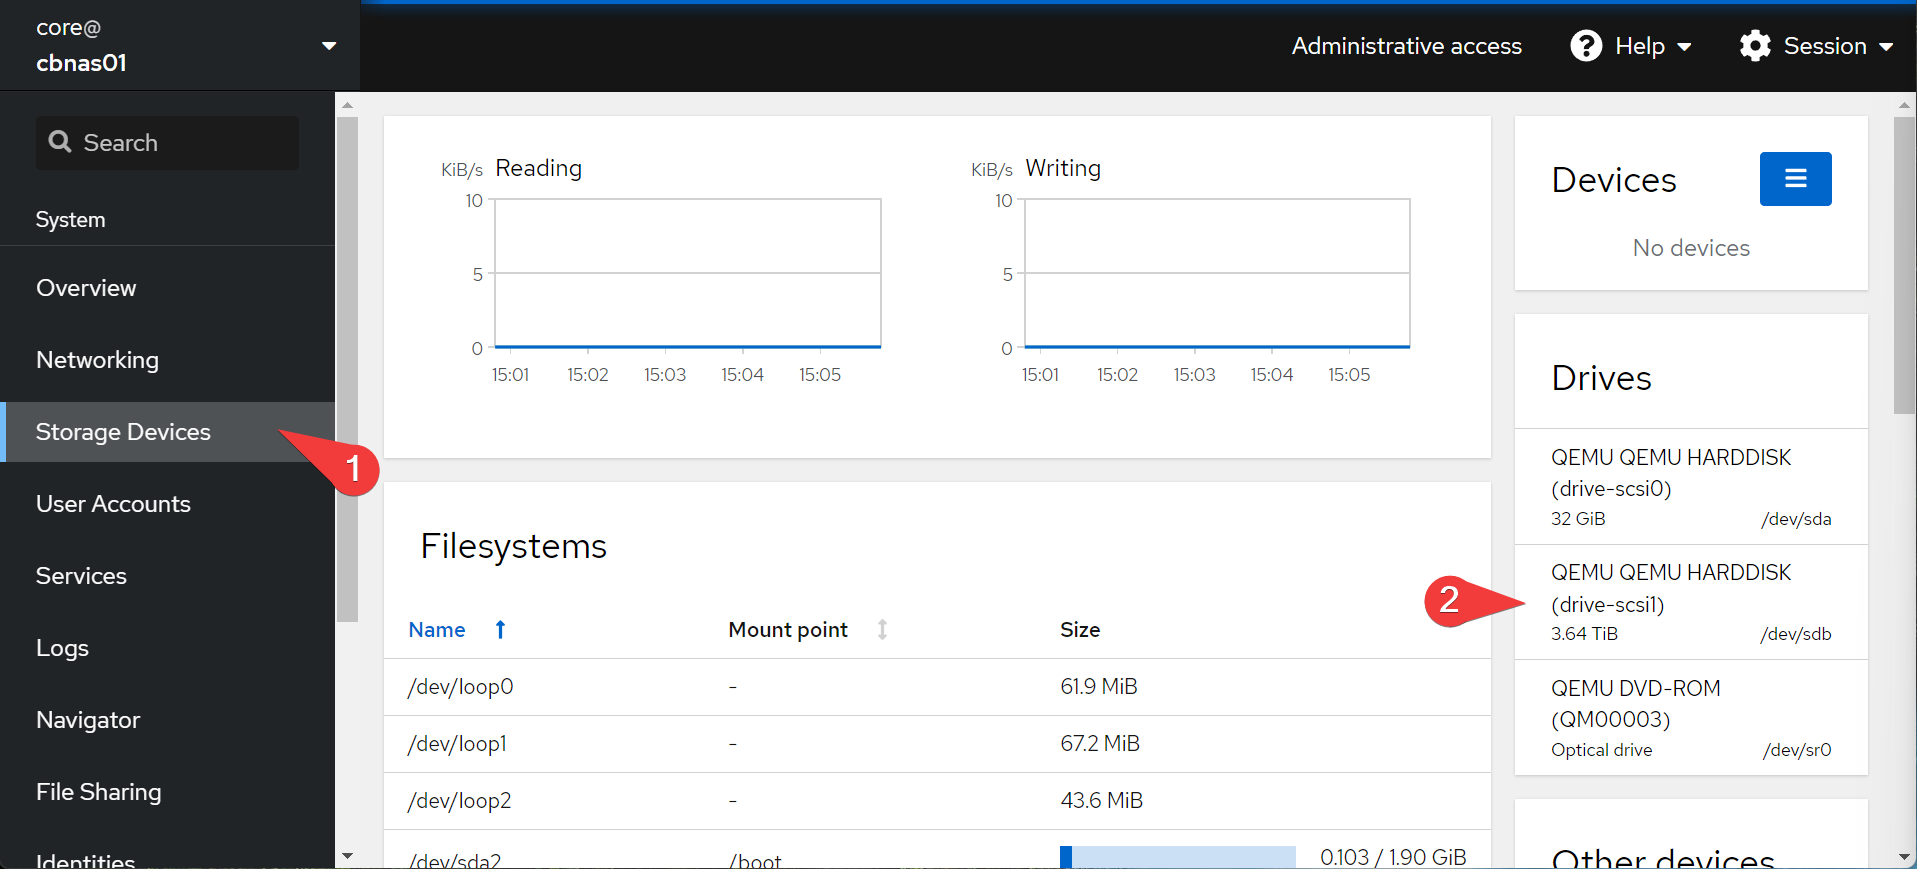
- Create a partition table in
cockpitwith no filing system
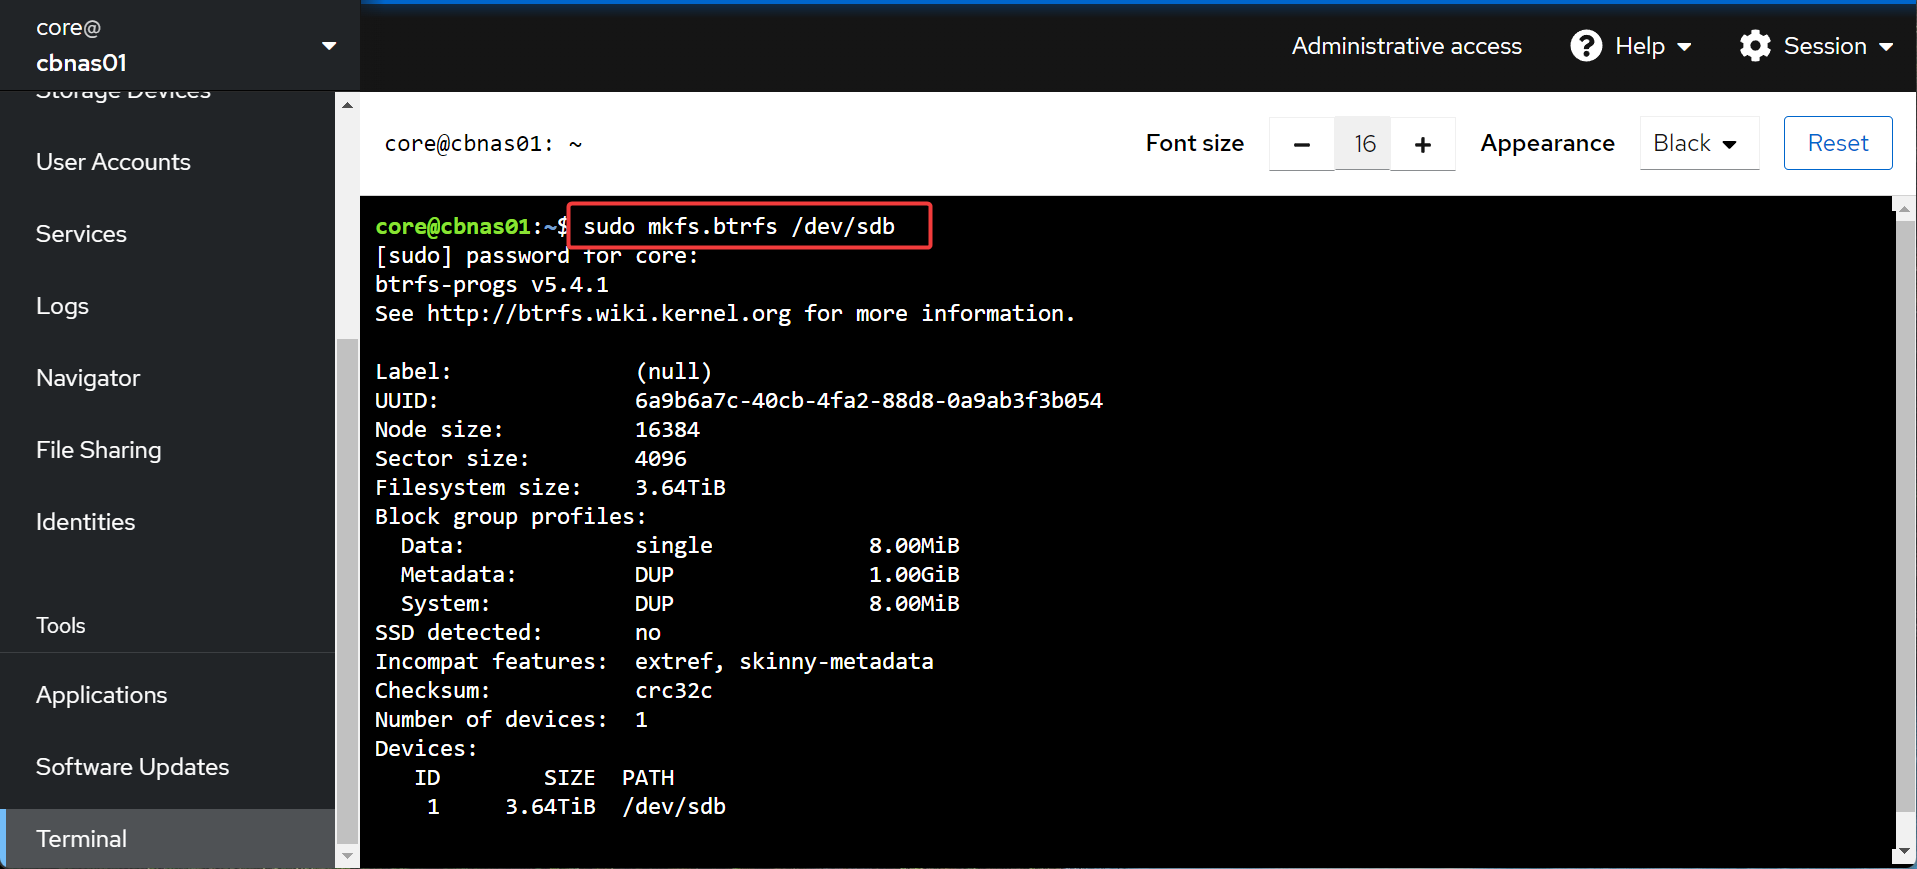
- In the cockpit
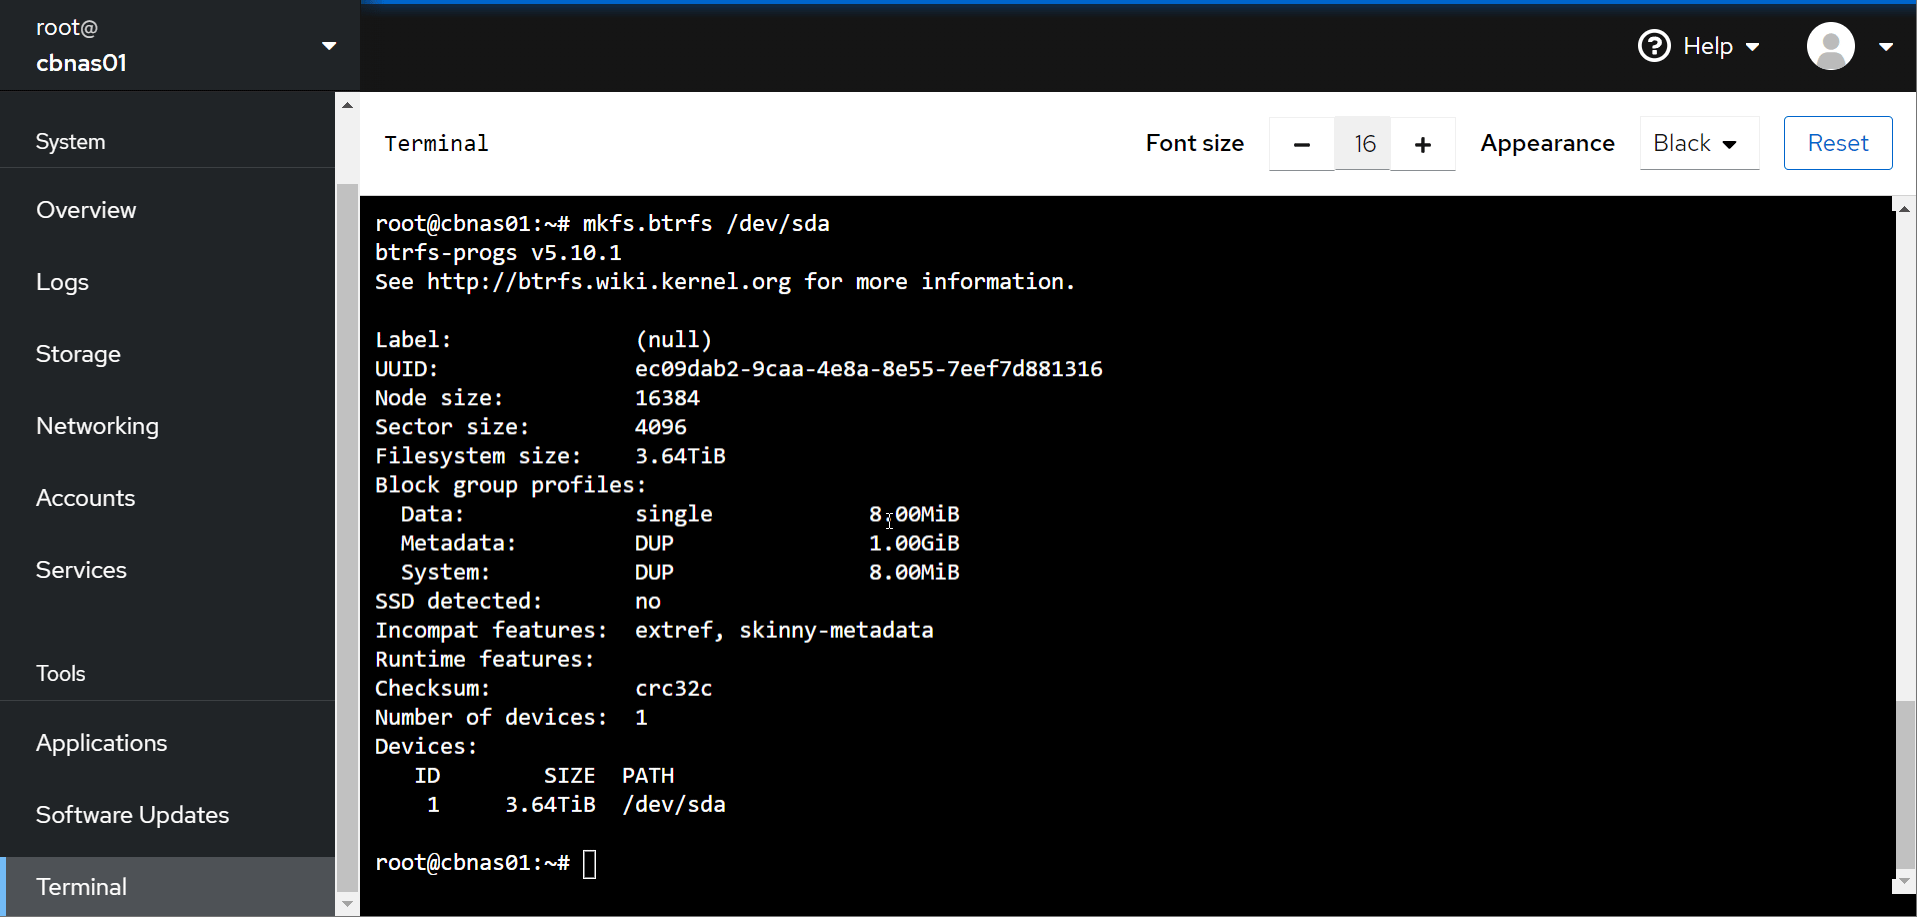
terminal, format the drive withsudo mkfs.btrfs <your drive label>
- Back in the
cockpitstorage system, mount your drive. Linux is flexible where you mount data, but I am choosing to mount at/mnt/storage
- That’s it! You now have your storage at
/mnt/storage.
Creating File Shares
Alright, having file storage on a NAS is not that useful unless you set up fileshares.
- Your accounts have two sets of passwords: The one you use to log into linux, and the one
sambahandles for fileshares. Usually thesambapassword is blank, so we need to set it. Go toIdentities→Users→<Your User>and set a samba password. Make sure you hit the complexity requirements (apparently my temporary lab passwords aren’t good enough)
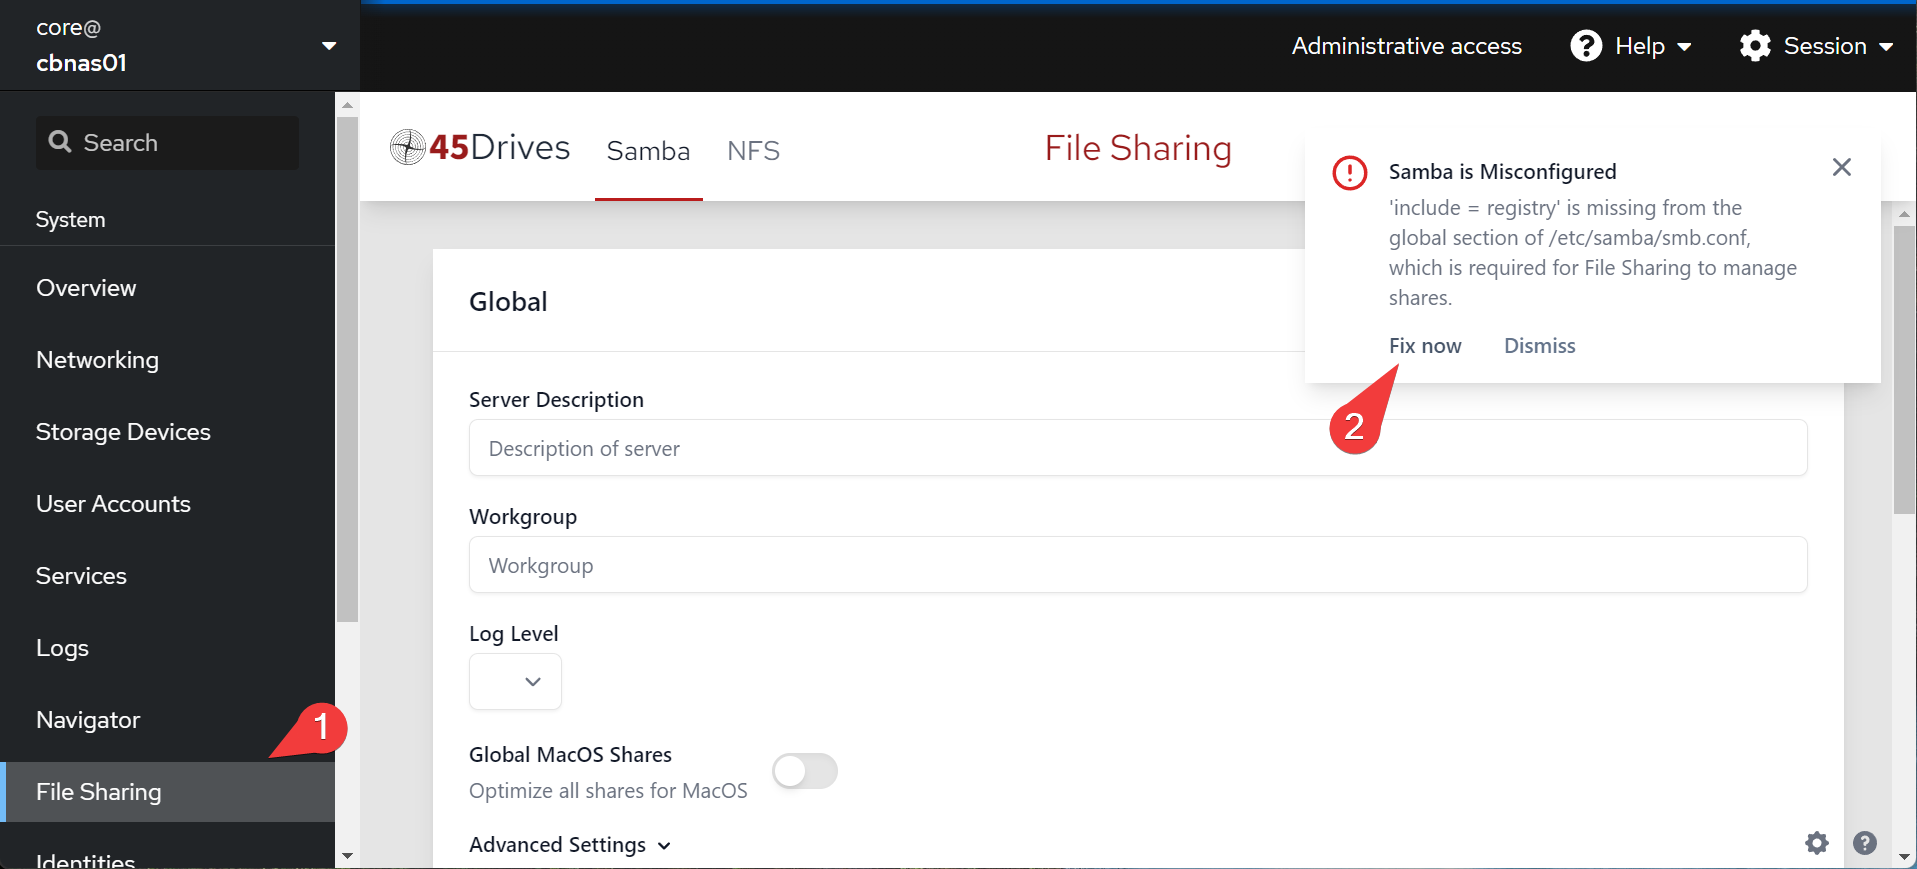
- navigate to
file sharingon the left, and fix the samba misconfiguration
- Create yourself a share!
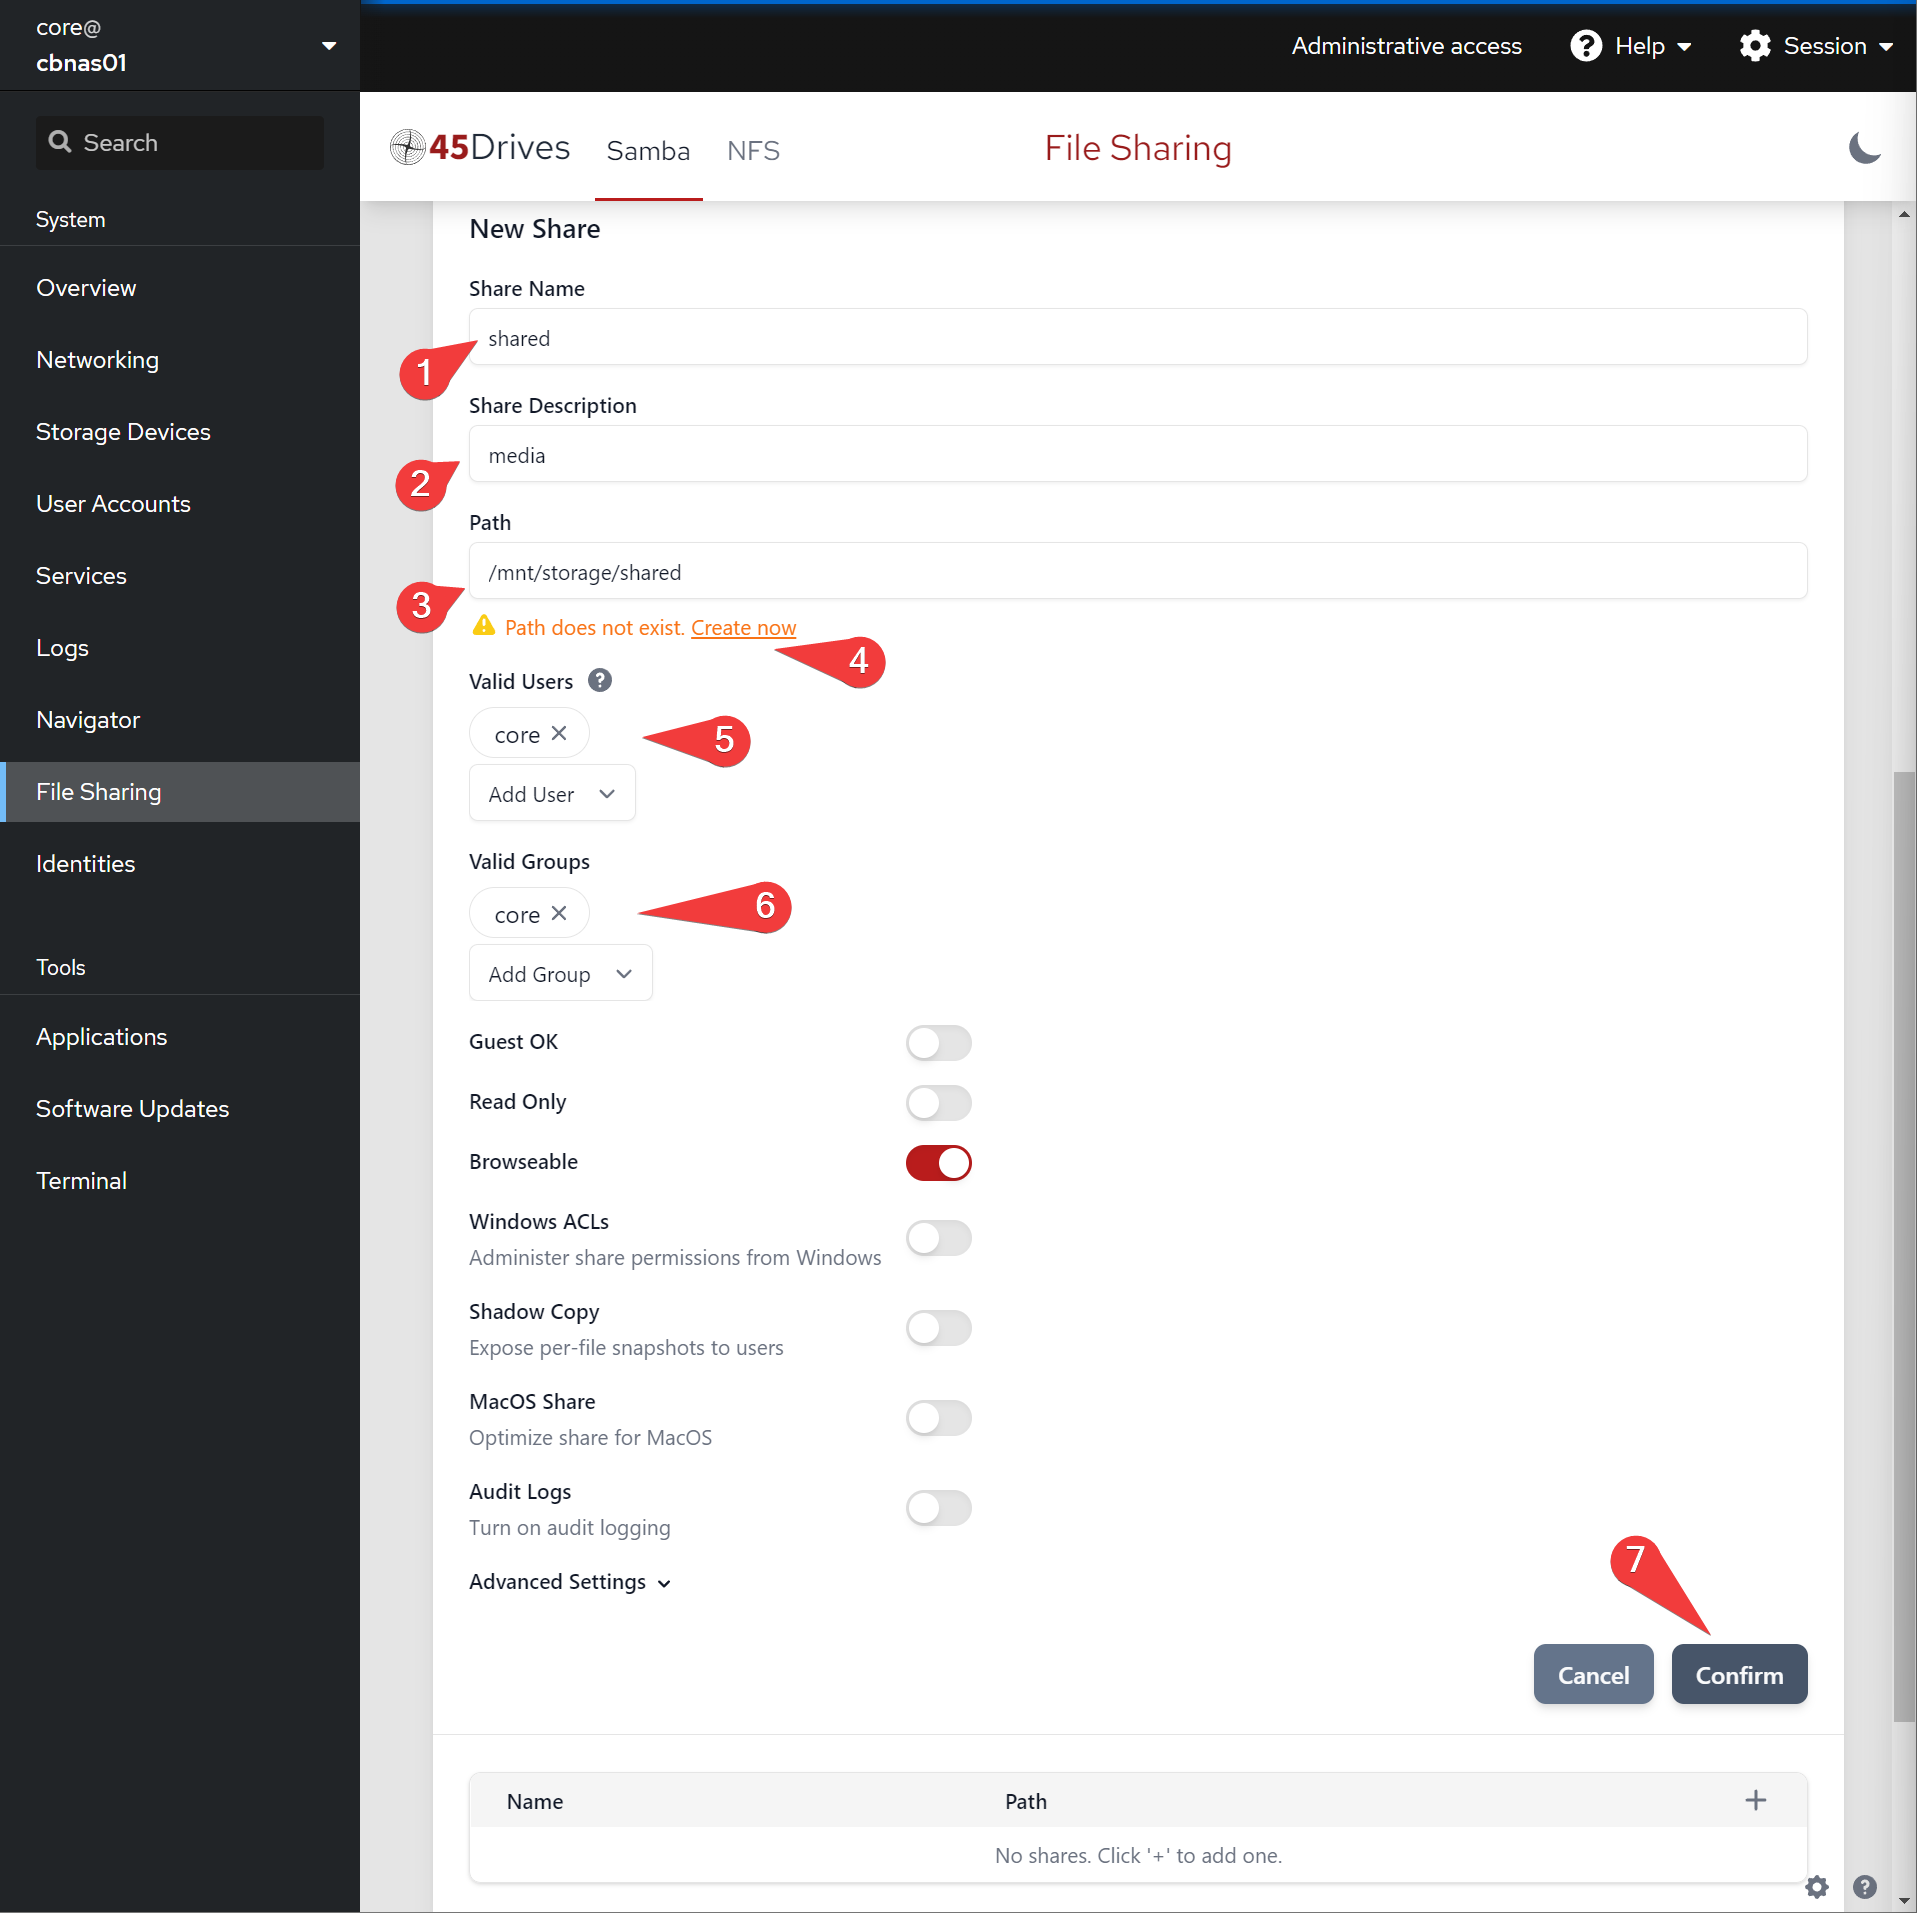
- After creation (or during creation) edit the permissions for the folder to match the user or group

- That’s it! You should now be able to navigate to a shared folder in windows

Moving on
Actually wait up. There’s also a file navigator in cockpit:

Pretty cool! Now moving on, we have a NAS. Better yet, we have a NAS that’s completely customizable: If I want to set up snapshotting, I can do so with btrbk for example. If I want a fancy text editor, I can just go sudo apt-get install micro. I can even install docker if I like!
Well except I’d prefer to keep these things separate: that’s the point of virtualization. So, let’s leave our NAS alone for now: let’s install a docker environment.